Shared Workflow
Workflow → Shared is used for sharing workflows with users of a tenant. When users share workflows, which allows other users of the tenant to reuse the workflows in their projects.
Users with role Tenant Admin and Workflow Admin will have option to upload/update such shared workflow zip on AE Server. For more information on Shared Workflows, see the AutomationEdge R7.7.3 Process Studio User Guide. The shared workflows are available to the users in the Shared Workflows tab in the Process Studio. Only a tenant with TRIAL/DEVELOPMENT/UAT/CONSUMPTION license type can upload the Shared Workflow zip.
Share a workflow
To share a workflow:
- Click the Workflows menu. Click Shared sub-menu.
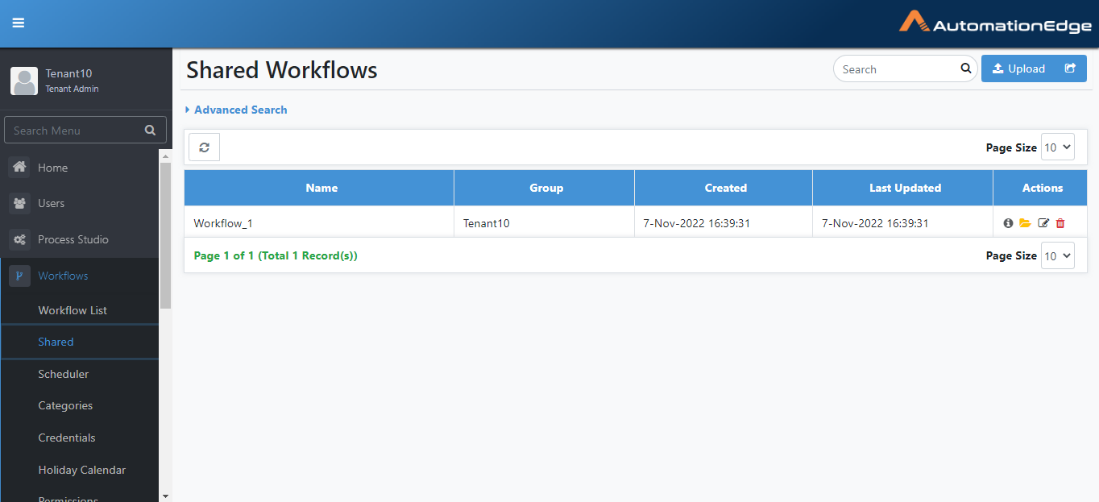
- In the Shared Workflows page, click Upload. The Upload Shared Workflow page appears.
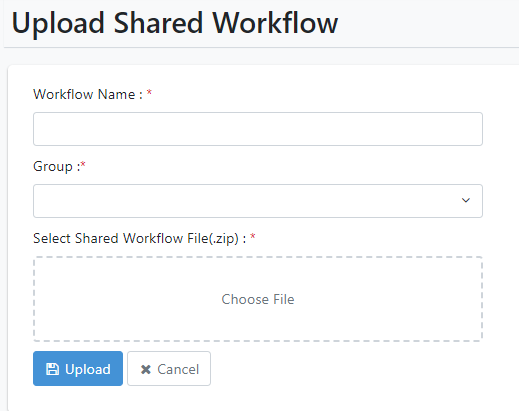
- The table below describes the fields.
| Field Name | Description |
|---|---|
| Workflow Name | Specify the name of the workflow that you want to share. |
| Group | Select the group that you want to share the workflow with. |
| Select Shared Workflow File(.zip) | Select the file from the folder where the downloaded workflow is saved. |
- Click Upload. The shared workflow file is uploaded to AEUI.
You can also share processes with users using the Shared sub-menu.
Inspection rules
Use the feature to configure rules for projects, workflows, processes, steps, and entries. The rules that you configure through AE UI are then synced in the Process Studio and applied to workflows and projects.
For more information about how inspection rules will be applied to workflows and processes in a project, see Process Studio User's Guide.
Configure inspection rules
To configure inspection rules:
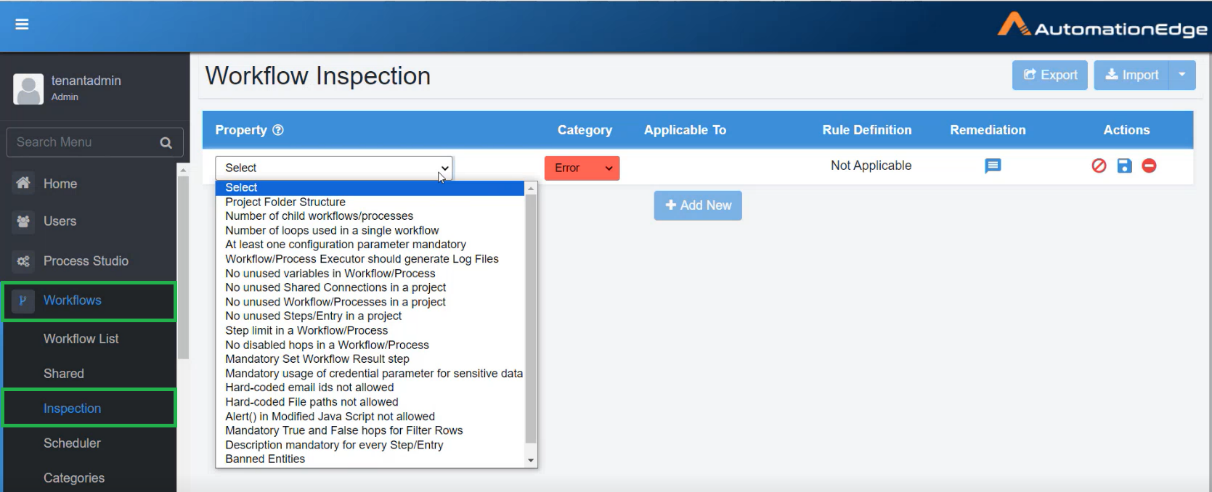
- Click Workflows 🡪 Inspection. The Workflow Inspection page appears.
- Enter the following field details:
| Field Name | Description |
|---|---|
| Property | Select the rule that you want set for the workflow or process. Note: Click |
| Category | Select if you want to configure the rule as an error or warning. Note: User will be unable to publish the workflows or processes through Process Studio, if the category is set to Error.User will be able to publish the workflows or processes with warnings through Process Studio, if the category is set to Warning. |
| Applicable To | Select if the rule will be applicable to project and / or workflow and / or process and / or step and /or entry. |
| Rule Definition | Provide the value for defining the rule. |
| Remediation | Click |
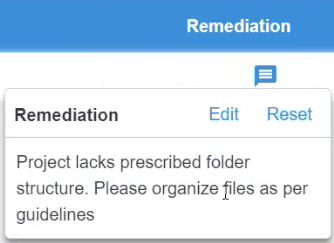 | |
| Actions | Click the following tools: |
| - | |
| - | |
| - |
- To add more rules, click Add New. A new row appears on the page.
You can add multiple rules for a project or workflow or process or step or entry.
- Click
 . The rule details are saved.

- If you want to use the rules again for other tenants, click Export. The Export dialog appears.
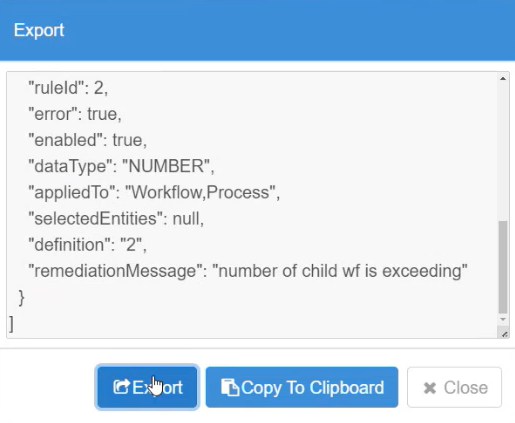
- In the Export dialog:
- Click Export. The rules are saved as JSON.
OR
- Click Copy To Clipboard. Paste the rules in appropriate editor and save it as JSON or in the Import dialog.
- Click Import. The Import dialog appears.
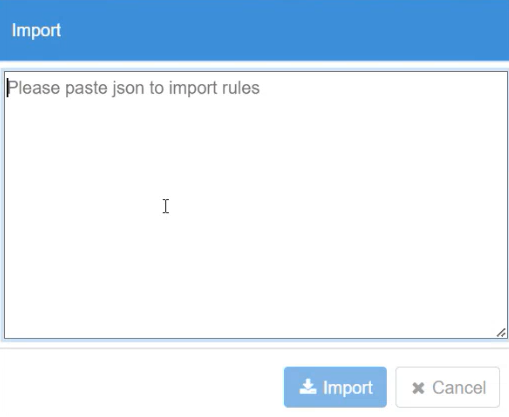
- Paste the rules in JSON format in the Import dialog, and then click Import. The rules appear in the Workflow Inspection page.
OR
Click the dropdown next to Import, and click Import From File. The Import From File dialog appears.
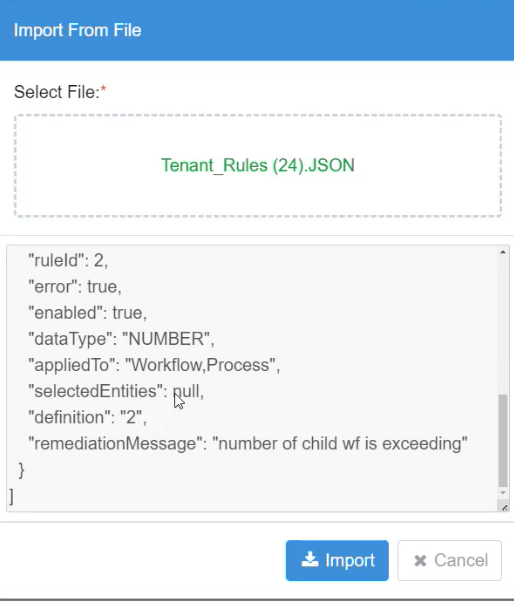
- In Select File, upload the JSON, which contains the rules, and then click Import. The rules appear in the Workflow Inspection page.
Configure property -- Naming Convention
Let's configure a rule for better understanding of the feature.
Use the Naming Convention property to configure a rule on how to name an artifact or step or entry in the Process Studio.
-
Property -- select Naming Convention
-
Category -- select Warning.
Note: You can publish the workflow through Process Studio with warnings.
- Applicable To -- select Workflow. The rule will be applicable to all workflows of the tenant.
If you select:
-
Artifact: The rule will be applicable to a Project and / or Process and / or Workflow.
-
Step: The rule will be applicable to the selected steps.
-
Entry: The rule will be applicable to the selected entries.
- Rule Definition -- click Edit Rule. In the Rule Definition dialog, enter the following field details:
Note: The fields in the dialog are dependent on the selection in the Applicable To field.
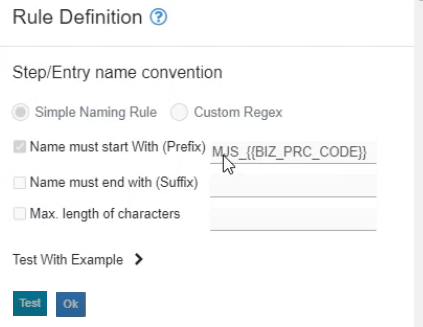
- Step/Entry name convention: Select Simple Naming Rule.
Note: If you select Custom Regex, then go to https://www.regexplanent.com/advanced/ java/index.html for guidance on naming convention in regex.
-
Select the checkbox against respective fields:
-
Name must start With (Prefix): Enter the prefix you want. For example,
*MJS\_{{BIZ_PRC_CODE}}*. -
Name must end with (Suffix): Enter the suffix you want. For example,
{{BIZ_PRC_CODE}}\_*END*. -
Max. length of characters: Enter maximum length of the name. For example, 15 characters.
-
-
Test With Example: Enter sample names to test the rule.
-
Click Test. The sample name will be validated for the rule.
OR
-
Click Ok. The rule is saved.
-
Next, work with the rules through Process Studio, that is, sync and inspect rules and publish the workflows with rules. For more information, see the Process Studio User's Guide.