Set Tenant Message
In the topic, we will discuss the steps to configure a tenant message. The tenant admin can send the message to associated users that provides additional or important information or alerts to the users.
To set tenant message:
-
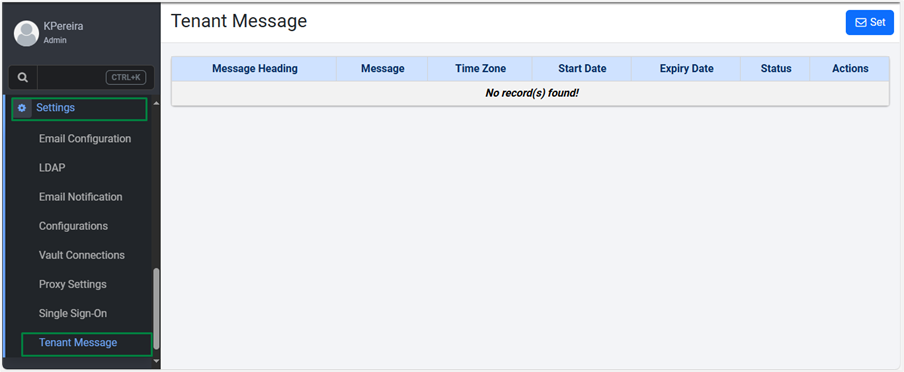
In the menu, click Settings → Tenant Message. The Tenant Message page appears.
-
Click Set. The tenant message fields appear.

-
Enter the field details.
| Field name | Description |
|---|---|
Message Heading* | Enter a message title. For example, HTML Tags. |
Message* | Enter the message you want to send. Note: You can also use HTML tags to format the content. Supported HTML tags are: <a>, <b>, <blockquote>, <br>, <caption>, <cite>, <code>, <dd>, <div>, <dl>, <dt>, <em>, <font>, <h5>, <h6>, <hr>, <img>, <li>, <ol>, <p>, <pre>, <span>, <strike>, <sub>, <sup>, <table>, <tbody>, <td>, <tfoot>, <th>, <thead>, <tr>, <u>, <ul> |
Type* | Select the type of message you want to send, that is, important or informative or alert. Available message types are: - Information - Important - Alert |
| Icon | Select the icon you want to attach to the message. The icon changes depending on the selected message type. For example, for informative message with Type: Information, the default icon is Note: You can search for an icon of your choice, if required. |
Time Zone* | Select the time zone of the message. |
Start Date* | Select the date and time when you want to send the message. |
Expiry Date* | Select the date and time after which the message will no longer be available to the users. |
* Indicates mandatory field.
-
Click Preview. You can view the message before saving it.
-
Click Save. The details are saved, and users will see the message when they sign in to the AEUI.

Note:
-
After the expiry date and time has elapsed, the status of the message changes to Expired.
-
Click
 to modify the message.
 -
Click
 to delete the message.