Configure Proxy Settings
In the topic, you will learn how to configure proxy settings at various levels, such as Tenant or Process Studio, and so on.
You can configure proxy settings at the following levels:
- Tenant: Configure the proxy setting through the Proxy Settings menu in AutomationEdge UI.
- Individual Agent: Agents use the proxy settings at Tenant level. You can set Proxy Settings on
AutomationEdge UI while downloading an agent or manually copy
**<tenant name>-proxy-config.properties**file to Agent or conf folder. The proxy settings are stored in the database or a file**<tenant name>-proxy-config.properties**.- Tenant level proxy settings are visible during Agent download by default.
- Accept the tenant level proxy setting or set proxy during Agent download; it takes precedence over the previous option.
- You can also configure the proxy at the agent level, manually. Copy the
**<tenant name>-proxy-config.properties**file in the Agent or conf directory. - There are two scenarios for agent upgrade for the AutomationEdge server upgrades from versions prior to 5.3.0 and after 5.3.0.
- Running Agents: If the Agent is running during AutomationEdge upgrade, it goes for auto-upgrade. Since there is no proxy configuration yet, the Agent does not pick up any Proxy settings; Configure Proxy settings manually.
- Stopped Agents: If an Agent stops during AutomationEdge upgrade and Proxy is available, it picks up the Proxy settings during the Agent startup.
- Suppose there are changes in proxy server configuration at any later point in time. In that case, users need to update the existing configuration at the server-side, download the new configuration file, manually replace it with already downloaded agents and restart the Agents. The newly downloaded agents will have the updated proxy configuration.
- Process Studio: Set up proxy settings at the Process Studio level manually. Download proxy settings
from Proxy Settings UI or Agent Download UI.
- Proxy in Process Studio is set manually by copying
**<tenant name>-proxy-config.properties**file in the Process Studio Distribution/conf directory. - Suppose at any later point in time, there are changes in the proxy server configuration. Users need to update the existing configuration at the server-side, download the new configuration file, and manually replace it into Process Studio distributions.
- Proxy in Process Studio is set manually by copying
The topic includes the following sections:
Add proxy configuration
In the section, you’ll learn how to configure the proxy settings for the following proxy types:
- No Proxy
- Automatic Configuration
- Proxy Server
- PAC (proxy auto configuration)
To configure the proxy settings:
-
In the menu, click Settings → Proxy Settings. The Proxy Settings page appears.
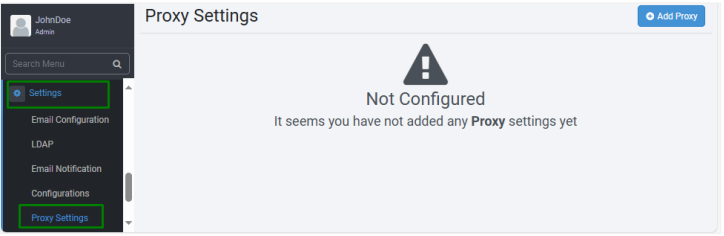
-
Click Add Proxy. The proxy settings field appears.
-
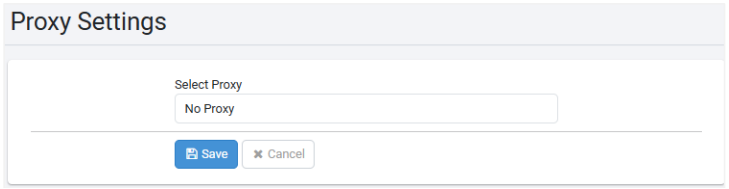
Select the type of proxy you want to configure, and the configuration fields appear:
Field name Description Select Proxy Select the type of proxy settings you want to configure. The available options are:
- No Proxy
- Automatic Configuration
- Proxy Server
- PAC (proxy auto configuration)
Click respective proxy links for the details.Proxy: No Proxy
After selecting No Proxy, click Save. The proxy setting is saved. The Proxy Settings page is refreshed, and you see the following view:
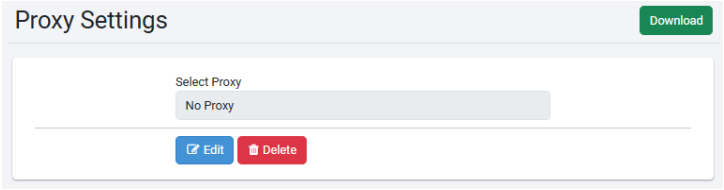 Notes:
-
To change the selected proxy type, click Edit.
-
To delete the proxy setting, click Delete → Confirm delete dialog → click Delete.

Proxy: Automatic Configuration
Automatic Configuration detects proxy from Windows Internet options. The option is not supported in the Linux environment.
To set the automatic configuration:
-
On the Proxy Settings page, select Automatic Configuration from the Select Proxy list.
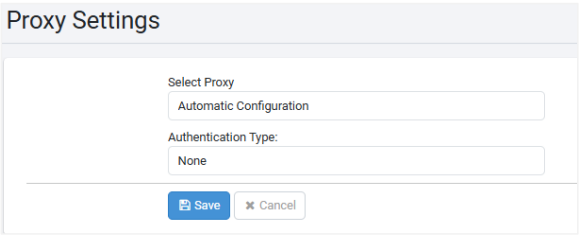
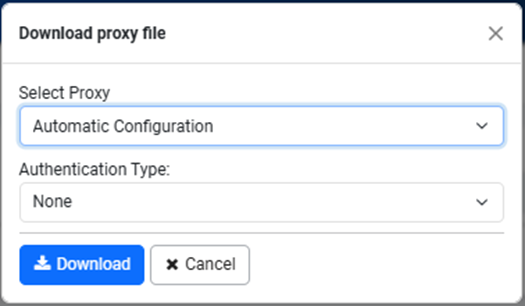
Field name Description Authentication Type Select the type of authentication you want to apply for your proxy settings.
The available types are:
- None
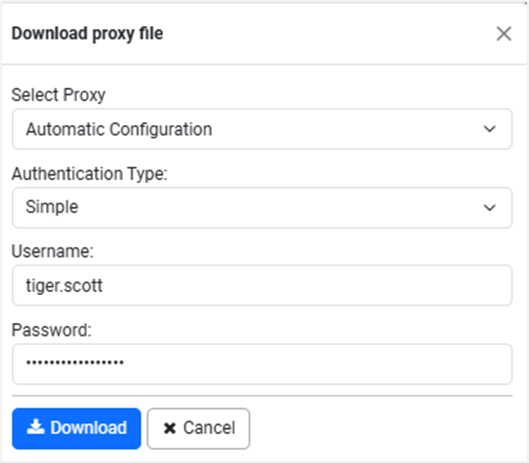
- Simple
- Domain
Note: If you select None as the Authentication Type, no other detail is required, and you can directly save the details.Authentication Type: Simple 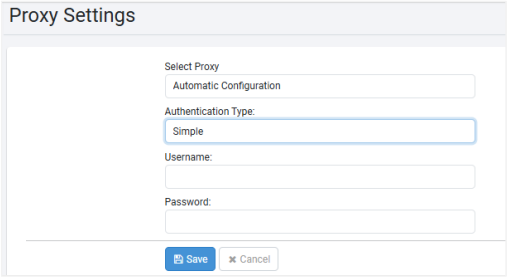
Username Enter the name of the user. Password Enter the password. Authentication Type: Domain 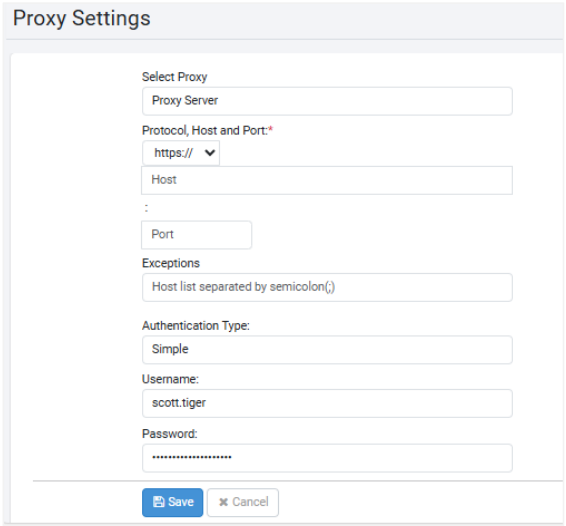
Username Enter the name of the user. Password Enter the password. Domain *Enter the authentication domain name. For example, automationedge.com *Indicates mandatory field. -
Click Save. The proxy setting is saved.
Notes:- Click Edit to change the proxy details before downloading the proxy configuration file, if required.
- To delete the proxy setting, click Delete → Confirm delete dialog → click Delete.
Proxy: Proxy Server
You can configure static proxy settings with the Proxy Server option.
To configure proxy server settings:
-
On the Proxy Settings page, select Proxy Server from the Select Proxy list.
Field name Description Protocol, Host and Port *Select the appropriate protocol from http or https and then enter the proxy server’s host IP address and port number.
For example,https://10.51.5.30:3128.Exceptions Enter the host list.
The entries can be separated by semi colon (;).Authentication Type Select the type of authentication you want to apply for your proxy settings. The available types are:
- None
- Simple
- Domain
Note:
If you select None as the Authentication Type, no other detail is required, and you can directly save the details.Authentication Type: Simple Username Enter the name of the user. Password Enter the password. Authentication Type: Domain Username Enter the name of the user. Password Enter the password. Domain *Enter the authentication domain name. For example, automationedge.com *Indicates mandatory field. -
Click Save. The proxy setting is saved.
Notes:- Click Edit to change the proxy details before downloading the proxy configuration file, if required.
- To delete the proxy setting, click Delete → Confirm delete dialog → click Delete.
Proxy: PAC
You can configure dynamic proxy settings with the PAC option.
To configure proxy PAC settings:
-
On the Proxy Settings page, select PAC from the Select Proxy list.
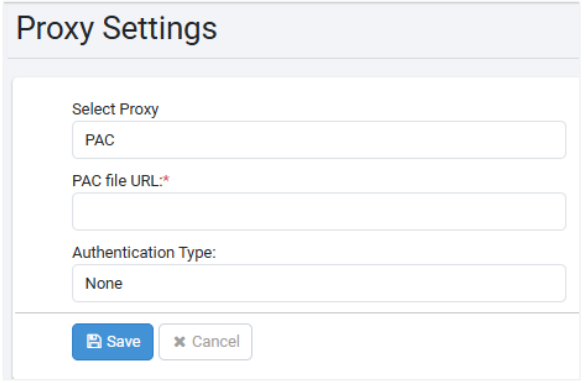
Field name Description PAC file URL *Enter the URL for the proxy auto-config (PAC) file.
For example,https://10.51.5.30:3128.Authentication Type Select the type of authentication you want to apply for your proxy settings. The available types are:
- None
- Simple
- Domain
Note:
If you select None as the Authentication Type, no other detail is required, and you can directly save the details.Authentication Type: Simple Username Enter the name of the user. Password Enter the password. Authentication Type: Domain Username Enter the name of the user. Password Enter the password. Domain *Enter the authentication domain name. For example, automationedge.com *Indicates mandatory field. -
Click Save. The proxy setting is saved.
Notes:- Click Edit to change the proxy details before downloading the proxy configuration file, if required.
- To delete the proxy setting, click Delete → Confirm delete dialog → click Delete.
-
After deletion of proxy:
- The record is soft deleted from the database.
- Manually remove the proxy configuration from existing agents or Process Studio distributions.
Download proxy configuration file
You can download proxy configuration file, if required.
You can download the <tenant name>-proxy-config.properties file for the following proxy types:
• Automatic Configuration
• Proxy Server
• PAC
To download proxy file:
-
On the Proxy Settings page, click Download. The Download proxy file dialog appears.
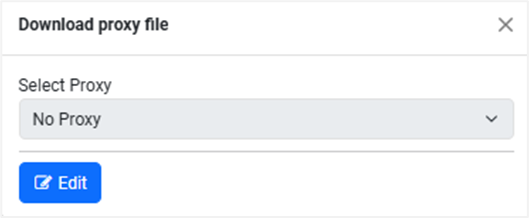 Note:
Note:The option to download the configuration file in unavailable for proxy type, No Proxy. Therefore, you will need to select another proxy.
-
Click Edit and select another proxy type. The selected proxy type’s fields appear along with the download option.
-
Click Download. The
<tenant name>-proxy-config.propertiesfile is downloaded.
If you configured a proxy other than None, then you can directly download the file after saving the details.
If required, you may copy the file to <Agent>\conf or <Process Studio Distribution>\conf folders.