Okta (IDP) initiated SSO for AE using SAML
The topic describes the setups in Okta and AutomationEdge for IDP initiated SSO with SAML.
Setups in Okta
The section describes the steps for setups in Okta for IDP initiated SSO with SAML.
To proceed with setups in Okta for IDP initiated SSO with SAML:
-
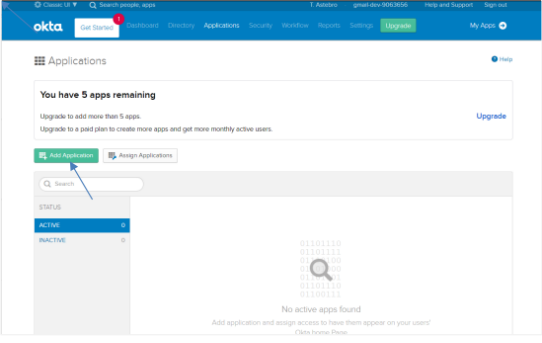
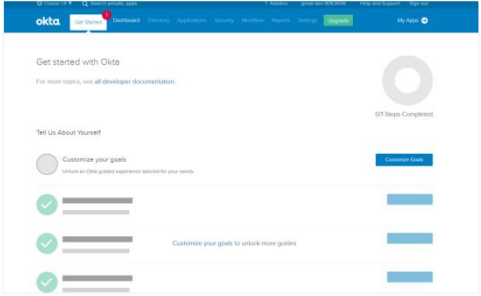
Sign-in to Okta. The Getting Started page appears.
Note:Change the UI from Developer Console to Classic UI.
-
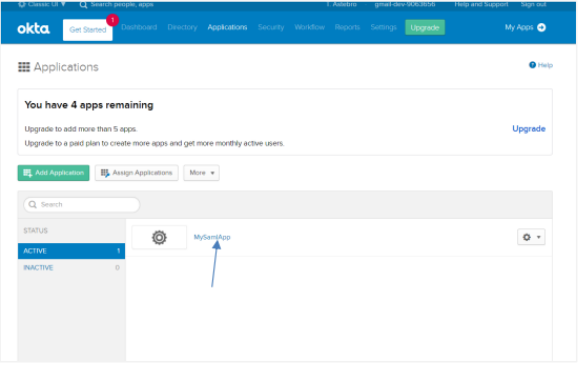
Click the Applications tab, and then Applications. The Applications page appears.
 Important
For SAML, you must register an additional ACS URL for PS login: http://localhost:2611/callback.
-
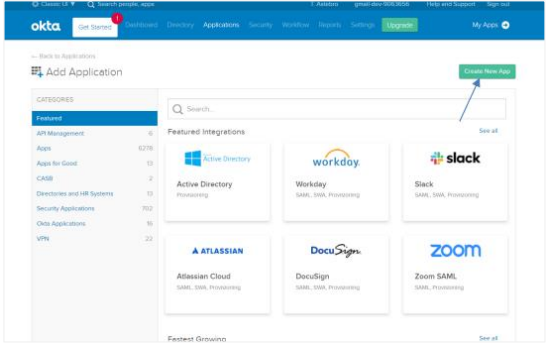
On the page, click Add Application. The Add Application page appears.
-
Click Create New App. In the Create a New Application Integration dialog, select Web Platform and SAML 2.0.

-
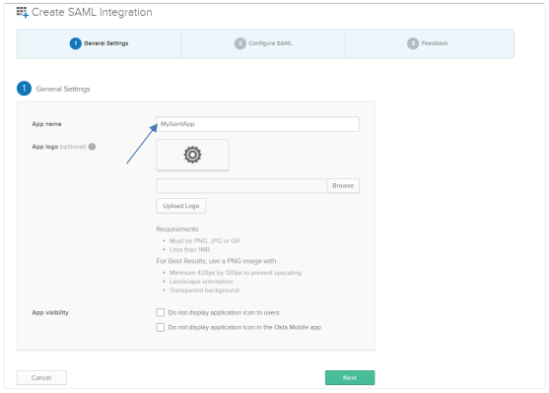
Click Create. In the Create SAML Integration page, enter a name for the application you want to create, for example, MySamlApp.
-
Click Next and configure the application details.
Specify the Single sign on URL.
Note:The Audience URI is the same as the Single sign on URL.
In the Name ID format field, select Transient and in the Application username field, select Okta username.

Add Application name, Login redirect URI, and the Logout redirect URI.
Note:Login redirect URI and Logout redirect URI should be the same for AE, and it is the base URL for aeui.
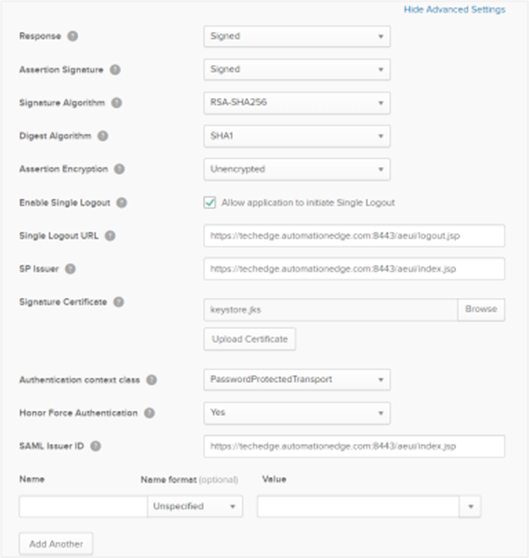
Click Show Advanced Settings and enter the following details:
-
Response: Select Signed as it will sign the response after successful login.
-
Assertion Signature: Select as Signed. The signature algorithm is RSA-SHA256; we use the algorithm to sign the login request in the backend.
-
Digest Algorithm: Select as SHA1.
-
Assertion Encryption: Select as Unencrypted.
-
Enable Single Logout: Select the checkbox to allow the application to initiate single logout as well.
-
Single Logout URL: Enter the logout URL.
-
SP Issuer: Enter the same URL as the Single sign on URL.
-
Signature Certificate: As we are signing the Request Descriptor xml file we need a certificate for it. Browse and upload the certificate. To generate the certificate, see Keystore and Certificate Generation.
Even the SAML Issuer ID provides the same value as the Single sign on URL.
Note:The following fields have the same values: • Single Sign on URL • Audience URL • SP issuer • SAML issuer ID
-
-
Add Attributes / Claims. The following table lists the attributes / claims for Okta IDP for SAML app.
Name Values (case sensitive) firstName user.firstName lastName user.lastName emailAddress user.email username user.login orgCode {{OrgCode}} -
The value expression for the list of claims used in AutomationEdge may change for different Identity Providers (IDP).
It is mandatory to specify values for username and orgCode. It is preferable to provide values for firstName, lastName and emailAddress Attributes for a complete profile view.
This is the Okta Expression Language syntax to generate values derived from attributes in Universal Directory and app profiles. To validate an expression, use the Token Preview tab.
To add more attributes, click Add Another.
There are no configurations required in the GROUP ATTRIBUTE STATEMENTS.
- Scroll down and click Next, and then click Finish. The configuration is complete.
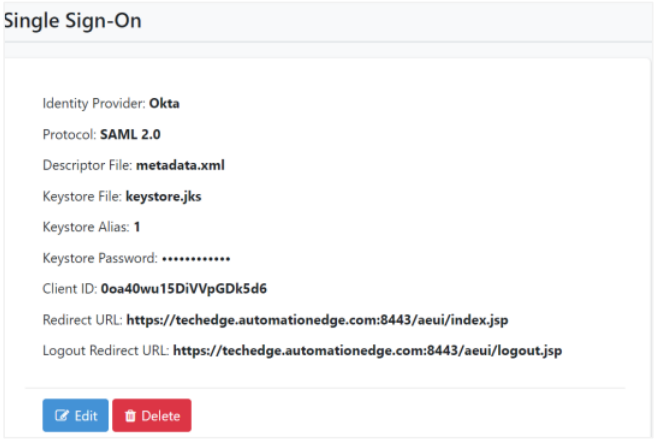
Fetch the Descriptor file and Client ID for AE SSO setup
In the section, you’ll learn to fetch a descriptor file and client ID to be used in the AE SSO setup.
To fetch a descriptor file to be used in the AE SSO setup:
-
On the Applications page, click MySamlApp. The configurations appear.
-
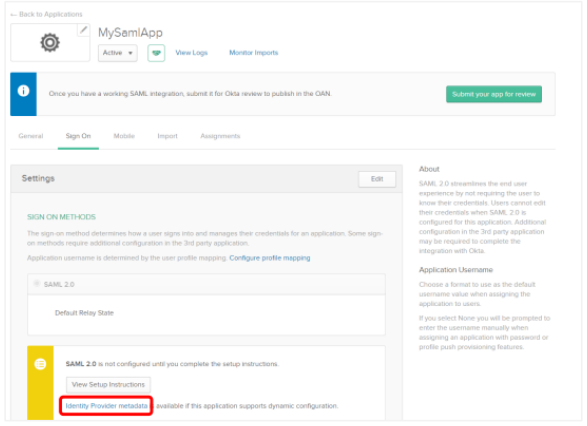
On the application page, click Sign On tab. The Settings section appears.
-
Click Identity Provider metadata. The Metadata.xml file opens in a new tab.
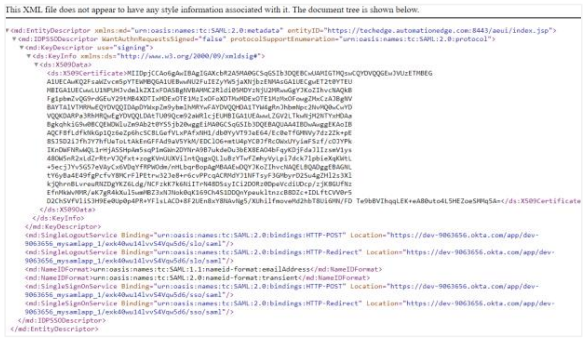
Right-click anywhere in the file and click Save As. Save the file as metadata.xml.
Note:Use the file as the Descriptor file when setting up AE SSO.
To fetch the client ID to be used in the AE SSO setup:
-
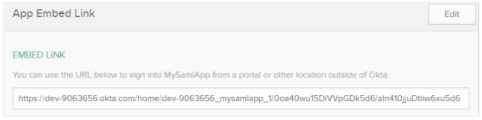
Click the General tab. Scroll down to the App Embed Link section and get the Client ID.
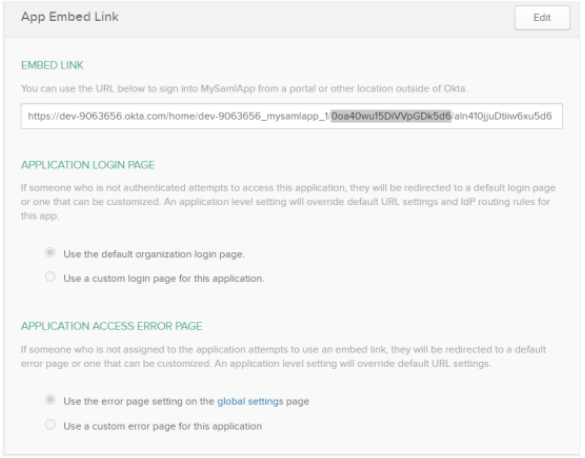
The Client ID is part of the Embed Link and is highlighted.
 Note:
Note:Copy the Embed Link URL and paste in the browser. The IDP initiated SSO flow is invoked after completion of all the configurations.
-
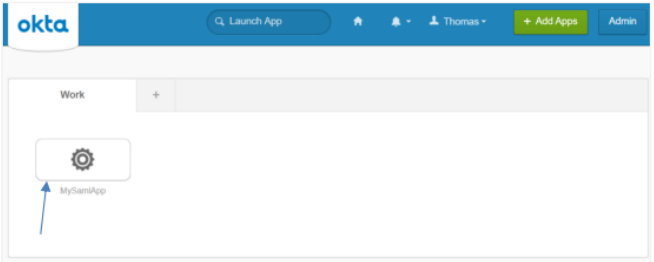
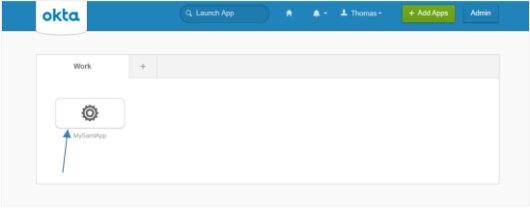
On Okta Classic UI, click MyApps tab. MySamlApp appears on the page.
Note:As discussed in the next sections, you may click on the App for Single sign on to AE (redirects to the AEUI Home page) once all the settings are complete.
Assign Okta users to SAML app
In the section, you will learn how to assign Okta users to SAML app.
To assign Okta users to SAML app:
-
Go back to the Applications tab. The MySamlApp appears.
-
On My Web App page, click the Assignments tab. The Assign Applications page appears.
-
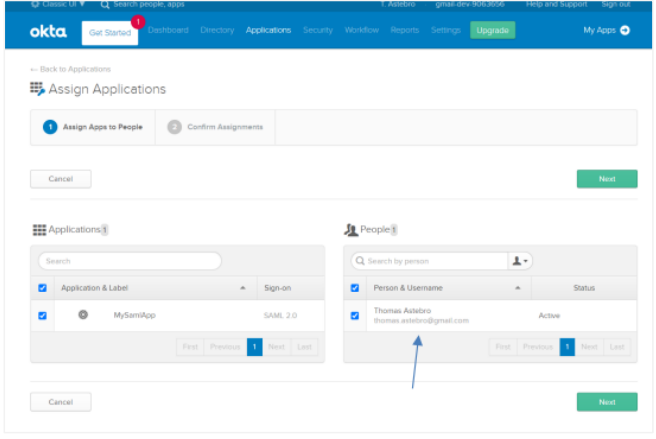
On the page, click Assign Apps to People tab. The Application section appears.
-
Select the following checkboxes:
i. Under Applications, select the checkbox next to the application, that is, MySamlApp.
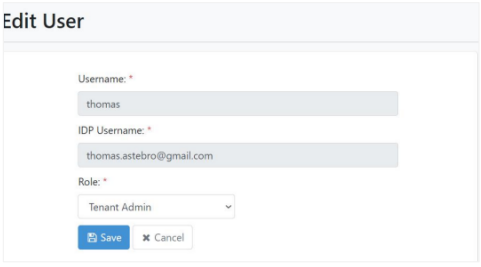
ii. Under People, select the checkbox next to the user. For example, Thomas Astebro.
iii. Click Next and then search for other users you want to assign to the app to. The user details appear.
iv. Click Save and then Go Back. The Assign Applications page appears.
v. Click the Confirm Assignments tab. Review the assignment and click Confirm Assignments. The assigned user details appear. And the Okta setups for IDP initiated SSO with SAML app is complete.
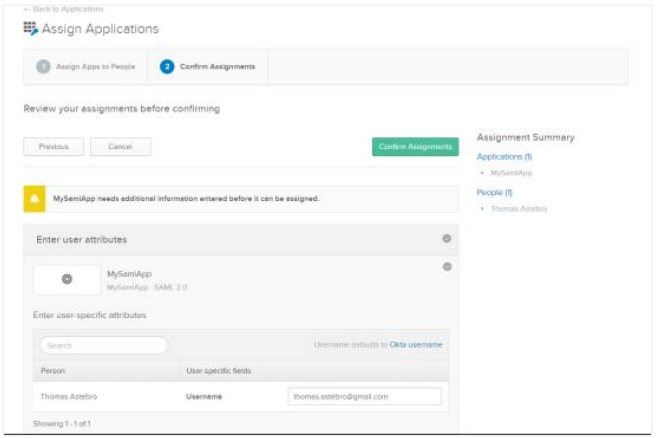
The assigned user details appear. And the Okta setups for IDP initiated SSO with SAML app is complete.
Setup on AE Tomcat server for SAML apps
In the section, you will learn how to setup on AE Tomcat Server for SAML apps.
To setup on AE Tomcat server:
-
Stop Tomcat server and then go to: /webapps\aeui\WEB-INF folder. For example, D:\AutomationEdge\tools\apache-tomcat-9.0.36\webapps\aeui\WEB-INF. The Web.xml file is available.
-
Edit the xml file. Comment
<http-method>POST</http-method>, which comes after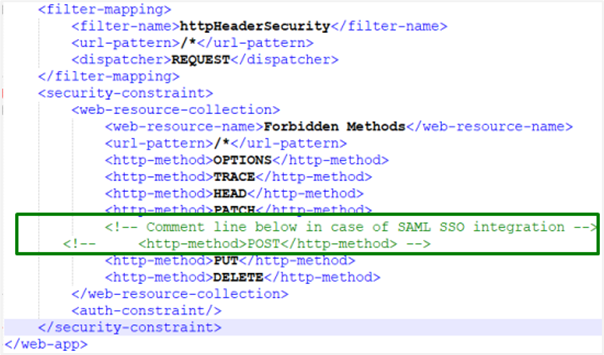
-
Restart the Tomcat server. The setups on the AE Tomcat server for SAML apps is complete.
Setups on AE UI for Single Sign-On using SAML
In the section, you will learn the AutomationEdge setups.
To setup on AE UI for Single Sign-On using SAML:
-
Configure Single Sign-On in AutomationEdge.
 Note:
Note:For SAML app, the Import option is not used to fetch Metadata URI.
-
Create an SSO user in AutomationEdge, mapping it to an IDP user with permissions on the IDP application.
Invoke IDP (Okta) initiated SSO using SAML
In the section, you will learn how to invoke IDP (Okta) initiated SSO using SAML.
To invoke IDP (Okta) initiated SSO using SAML:
-
In the Applications General tab and then go to App Embed Link URL.
-
Copy-paste or enter the URL from the Embed Link field in the browser. You are redirected to AutomationEdge with IDP initiated SSO.
Or
In Okta Classic UI, click My Apps. You can see your app in the list.
Click the application. You are redirected to AutomationEdge with IDP initiated SSO.
When you sign-out of AE, you are also logged out IDP (Okta) due to the Single Logout URL setting. The process of IDP initiated SSO is complete.