AE initiated SSO with ADFS using OpenID Connect
ADFS Identity Provider supports OpenID Connect and SAML protocols.
The topic demonstrates some key configurations to set up ADFS and fetch the required parameters for AutomationEdge SSO.
-
Identity Provider Issuer
-
Identity Provider Endpoints (Authorization, Token & End Session Endpoints)
-
Login redirect URIs
-
Client ID
-
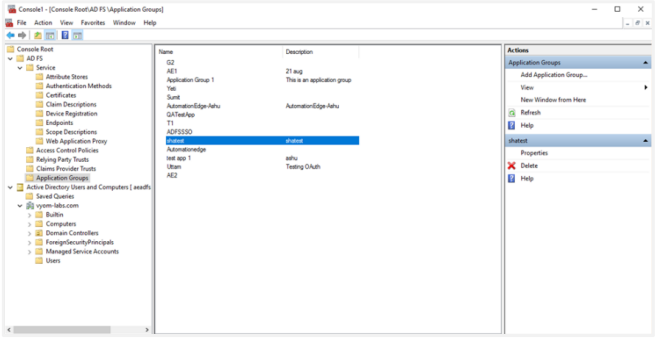
Open ADFS console and go to Application Group. Click Add Application Group.
-
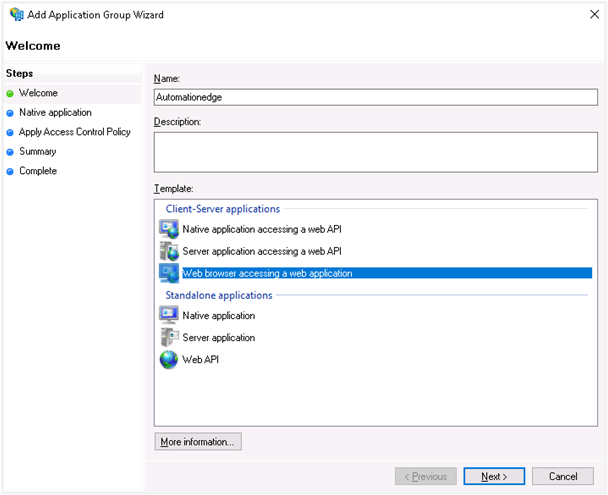
Type a Name for a new Application Group. For example, Automationedge.
-
Select Web browser accessing a web application as the Client-Server application template.
-
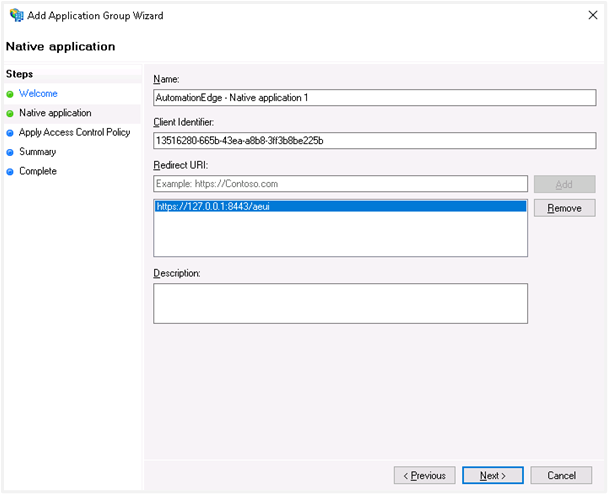
The Add Application Group Wizard appears. The Welcome step automatically generates a new Client Identifier, which is used for Client ID in AutomationEdge SSO configuration.
Note:You may change the Client ID, if required.
Copy the Client Identifier.
-
In the Redirect URI section, add all the URLs for AutomationEdge as the client application. Click Next.
-
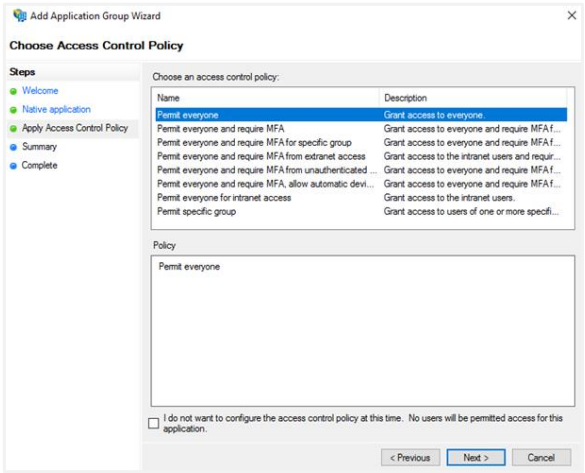
Permit everyone is selected in the Apply Access Control policy step, but you may choose as needed. Click Next.
-
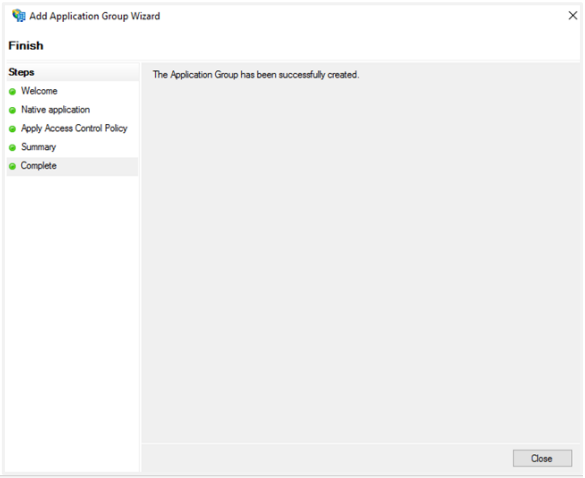
Review settings in the Summary step and click Next. The Application Group has been successfully created message appears in the Complete step, and then click Close.
-
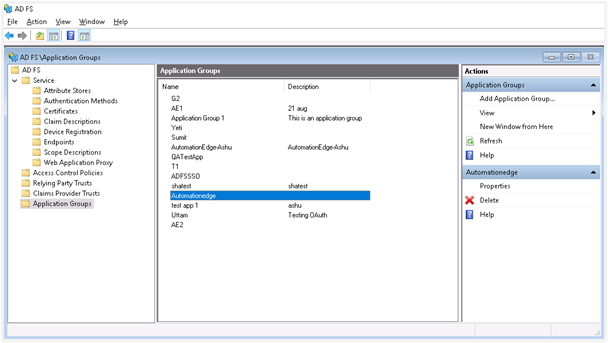
You can now see the ADFS console. The new Application Group lists in the Application Groups interface.
-
Select the Application Group you want to configure and click on Properties.
-
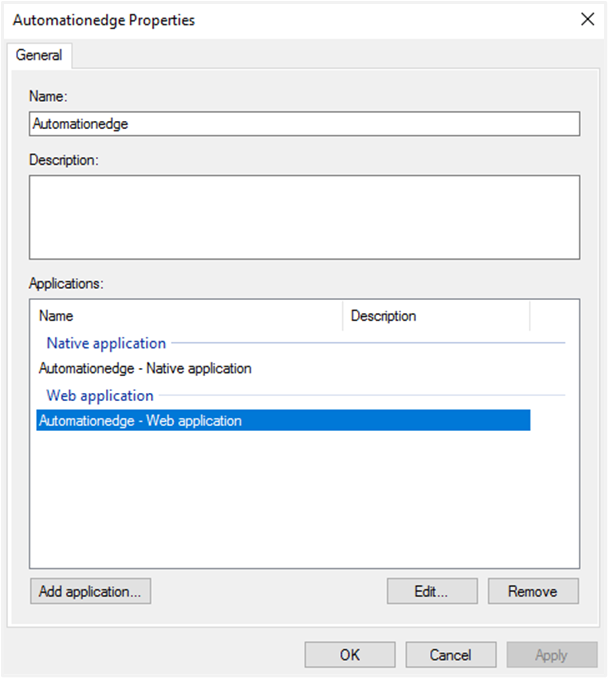
The newly created Application Group’s Properties window opens. The Application Group wizard has created the two Applications for Client Application and Server.
-
Now select the ‘Automationedge’ Web Application as follows for additional configurations. Click Edit.
-
Add Claims for the Access Token. Keep the Notes and Access control policy tab as they are.
-
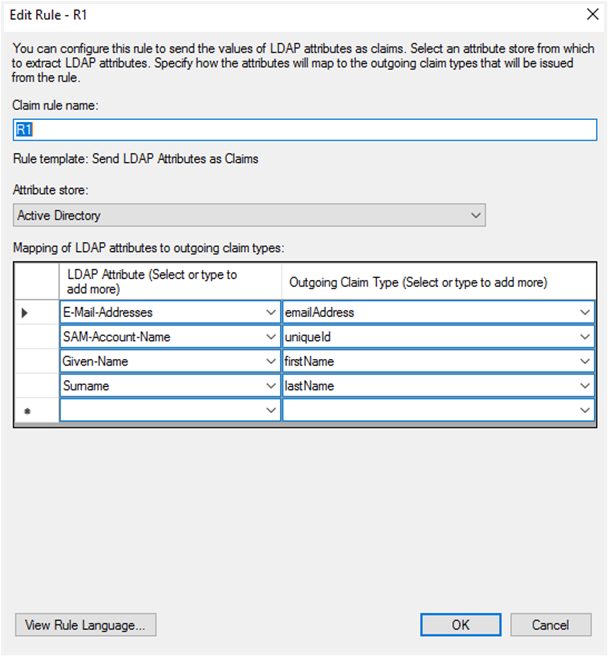
Go to the Issuance Transform Rules tab, which is empty! Once you see the windows like in the snapshot below, click the Add Rule button. Select the ‘Send LDAP Attributes as Claims’ and add the LDAP Attributes as follows:
LDAP Attribute Outgoing Claims E-Mail-Addresses emailAddress SAM-Account-Name uniqueId Given-Name firstName Surname lastName Note:It is mandatory to map LDAP attributes to the three outgoing claim types: uniqueId, firstName, and lastName.
-
Click Next.
-
For AutomationEdge Web Application Configurations, finally click on Client Permissions. In our case, we have selected the following three scopes: OpenID Connect: request use of the OpenID Connect authorization protocol;
-
After selecting Client Permissions, click OK.
-
Next, add a user to the ADFS server Active Directory. Following are the steps for Adding a new user to the ADFS server Active Directory.
In the ADFS console click on Active Directory Users and Computer and navigate to Organization -> User -> New -> User.
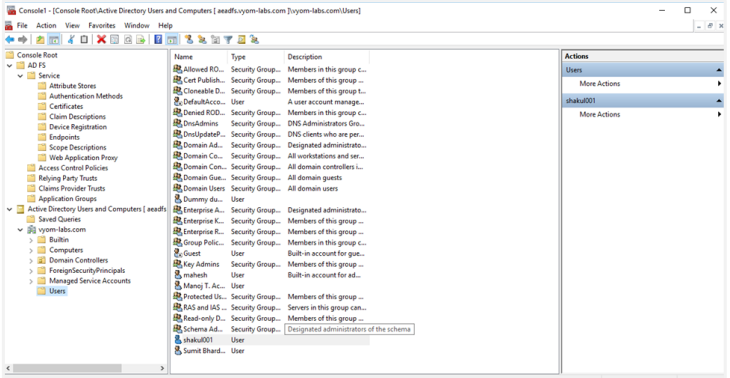
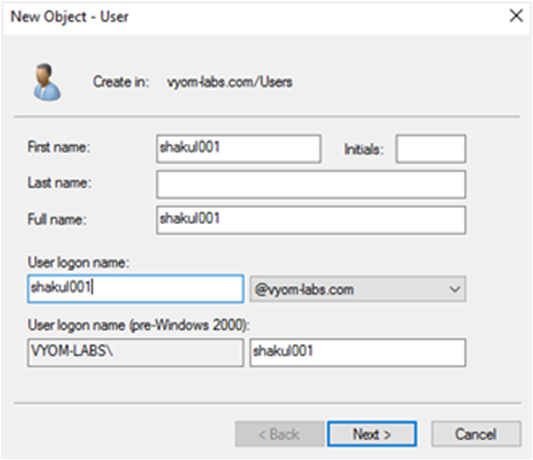
Provide details of the user to be created.
-
After user creation, to fetch the Identity Provider Endpoints (Authorization, Token and End Session Endpoints) in ADFS, complete the following steps:
Open Windows Power Shell and type the command: Get-AdfsEndpoint
Search for OpenID Connect Discovery.
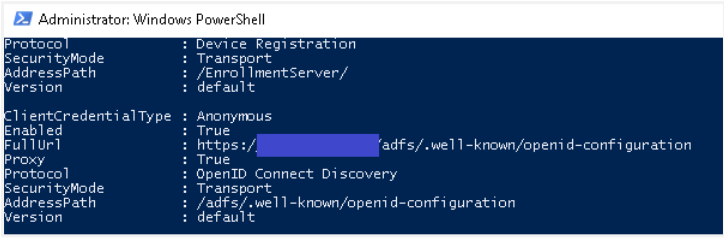
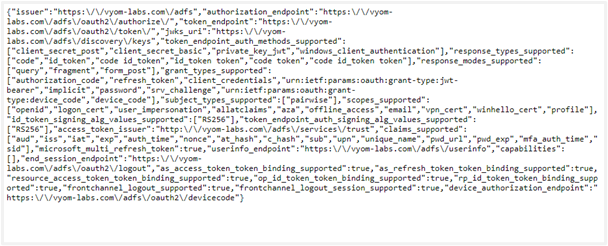
Copy the Full URL (e.g.
https://xxxxx.com/adfs/.well-known/OpenIDConnect-configuration)Open the URL to get the Endpoints text in JSON format, as seen in the following image:
The ADFS configurations and fetching desired parameters for AutomationEdge SSO is complete.
You may now create an AutomationEdge SSO user mapped to the newly created user in ADFS Windows Server Active Directory for AutomationEdge initiated Single Sign-On.