AE initiated SSO with Keycloak using SAML
Keycloak Identity Provider supports OpenID Connect and SAML protocols.
In the topic, you’ll learn how to configure the set up AutomationEdge SSO with Keycloak using the SAML protocol.
In addition, you’ll also learn how to get the required parameters for AutomationEdge – Keycloak Single Sign-On Settings.
Get the following parameters from the IDP configuration:
- Identity Provider Metadata (store in descriptor.xml)
- Client ID
- Redirect URIs
For IDP SSO configurations you need, Keystore file, Keystore Alias, Keystore Password Additionally, for IDP SSO configurations you need, Certificate file (.crt).
To generate Self Signed or CA Certificate, see Keystore and Certificate Generation
To configure Keycloak
-
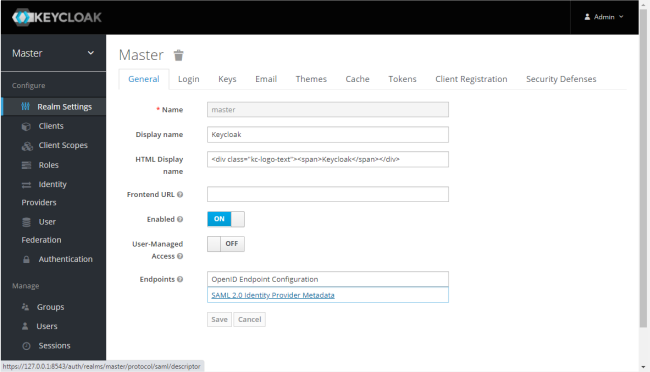
Log on to the Keycloak Identity Provider portal.
-
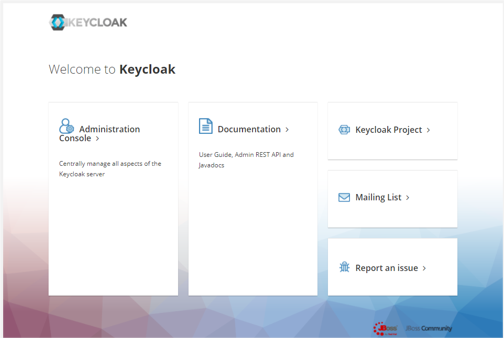
On the Home page, click on Administration Console.
-
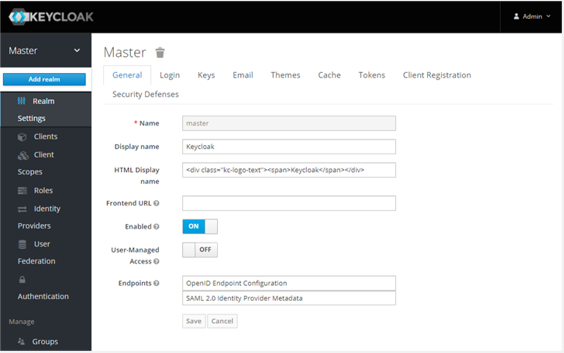
Add Realm, if not added. We already have a Realm named master.
-
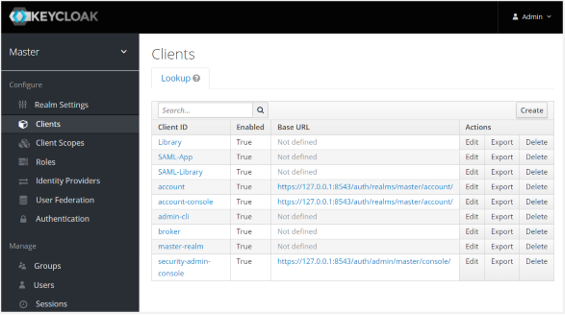
Go to the Clients section and click Create.
-
Enter the following details:
- Give a name to the Client - “AE_SAML_Library”.
- Select appropriate Client Protocol in this case SAML.
Set Client SAML Endpoint (valid redirect URIs).

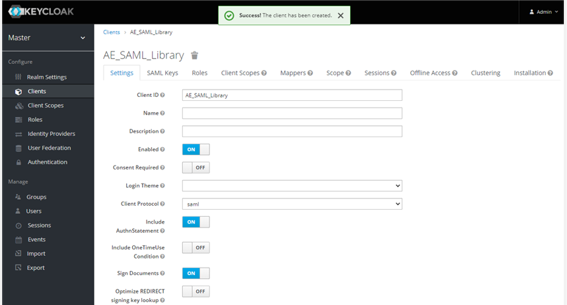
Click Save. Success! The Client has been created. message appears.
-
On the page with more Settings, you may change the configurations, as required. Click Save.
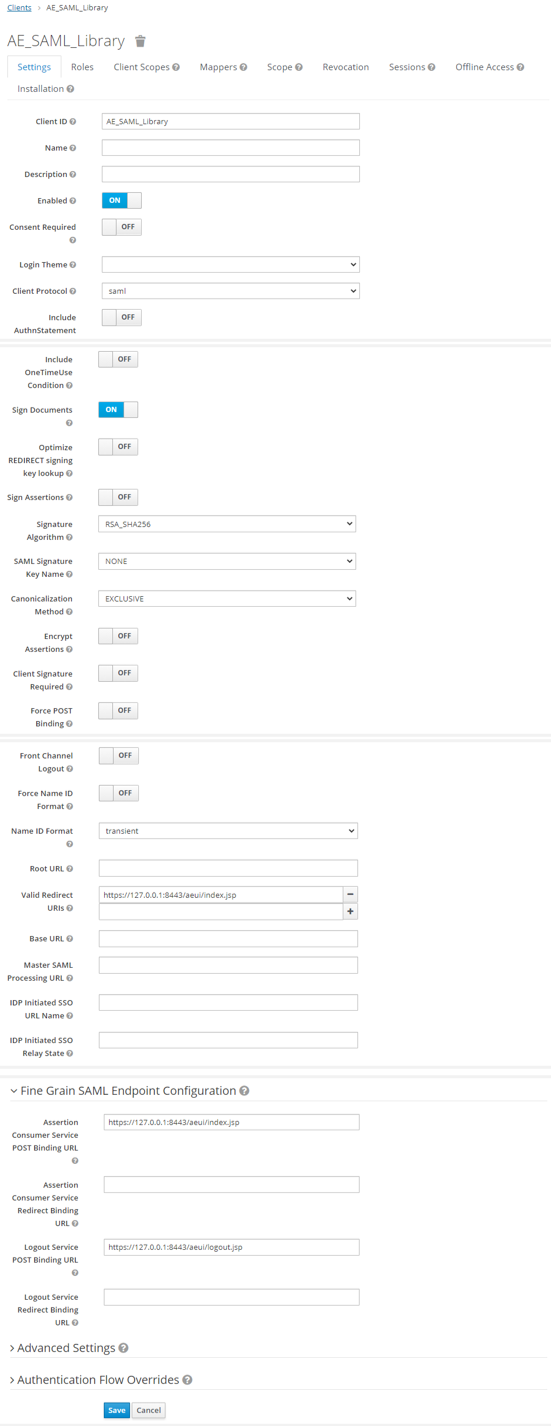
Field Name Value Enabled On Consent Required off Login Theme Client Protocol Saml Include AuthnStatement off Include OneTimeUse Condition off Sign Documents On Optimize REDIRECT signing key lookup off Sign Assertions off Signature Algorithm RSA-SHA256 Saml Signature Key Name None Canonicalization Method EXCLUSIVE Encrypt Assertions off Client Signature Required off Force POST Binding off Front Channel Logout off Force Name ID Format off Name Id Format transient Root URL Valid Redirect URIs http://(aeui-server)/aeui/index.jspBase URL Master SAML Processing URL IDP Initiated SSO URL Name IDP Initiated SSO Relay State Assertion Consumer Service https://Automationedge:port/aeui/index.jspLogout Service Post Binding URL https://Automationedge:port/aeui/logout.jspNote:-
Use the Valid Redirect URL after successful login to the IDP.
-
We are using post binding in our application. So the ‘Assertion Consumer Service’ and the ‘Logout service Post Binding URL’ should have valid URLs. Redirect URL and Assertion Consumer Service root URL should be the same.
After saving the details, a success message appears.
-
-
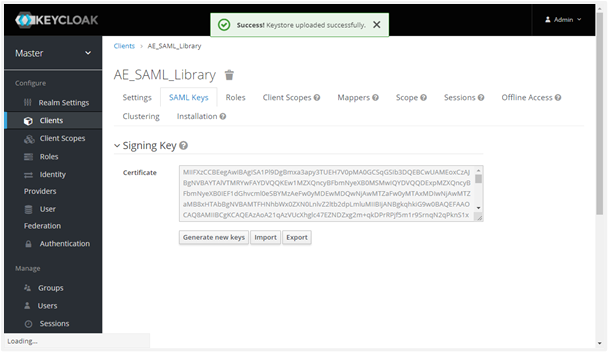
Now go to the SAML Keys tab, and then click Import. The import SAML details page appears.
-
Select Archive format at Certificate PEM from the list.
Note:To generate Self Signed or CA Certificate, see Keystore and Certificate Generation.
-
Click Select file to browse your certificate file and then click Import. On import, the ‘Keystore uploaded successfully’ message appears, as follows:
-
Next, we will enable some built-in Protocol Mappers and create a new Protocol Mapper.
In the Client menu, click the Mappers tab.
In the same client setting section, move on to Mapper click on Add Builtin. Include the built-in email, givenName and surname by enabling the checkbox next to them. The selected built in protocol Mapper attributes are now available under the Mappers tab. We got the three attributes only left with the username attribute.
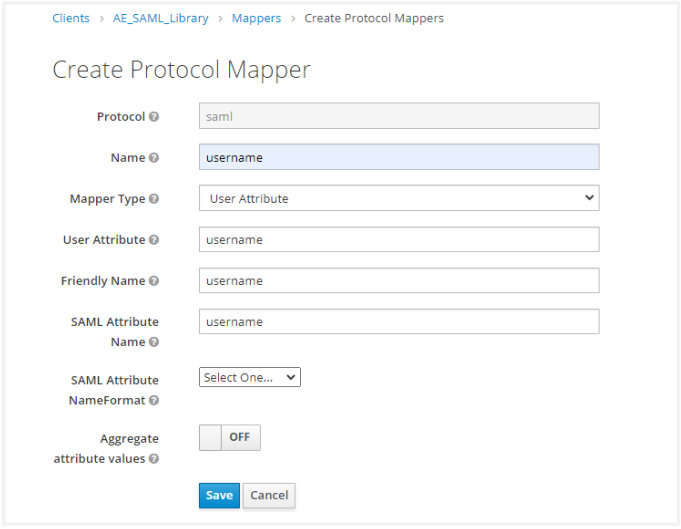
Click Create to open the Create Protocol Mapper for creating the username claim. Set the Name, User Attribute, Friendly Name, SAML Attribute Name as username and Mapper Type to User Attribute. Next, click Save.
 Note:
Note:SAML Attribute name for all mappings must match username, firstName, lastName, emailAddress.
-
Create a new hardcoded attribute mapping for orgCode as shown in the following screenshot:
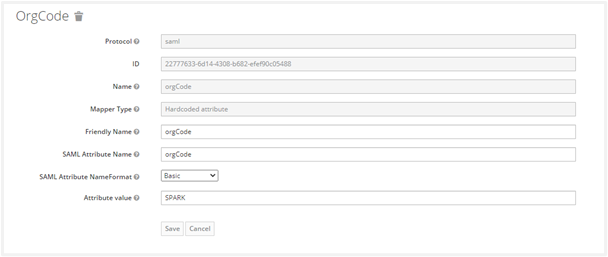
The Attribute value must be organization code of AE tenant. It creates the Client Protocol Mapper for username claim successfully.
The Protocol Mappers (claims) for the Client is now as follows:

Add User
If the user is not in the realm, complete the following steps to view and add new users:
-
Navigate to the Users menu in the left navigation pane.
-
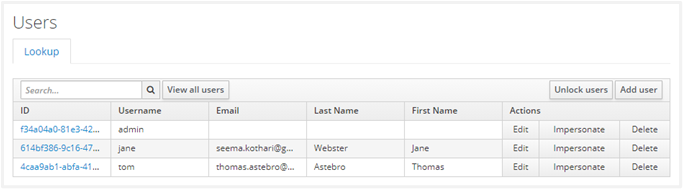
Click on View all users.

-
Following is the current list of users:
-
Click Add User to create a new user and specify the First Name, Last Name and Email. Configure User details. Click Save.
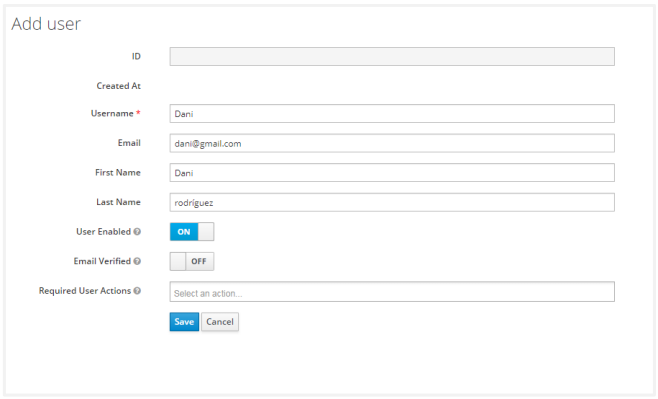
Upon saving, it creates a user and generates an ID with a success message. To set user credentials, go to the Credentials tab and choose a password. Turn off the Reset Password- “Temporary” flag unless you want the user to change the password on the first login.

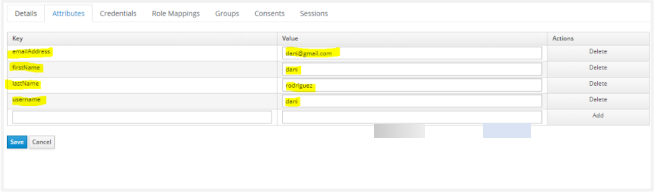
Now we will set the Protocol Mapper user attributes provided in the table below for this user.
Key Value username {{username}}firstName {{firstname}}lastName {{lastname}}emailAddress {{email}}Click Attributes tab to add the following four attributes for the user. Provide the actual values in the Value field.
 Note:
Note:It is mandatory to specify actual values for the first three attributes: uniqueId, firstName, and lastName.
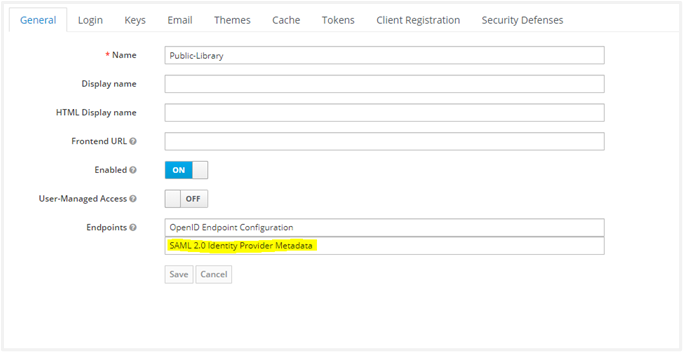
In Keycloak, you can check for descriptor.xml in the realm setting as shown in the following screenshot:
-
Fetch parameters for AutomationEdge SSO Settings: Next, we wish to fetch the Client ID, Redirect URLs. Click on the Clients link in the left Navigation menu. Click on the Client link in the list (in this case, AE_SAML_Library). Get the Client ID.
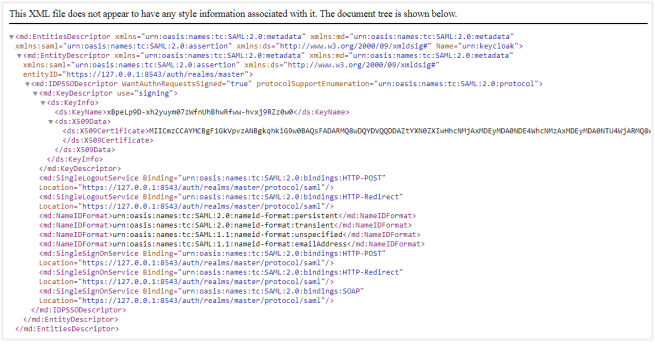
Get the Valid Redirect URLs by scrolling further down. Navigate to the Realm Settings. Click on SAML 2.0 Identity Provider Metadata.
An XML file opens. Save the information in a descriptor.xml file.
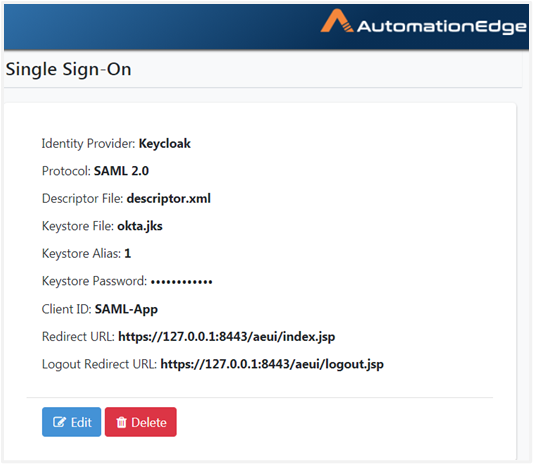
Thus, we have seen how to get Identity Provider descriptor file, Keystore Alias, Keystore Password, Client ID and Redirect URL required for SSO Settings in AutomationEdge.
On AutomationEdge UI, you can now complete configurations under Settings -> Single Sign-On.
The Single Sign-On Settings on AutomationEdge are visible as follows:
 Note:
Note:To generate Self Signed or CA Certificate, see Keystore and Certificate Generation.
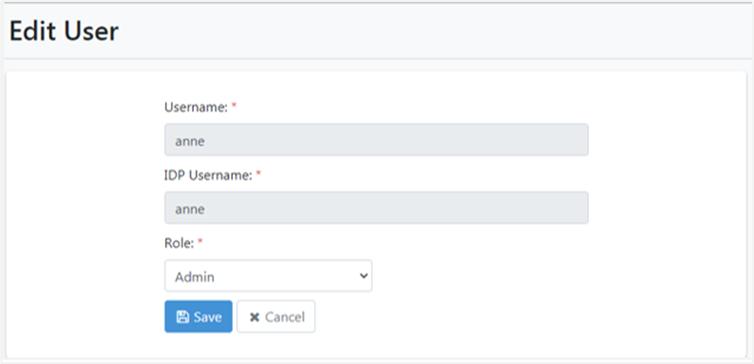
Create an SSO user in AutomationEdge UI. Map the username to a unique IDP user.
AE initiated SSO
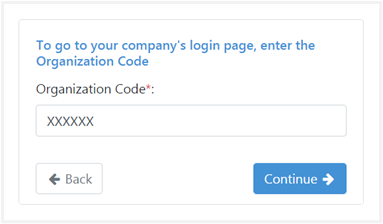
Now Sign in with the SSO link on AutomationEdge UI. Provide the Organization Code.
The first time you log in with SSO, it redirects you to the Keycloak login page (Make sure you log in with the correct user).
If you are already logged in with another user, you need to log out and log in with this user.
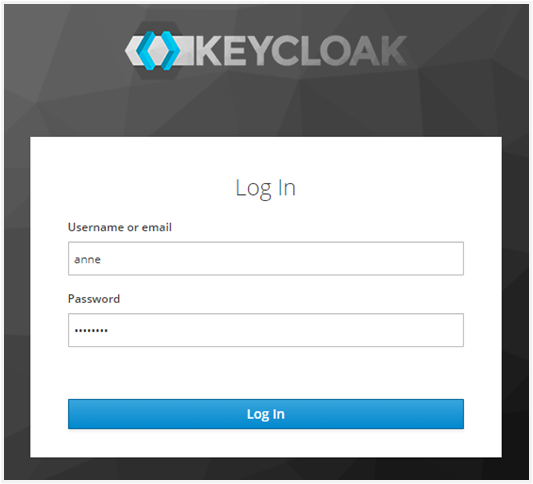
You logged in to AutomationEdge. Note that the user logged in is the same as the uniqueId of the IDP (Keycloak) user ‘tom’.
The process of configuring Keycloak and AutomationEdge for SSO using OpenID Connect protocol for Web applications is complete.