Plugins
System Administrator manages plugins. Admin has view-only access to plugins except the option to set plugin properties.
Known issue: Plugins are not syncing in the Process Studio due to time difference between the Process Studio and AE server.
The following screenshot shows the list of plugins current available in the system.
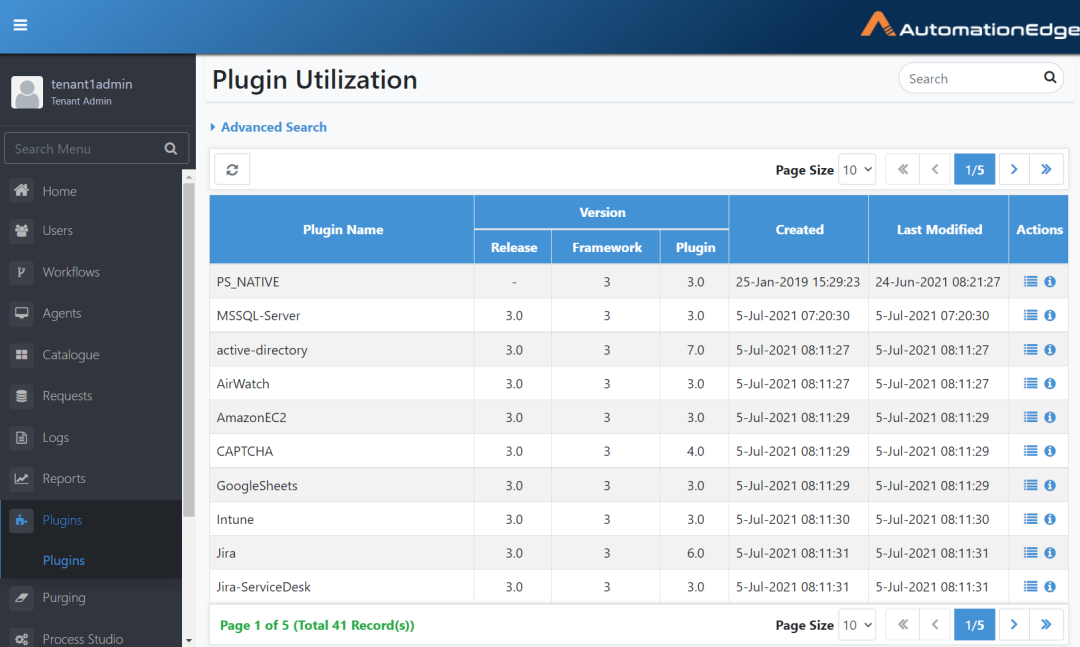
Figure 15.1: Plugins View
The table below describes the columns,
Table 15.1: Plugin Details
| Field Name | Description | |
|---|---|---|
| Plugin Name | Displays the name of the plugin | |
| Version: | ||
| Release | Displays the AutomationEdge Plugin Release version. | |
| Framework | Displays the Process Studio Framework version on which of the plugin | |
| Plugin | Displays the plugin version | |
| Created | Displays the date of plugin creation | |
| Last Modified | Displays the date the plugin was last modified. | |
| Actions: | ||
| Plugin Steps ( | Click to display the list of steps in the Plugin. | |
| Plugin Utilization | Click to display the list of workflows with this plugin utilization. | |
| ( | ||
| Configure Properties | Click to display the list of configurable plugin properties; at the Tenant level or Agent level. | |
| ( | ||
| A Admin can configure properties at both Tenant level and Agent level. | ||
| An Agent Administrator can configure properties only at the Agent level. | ||
| Note: Configure Properties icon is only on some Plugins that require configurations. |
Plugin Steps
Click on any Plugin Steps icon
(![]() ) in the Actions column to see its steps.
) in the Actions column to see its steps.
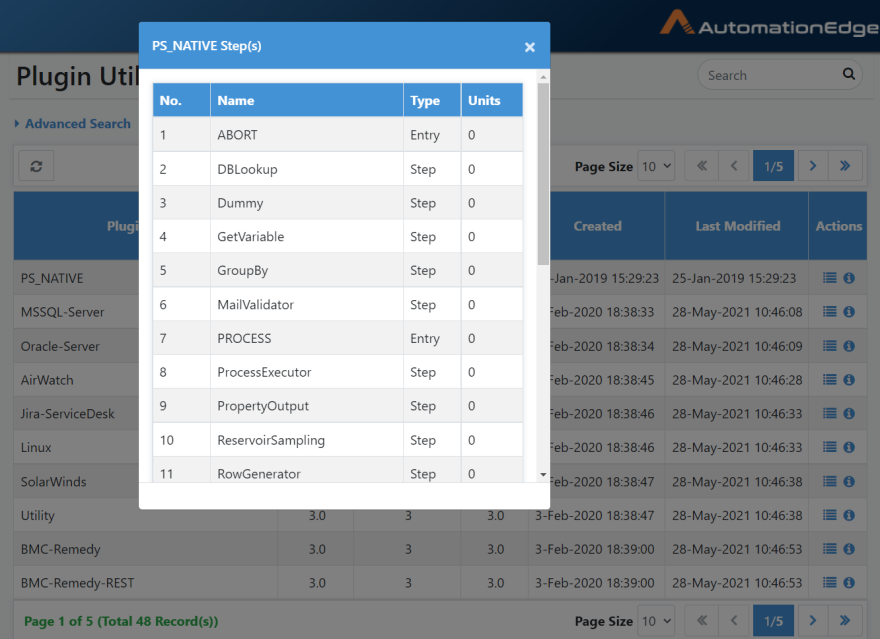
Figure 15.2: Plugins Steps
Plugin Utilization
Click the Plugin Utilization icon
(![]() ) in the Actions column next to the OOTB plugin. It
shows the OOTB Plugin Step Units utilization in workflows. In the
screenshot below plugin, utilization is seen in two workflows as marked
below.
) in the Actions column next to the OOTB plugin. It
shows the OOTB Plugin Step Units utilization in workflows. In the
screenshot below plugin, utilization is seen in two workflows as marked
below.
Note: These step units add up as consumption of License Step Units.
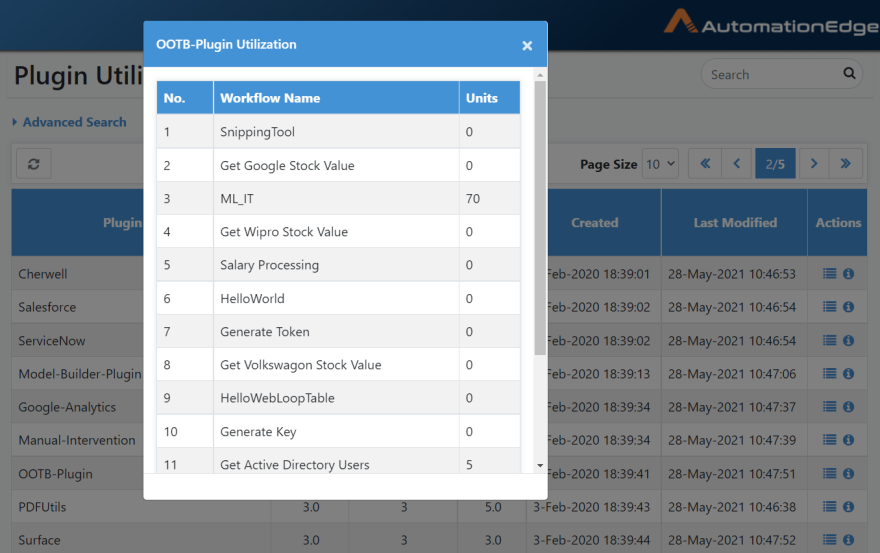
Figure 15.3: OOTB-plugin utilization in workflows
Plugin Properties Configuration
Some plugins have the Configure Properties option
(![]() ). Following are the steps to configure plugin
properties.
). Following are the steps to configure plugin
properties.
- Notice the plugin DesktopPlugins in the following snapshot. Next to the Actions icon, there is a gear icon to Configure properties.
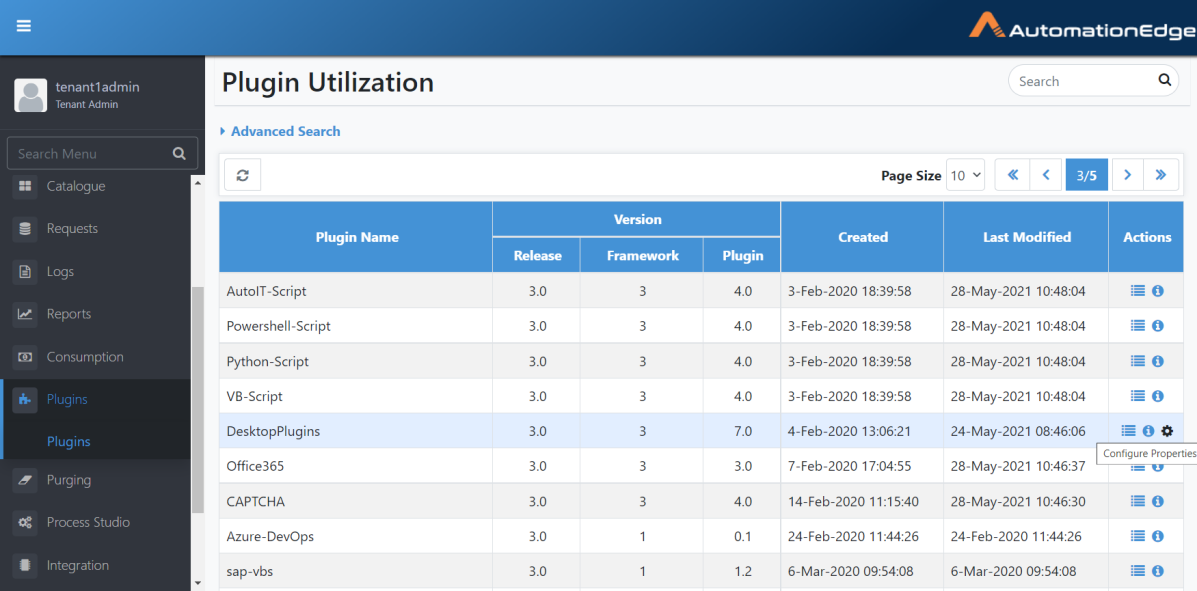
Figure 15.4: Configure plugin properties gear icon
-
Click the gear icon to configure properties. The DesktopPlugins Properties Configuration pop-up appears. As you can see, there is one property Desktop Runtime Port, configurable at the Tenant Level. This property configuration will be applicable for all Agents of that Tenant.
-
Click Edit to set a Property Value at Tenant Level. Set Desktop Runtime Port value at Tenant level as shown below. Confirm the value by clicking the tick mark under Actions.
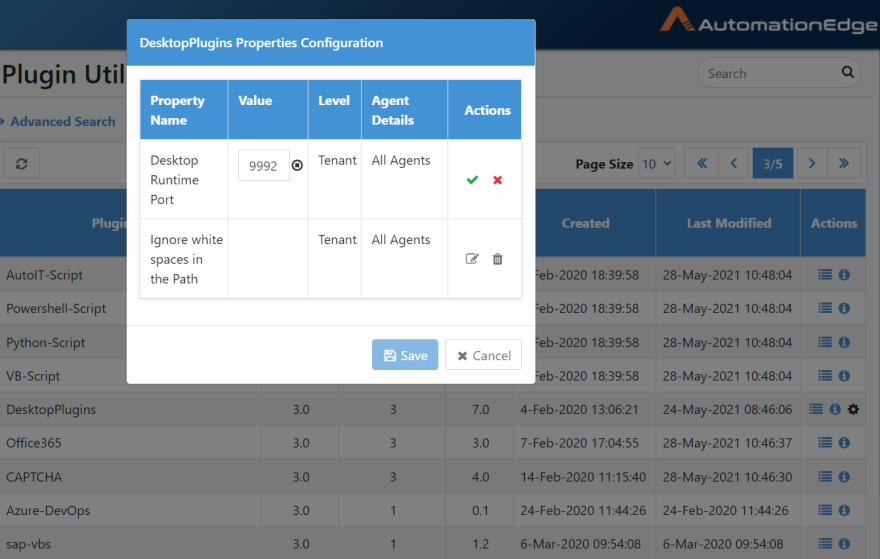
Figure 15.5: Configure plugin properties with the gear icon
Set Ignore White Spaces in the Path value at Tenant level as shown below. The possible values are true/false. Confirm the value by clicking the tick mark under Actions.
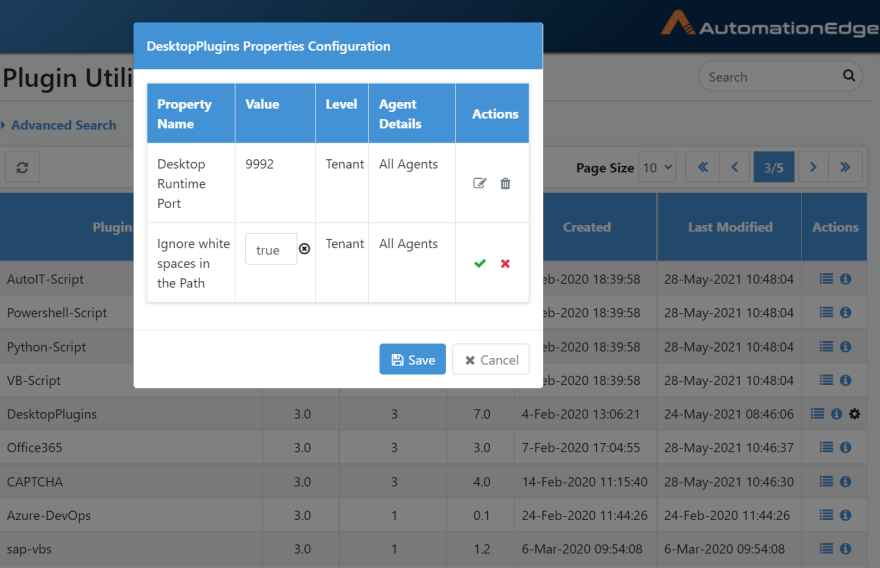
Figure 15.6: Desktop Runtime port at Tenant Level
-
Click Save to make the Desktop Runtime Port and Ignore White Spaces in Path at Tenant Level Permanent. Property Values updated for selected Plugin success message appears.
-
Click Add Property Value to Add the Desktop Runtime Port/Ignore White Spaces in Path at the Agent level.

Figure 15.7: Add Plugin Property
- For different values set at Tenant level and Agent level, the value at Agent level takes effect. For the newly added Desktop Runtime Port, select an Agent from the drop-down list. Confirm Desktop Runtime Property by clicking the tick mark.
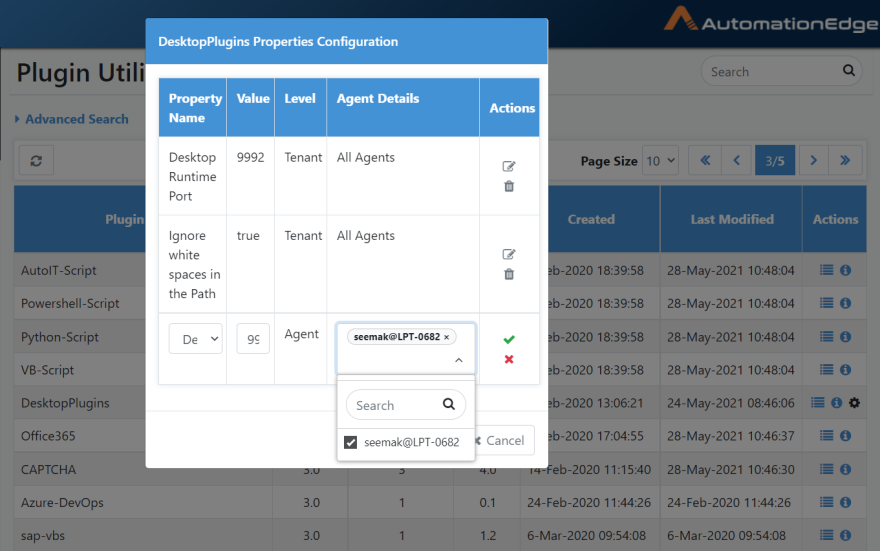
Figure 15.8: Select Agent to configure property at Agent level
- Click Save to save the properties; else, Cancel to discard them.
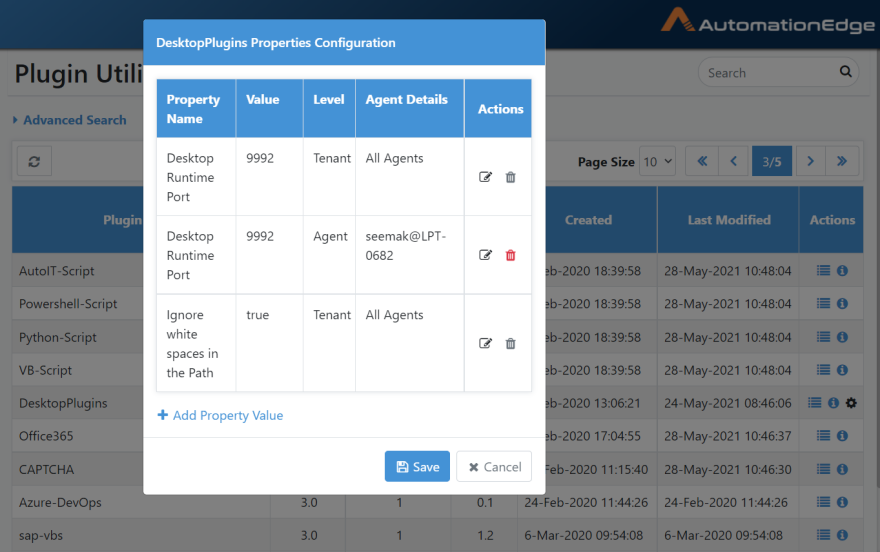
Figure 15.9: Save plugin property
- Upon Save, Property Values updated for selected Plugin message appears.
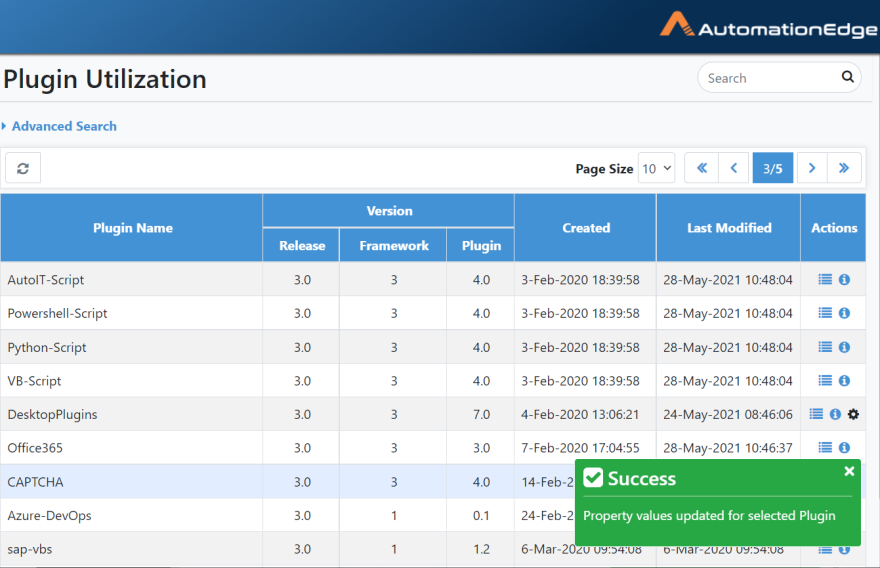
Figure 15.10: Plugin property values updated success message