Getting Started
Login
To log on to the AutomationEdge:
-
Go to the AutomationEdge URL.
-
The login page is displayed. It has two options to Sign In with an AutomationEdge user or Sign In with SSO.
Sign In with AutomationEdge User
Provide user credentials as seen below,
- To log in with the AutomationEdge user, enter the Username and Password (Figure 1).
The Password should be alphanumeric. It should be a combination of lowercase letters, uppercase letters, numerals, and special characters. The minimum password length recommended is about six characters.
- Click Login.
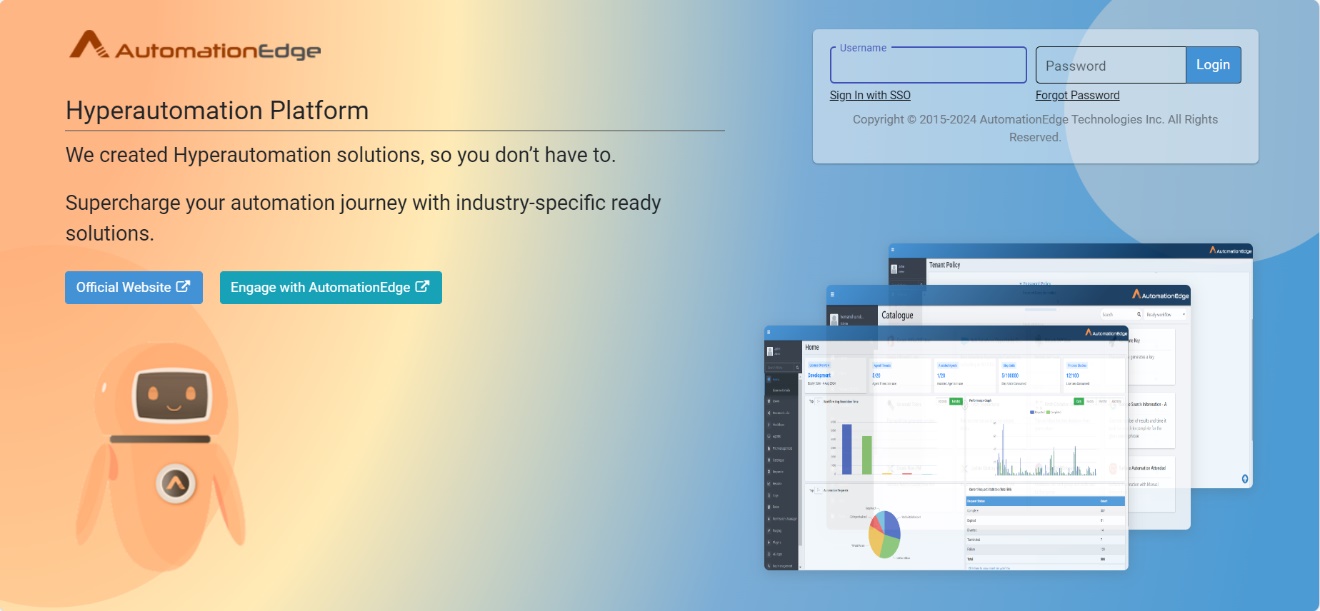 Figure 3.1: Login page
Note: If the captcha property is enabled, that is set to true in the aeui-config.properties file, then the captcha text appears on the login and forgot password pages. The user must enter the text to sign in to AE.
Sign In with SSO
Following are the steps for Single Sign-On with an AutomationEdge SSO user linked to an Identity Provider user.
-
Click on the Sign In with SSO link below the Sign In button.
-
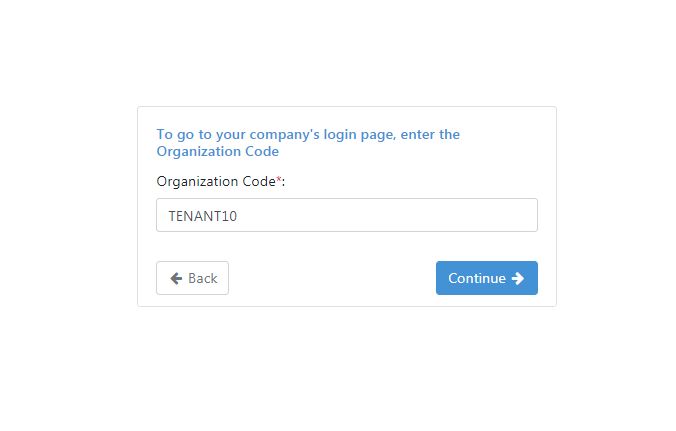
A screen to enter the Organization Code appears. Every Organization/Tenant can have one unique AutomationEdge SSO user linked to a particular Identity Provider user.
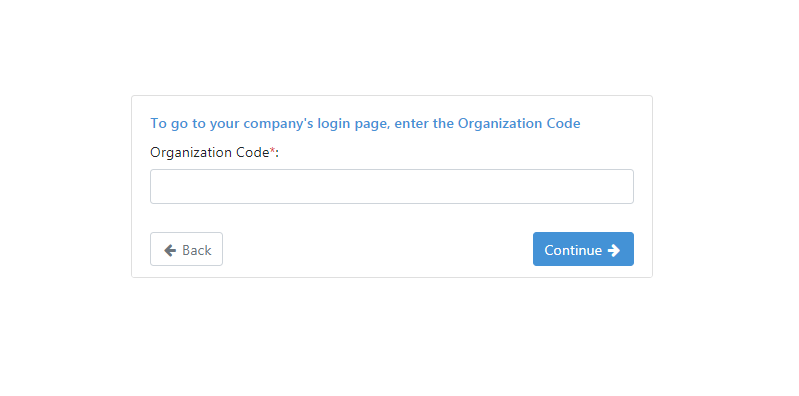
Figure 3.2: Provide Organization code for SSO user
-
Provide the Organization Code (Tenant) of the AutomationEdge SSO user and click Continue.
-
In case you provide an invalid organization code it gives an error: Single Sign-On is not configured for this client.
-
Provide a valid Organization/Tenant Code that has SSO user configured for the desired Identity Provider user.
Figure 3.3: Valid Organization code with SSO user
-
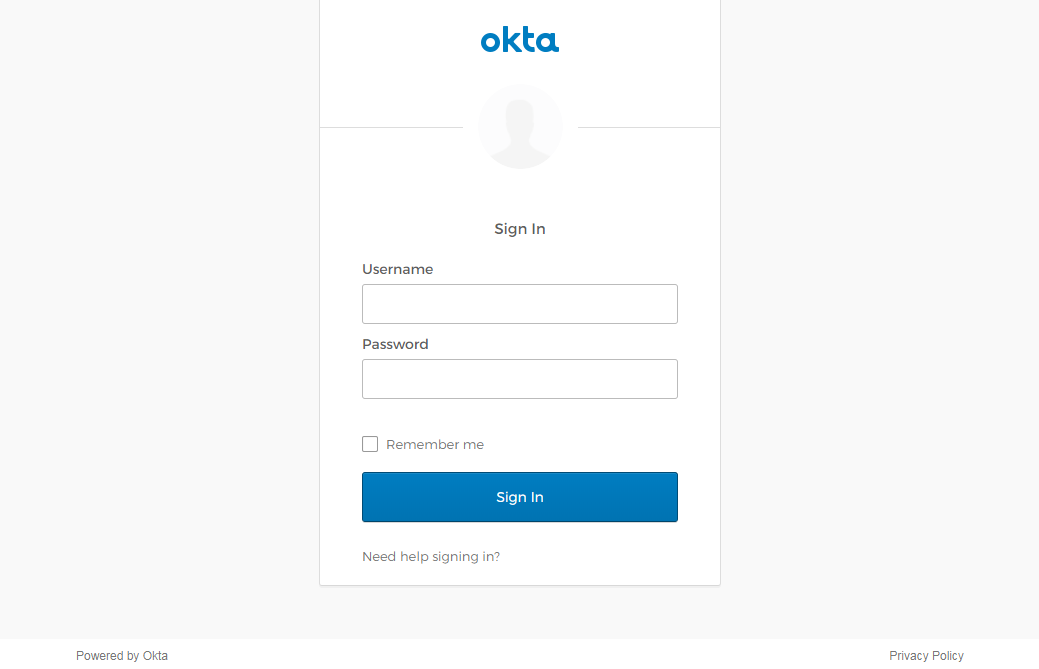
The Identity Provider login page depending on the configurations under Settings🡪Single Sign-On.
-
In this case, the Okta Identity Provider login page dispalys. AutomationEdge also supports SSO with other Identity Providers like Keycloak and ADFS.
Figure 3.4: Identity Provider Login
-
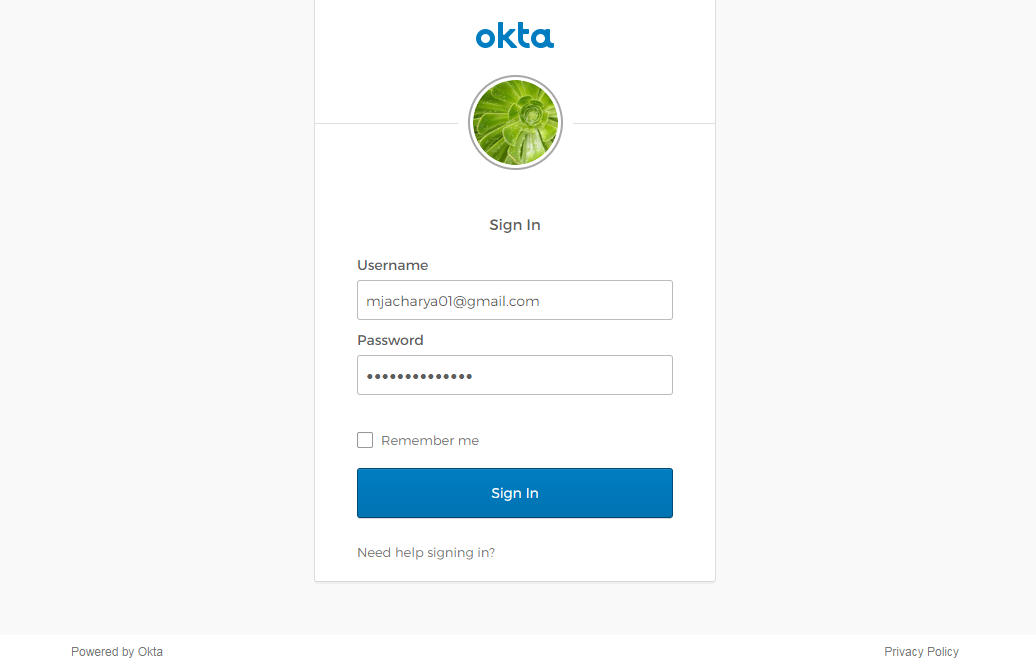
Provide an Okta Username and Password linked to the AutomationEdge SSO user.
-
Click Sign In.
Figure 3.5: Identity Provider Login Credentials
-
It takes you to the AutomationEdge home Page. Your login with
-
The login user is the AutomationEdge SSO user configured with this Identity Provider.
-
The discussion of Service Provider (e.g. AutomationEdge) initiated Sign In with Single Sign-On is complete.
Concurrent Login
AutomationEdge users can log in concurrently and have multiple active sessions. However, some organizations/tenants may want to prevent concurrent login of users. Hence, concurrent login of user feature is configurable. Refer to 'AutomationEdge Installation Guide' on how to configure Concurrent Login options. Following are the possible options,
- Multiple Sessions Allowed
It is the default option. With this option, users can log in concurrently and have multiple active sessions simultaneously.
- Disallow New Session
A second user login is not allowed if the user's session is already in progress. If the user's session is active and tries to log in again, an error message is displayed.
- Invalidate Old Session
With this option, if a user already has an active session and tries to log in again, the old active session is logged out. The user's new login is successful, and it creates a new session.
User Icon
A user icon along with a username is visible on the top left corner of the expanded menu. On clicking the user icon, you can view the last login time and other options as seen in the screenshot below and listed in the following sections.
Figure 3.6: User Icon
Preferences
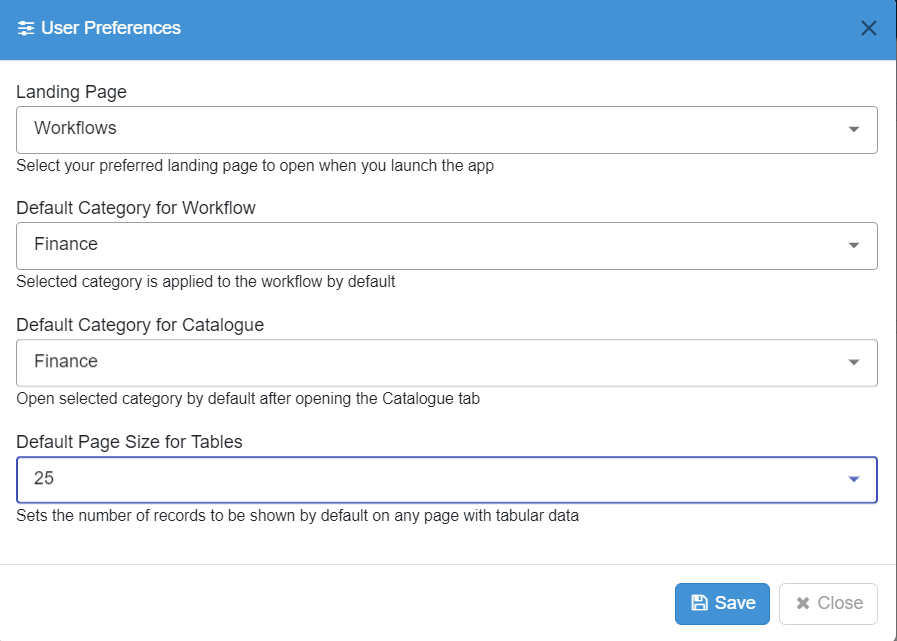
User preferences help create personalized, efficient, and user-friendly experiences with respect to select settings in AutomationEdge UI. User Preference will be different according to the user role. For example Activity Monitor role will have user preferences as follows:
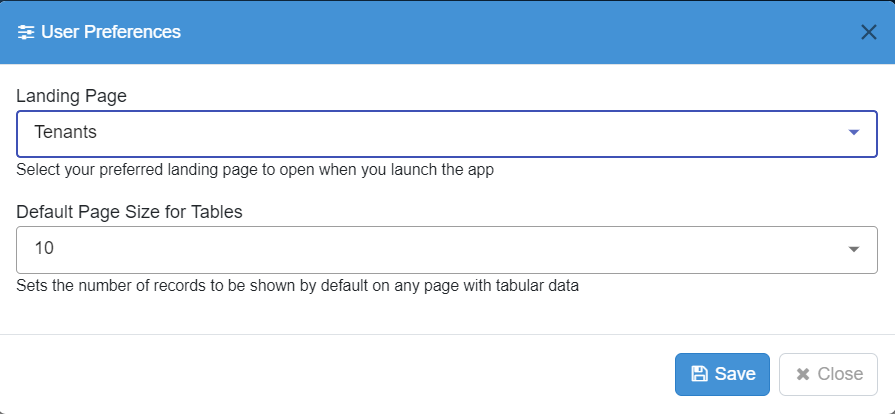
Figure 3.7: User Preferences for Activity Monitor
- Click user icon. List for user settings appears.
- Click Preferences. User preferences dialogue appears.
View Profile
On clicking View Profile, you can see user details, as seen below.
As a Admin, you can modify the email address, if required.
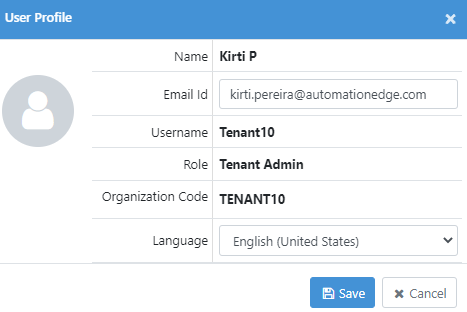
Figure 3.7: User Profile
About
Click the About link to see the About pop-up. It shows the released version details.
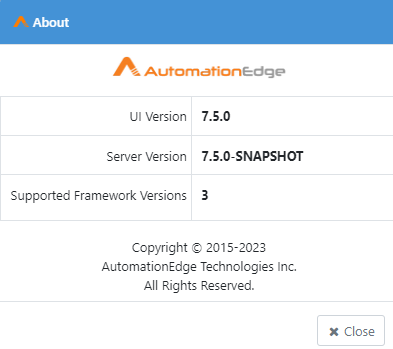
Figure 3.8: About AutomationEdge
Change Password
The user is requested to change the password on the first login if "Force Change Password" is enabled during user creation or update.
To reset the password:
-
Click the User Icon on the bottom left corner of the Home screen (Figure 2a).
-
Select Change Password.
(Admin, Workflow Administrator, User Administrator Agent Administrator & Tenant User)
-
Enter the Old Password.
-
Enter the New Password. Re-enter the new password in Confirm Password field.
-
Click the change button. It resets your password.
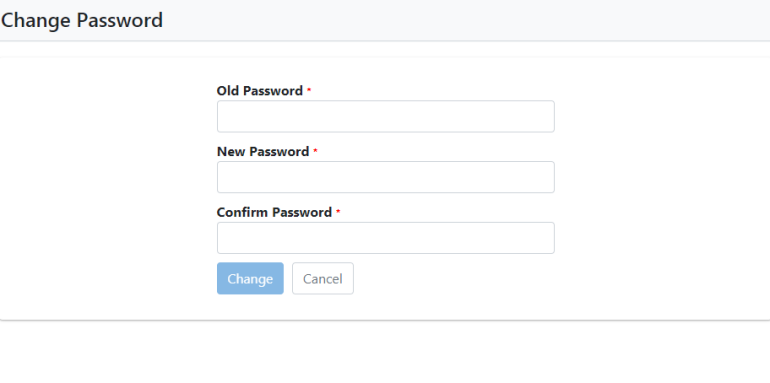
Figure 3.9: Resetting Password
-
Password is updated successfully, and you go to the home page.
-
In case you provide an incorrect current password, you get an Incorrect old password error.
-
If you provide the same password as our old password, you get an error that the password cannot be the same as the old password.
-
If you provide a password, same as a previous password, it gives an error that the password cannot be the same as the previous password depending on the Password Policy.
Product Tour
In the menu, click Product Tour to have a quick and informed walkthrough of the AutomationEdge UI and its features.
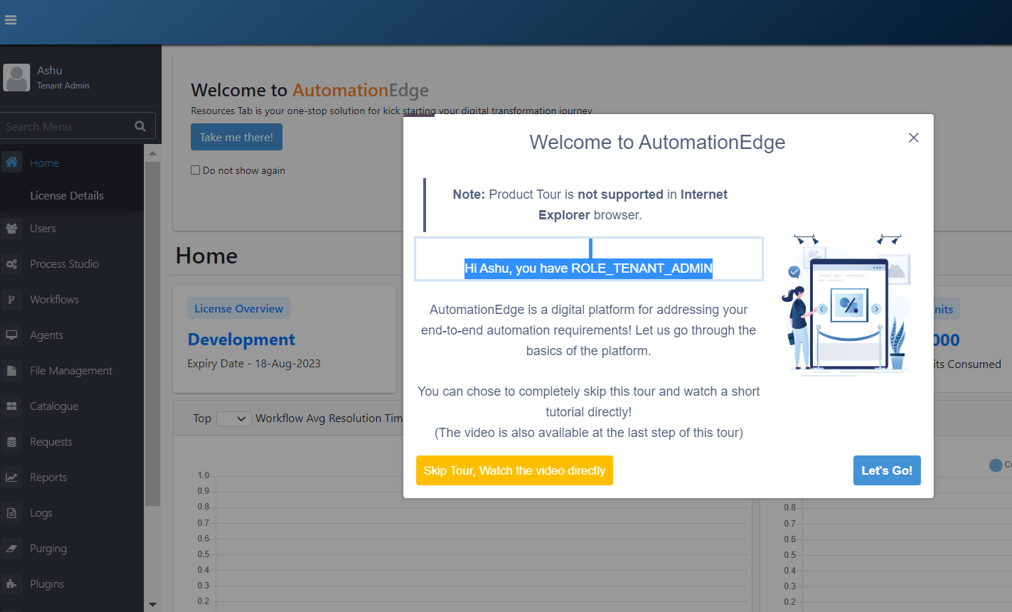
Figure 3.10: Product Tour
The Product Tour option is available only for the Tenant Admin.
Set Tenant Logo (Branding)
You can have your branding by setting a logo at the Tenant level. The logo appears on the top left corner on AutomationEdge UI.
Following are the steps to Set Tenant Logo.
-
Click the User icon at the top left corner.
-
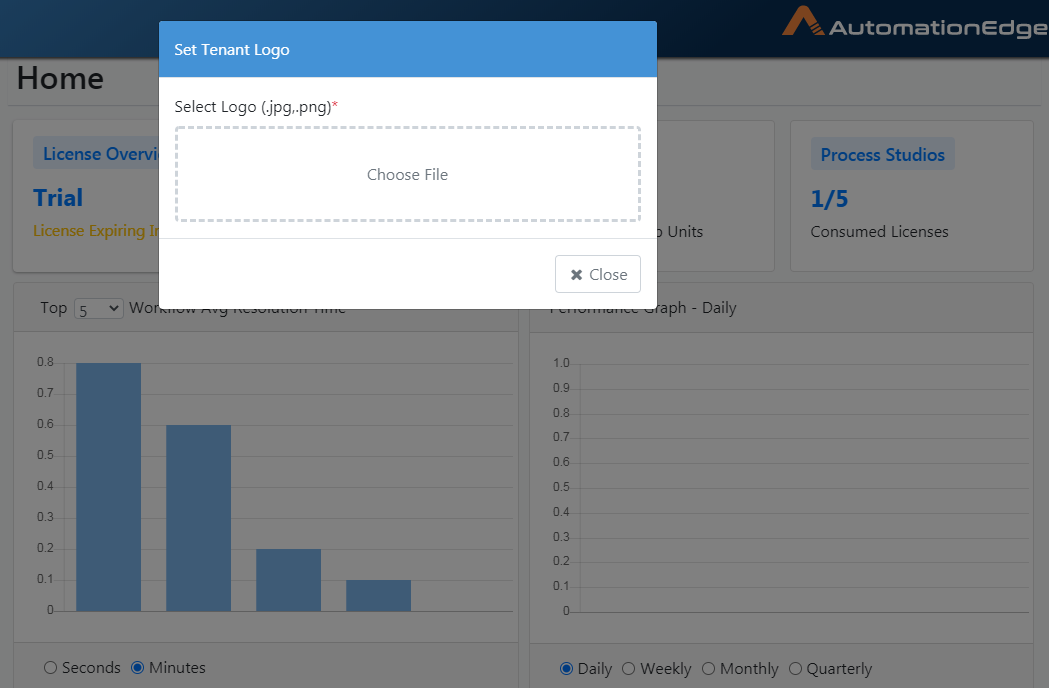
The Tenant Admin pop-up appears; click Set Tenant Logo from the pop-up.
-
Browse for a logo in .jpg or .png formats.
Figure 3.11: Choose a logo image file
- Select a logo as seen below and maximize the coverage area as desired. Click Save.
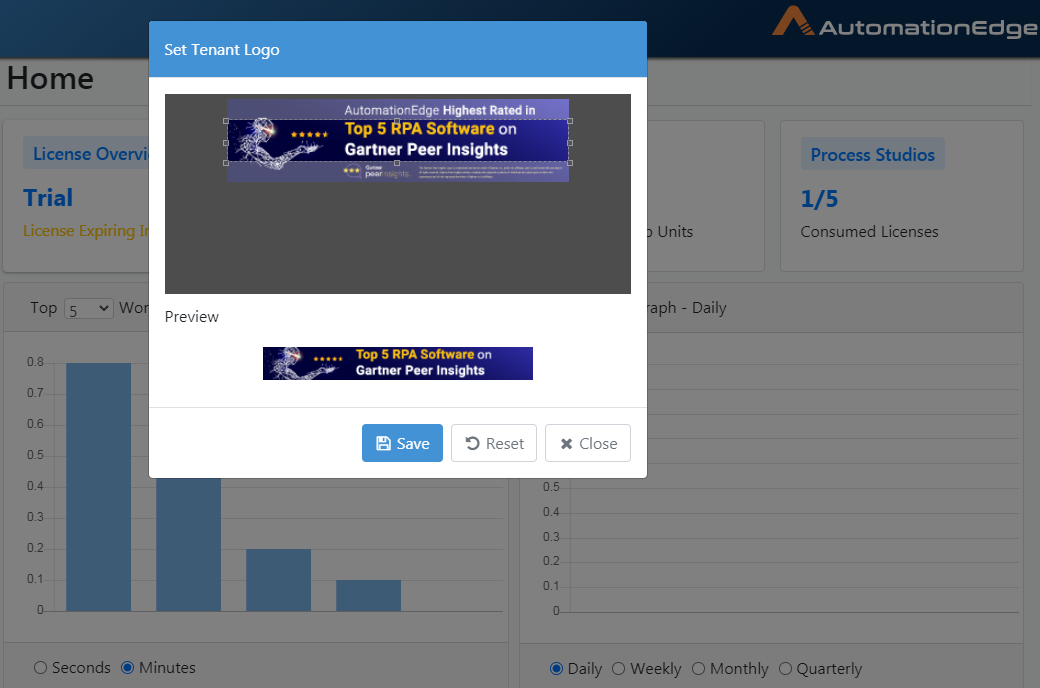
Figure 3.12: Save the logo
-
Logo uploaded successfully message is displayed.
-
The newly uploaded logo is visible in the top left corner.
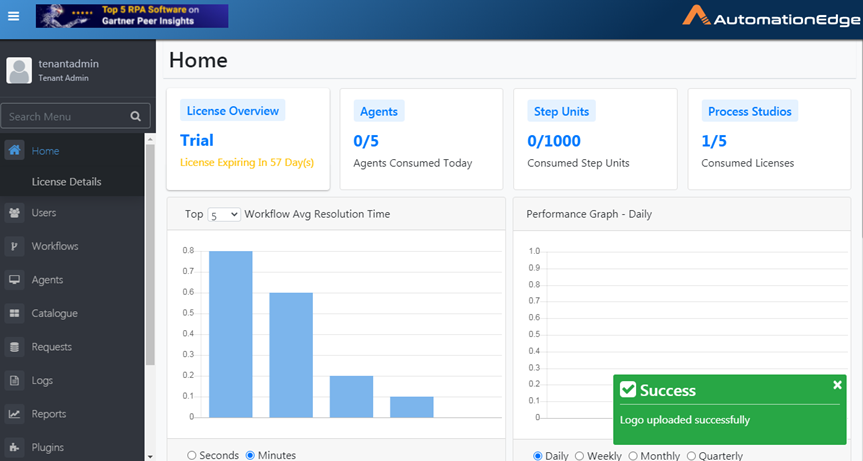
Figure 3.13: Logo updated successfully
Remove Tenant Logo
Following are the steps to remove the Tenant logo,
-
Click on User Icon on the bottom left corner. The pop-up has an additional link. Remove Tenant logo.
-
Click on the Remove Tenant logo to remove the logo.
-
Removing the logo gives a Logo updated successfully message.
Sign Out
To sign out from AutomationEdge, users can,
-
Click the user icon on the bottom of the menu.
-
Click Sign Out.
