Salesforce: Generate Token
Procedure to create Client ID/Consumer Key & Client Secret/ Consumer Secret
- Go to your Salesforce site and log in.
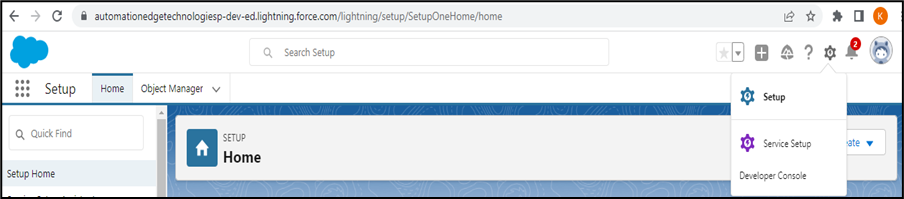
- Click on the Gear icon in the top right corner>> Select Setup.
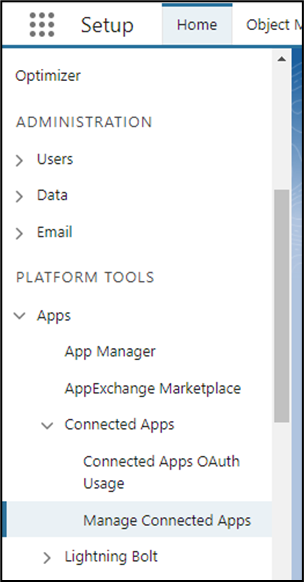
- In Platform tools>> Select Apps>>App Manager.
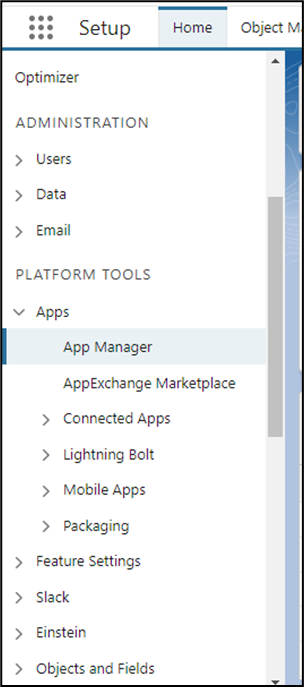
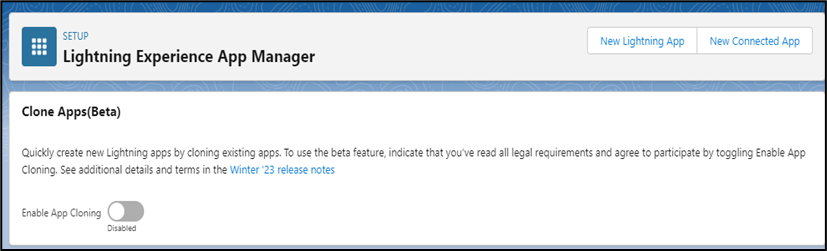
- Click on New Connected App.
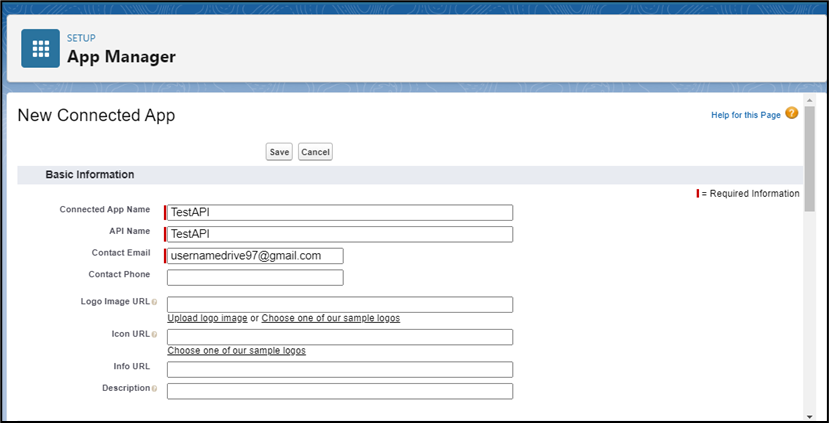
- On the New Connected App page, fill in the following required fields under Basic Information: • Connected App Name. For example, TestAPI. • API name. For example, TestAPI. • Valid Contact Email.
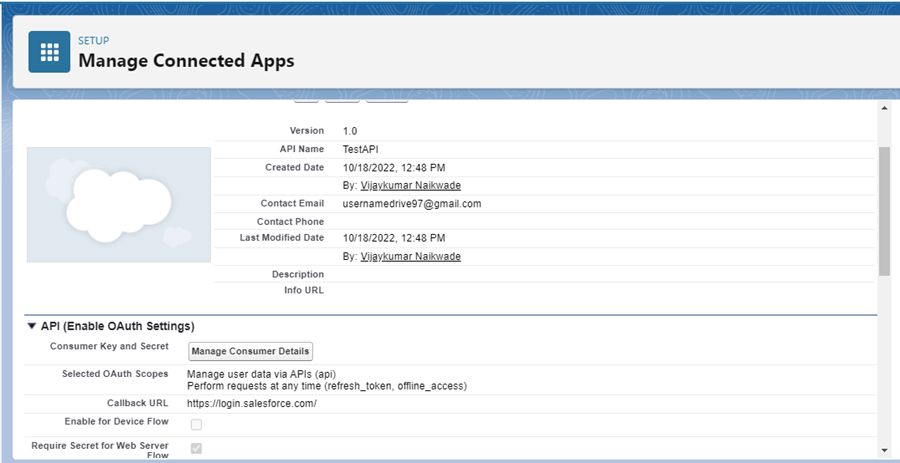
- Scroll down to API (Enable OAuth Settings), and select Enable OAuth Settings.
- In the Callback URL field, enter https://login.salesforce.com/.
- In the Selected OAuth Scopes field, select valid scopes as given in the screenshot, and then click Add.
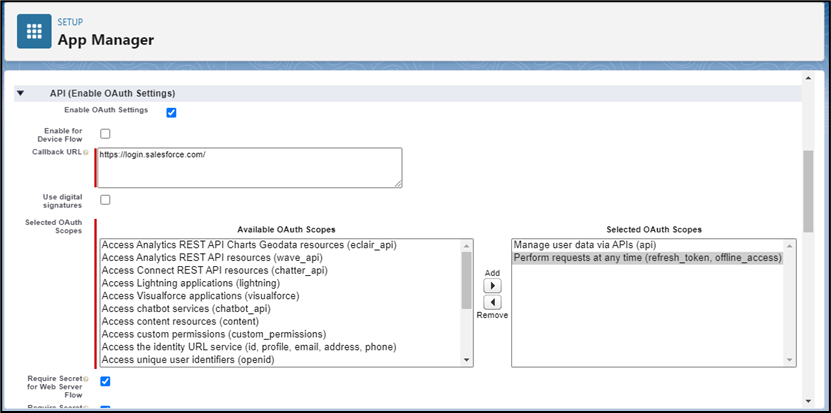
a. The callback URL can be any valid URL, as shown in the screenshot. Note that Salesforce works only with the HTTPS protocol for all URLs, except localhost. b. To get the Refresh Token, give Auth Scope (permission) Perform requests at any time(refresh_token, offline_access) from the Salesforce instance. c. To get access to the Salesforce API, give Manage user data via APIs(API) permission.
- Click the Save button to save the new Connected App.
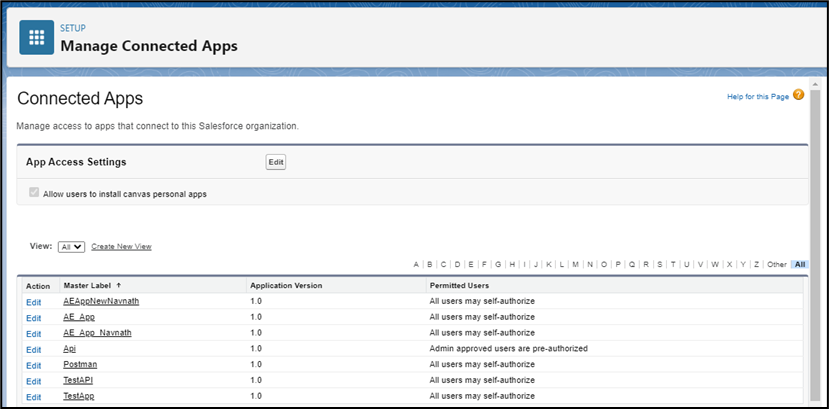
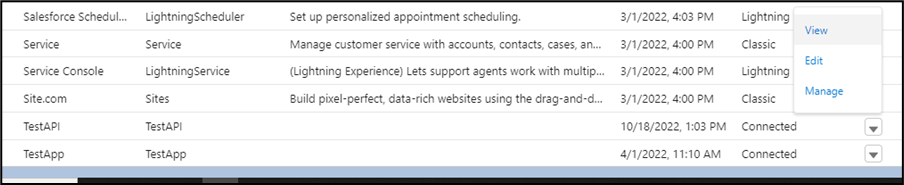
- In Platform tools>> Select Connected Apps>>Managed Connected Apps.
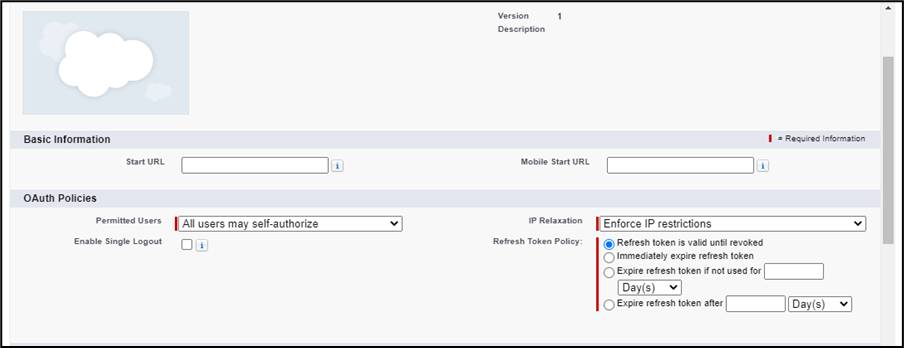
- In the Connected Apps list, find the App that you just created, and then click Manage. a. On the page that opens, click the Edit button.
b. Under OAuth policies, select All users may self-authorize in the Permitted Users list, and then click the Save button.
- Go back to the Connected Apps list in App manager, click the App that you just created, and in the dropdown menu select View.
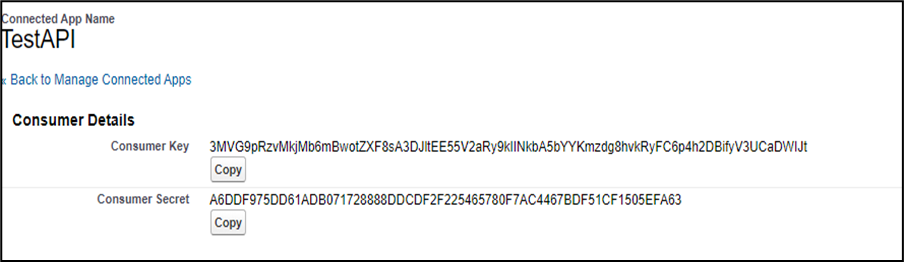
- Go to API (Enable OAuth Settings), Click the Manage Consumer details button, and note down the Client ID/Consumer Key and Client Secret/Consumer Secret.
Procedure to create Refresh Token
- Request an Authorization Code a. The authorization code is made in the form of an HTTP redirect, such as the following request.
https://{{DomainName}}.my.salesforce.com/services/oauth2/authorize?client_id={{clientID}}&redirect_uri={{callbackURL}}&response_type=code
• DomainName – The instance name of your Salesforce instance. • client_id - The consumer key of the connected app. • redirect_uri - The URL where users are redirected after successful authentication. The redirect URI must match one of the values in the connected app’s Callback URL field. Otherwise, the approval fails. • response_type - The value for this flow must be “code” to indicate that the connected app is requesting an authorization code.
b. Now go to your desired browser and search this URL after replacing it with your app’s client id/consumer key and Redirect URI. c. Before Salesforce provides authorization codes to connected apps, the authenticating users are asked to log in to Salesforce. Provide a valid username and password.
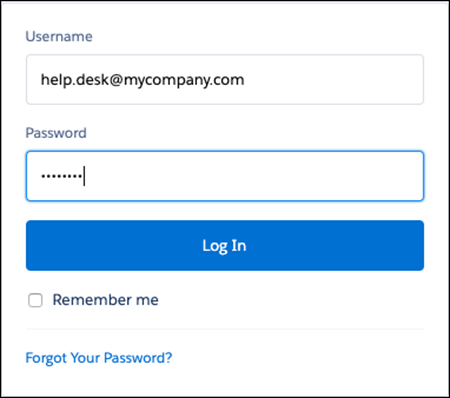
d. After a successful login, Salesforce redirects users to the approval page to grant access to the app.
- Salesforce Grants Authorization Code
After users approve access to a connected app, Salesforce redirects users to the call back URL, where they can view the call back with an authorization code.

https://login.salesforce.com/?code=aPrx0jWjRo8KRXuAzFrwZnnxHq9GdqyFmDttQJMANnGVcTTVyJZgC1Y5CQbJFtZgPegjZvl5pg%3D%3D
• The first part of the call back is the connected app’s call back URL: https://login.salesforce.com
• The second part is the authorization code that the connected app uses to get an access token: code= aPrx0jWjRo8KRXuAzFrwZnnxHq9GdqyFmDttQJMANnGVcTTVyJZgC1Y5CQbJFtZgPegjZvl5pg==.
• The “%3D%3D” in the code should be replaced by “==” or else the code will not work. • The authorization code expires after 15 minutes.
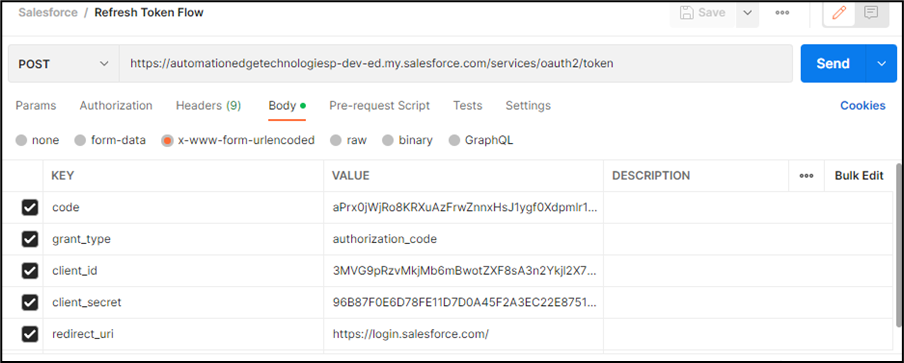
- Request a Refresh Token a. Open Postman to generate the refresh token. b. Make the following request:
POST:
https://{{DomainName}}.my.salesforce.com/services/oauth2/token
Body: x-www-form-urlencoded (key value pair)
code:{{codeFromURL}} – Check point 2.
client_id:{{clientID}}
client_secret:{{clientSecret}}
redirect_uri:{{redirectURI/CallbackURL}}
grant_type:authorization_code
• DomainName – The instance name of your Salesforce instance. • code – The value got from requesting an authorization code. ��• client_id - The consumer key of the connected app. • client_secret - The consumer secret of the connected app. • redirect_uri - The URL where users are redirected after successful authentication. The redirect URI must match one of the values in the connected app’s Callback URL field. Otherwise, the approval fails. • grant_type - The value for this flow must be “authorization_code”.
Request:
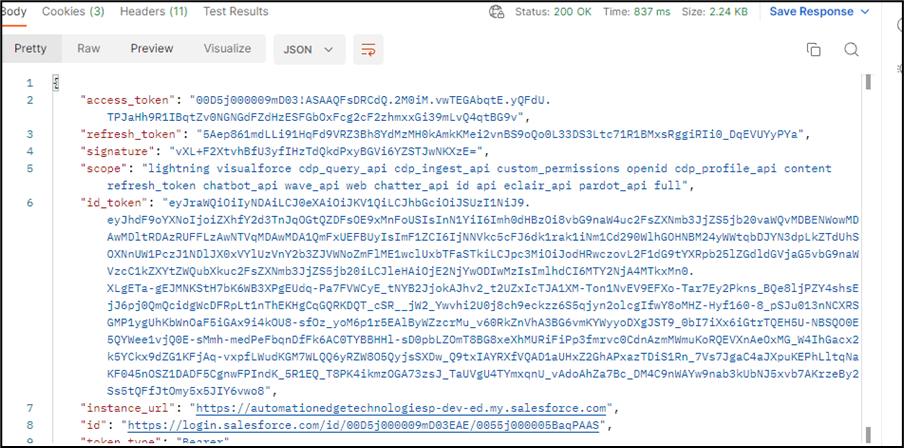
Response:
- Reference Links
• Create Connected Apps https://docs.microfocus.com/UCMDB/11.0/cp-docs/docs/eng/doc_lib/Content/Remedyforce_CreateConnectedApps.htm
• Token Generation https://help.salesforce.com/s/articleView?id=sf.remoteaccess_oauth_web_server_flow.htm&type=5