Work with Roles
In AE, there are two types of roles that you can work with, System Defined Roles and User Defined Roles.
-
System Defined Roles, as the name indicates, are default roles provided by AutomationEdge. For details, see System Defined Roles.
-
User Defined Roles, as the name indicates, are custom roles, created by tenant users. The tenants can create multiple custom roles, and assign permissions as required. For details, see User Defined Roles.
In the chapter, you’ll learn about the system defined and user defined roles.
The chapter consists of the following topics:
System Defined Roles
System defined roles are provided by AE and have predefined permissions. You cannot modify or delete the roles or the permissions assigned to the roles.
You can only view the permissions assigned to the roles. When you sign-in as a System Administrator, the following two roles are available:
-
License Administrator
The License Administrator manages the tenant licenses, fetches license history, and so on. -
System Administrator
The System Administrator is the super user, and manages the AE server across tenants. System Administrator handles all the global settings, tenant creation, and so on.
View role permissions
You can only view the permissions assigned to the system Administrator and License Administrator.
To view role permissions:
-
In the menu, go to Roles. The Roles page appears.
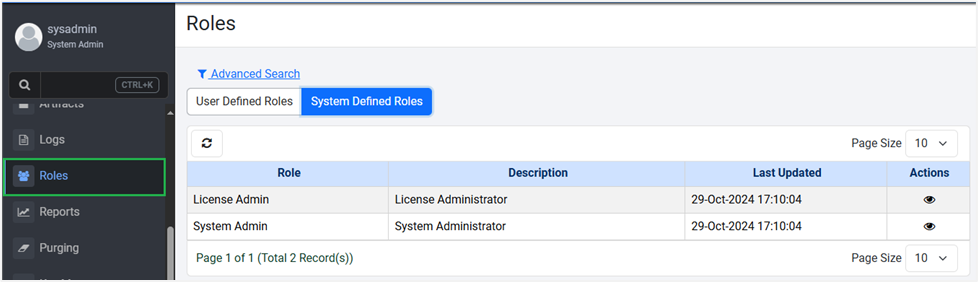
Figure 76: Roles page with User Defined Roles and System Defined Roles tabs
-
Click the System Defined Roles tab. The following details appear:
Field Name Description Roles Displays the system defined roles. The roles are:
• License Admin
• System AdminDescription Displays the description of the roles. Last Updated Displays the date and time the role details were updated. Last Updated Displays the date and time the role details were updated. Actions Click to view the role permissions. -
Click
 . The selected role’s permission details page appears. For example, if you select License Admin, the permission page appears as follows:
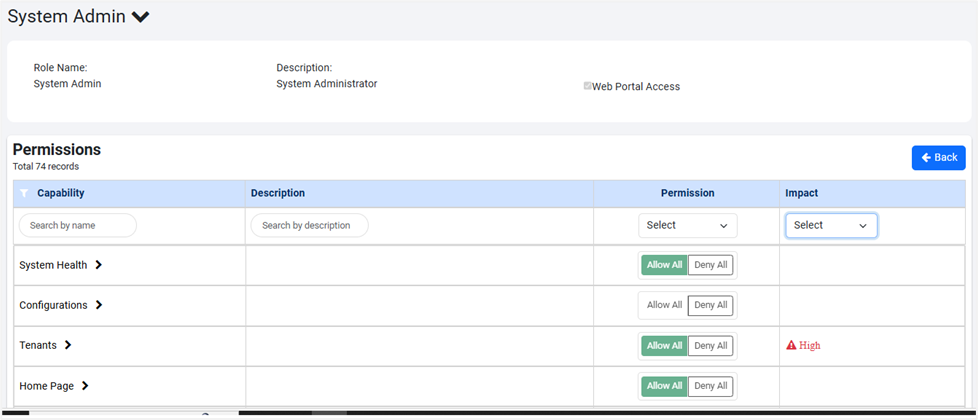
Figure 77: Roles page with User Defined Roles and System Defined Roles tabs
-
The role details page appears as follows:
Field Name Description Role Name Displays the name of the role. Description Displays the description of the role. Web Access Portal Displays the selected checkbox.
Note: If the checkbox is selected, then users can sign in to AEUI with both, API and UI access. Else, the user will have only API access to allowed modules.Permissions Capability Displays the name of capability that the role is assigned. Description Displays the description of the capability. Permission Displays the permission granted for a capability or sub-capability assigned to the role.
Permission values are: Allow or Deny.
Note:
To view the permission at the sub-capability level, click each capability:
- If each sub-capability has either Allow or Deny, then at the Capability level the permission is seen as, Allowed All or Deny All. For example,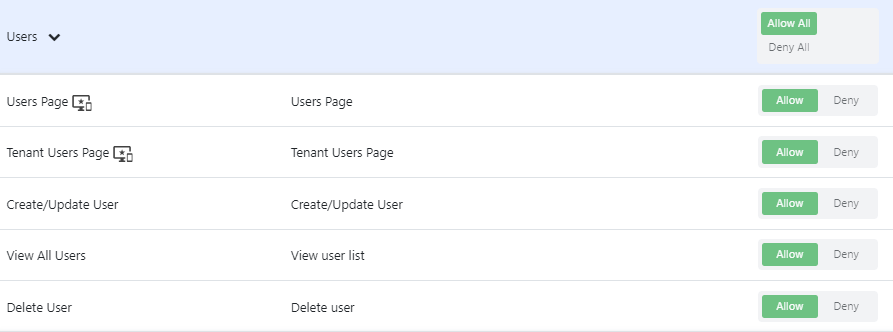
Figure 78: Roles page
- If the permission at sub-capability level is a mix of Allow and Deny, then neither Allow All nor Deny All is selected at the Capability level. For example,
Figure 79: Roles pageImpact Displays the impact of the assigned capability.
Impact values are: High or Medium.
- High: Permissions impacting the business highly. For example, permission to delete a tenant.
- Medium: Permissions impacting the business, but at the user level in a tenant. For example, permission to enable or disable the workflows.
You can search for a capability by providing the name of the capability or description. You can also filter the view based on permission and / or the impact.
User Defined Roles
You can create new roles. The roles can be based on the system defined roles, which will have same set of permissions. However, you can modify the permissions. Or, you can create a completely new role to which you can assign the required permissions.
To create new roles
-
In the menu,go to Roles. The Roles page appears.
 Figure 80: Roles page
 -
In the User Defined Roles tab, click New Role. The New Role page appears.
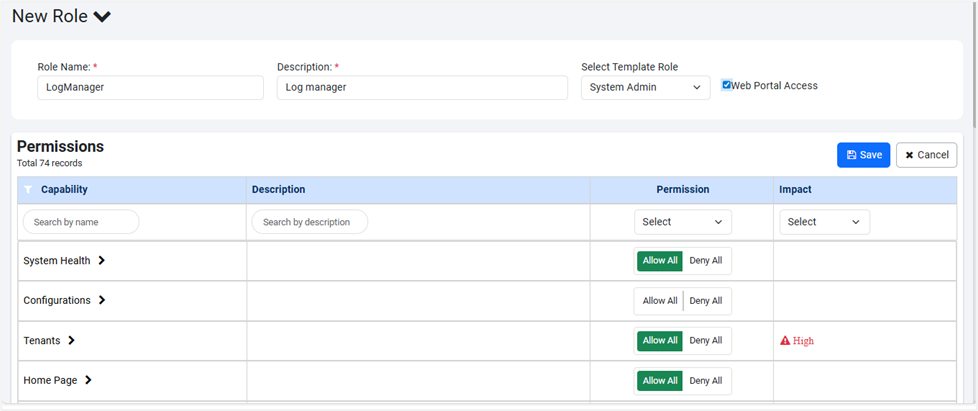 Figure 81: New Role page
 -
Enter the following field details:
Field Name Description Roles Enter a name for the role you want to create. Description Enter a description of the role. Select Template Role Select the role based on which you want to create the new role. Available options are:
- License Administrator
- System AdministratorWeb Portal Access Select the checkbox to allow users to sign in to AEUI with both, API and UI access.
If the checkbox is clear, then the user will have only API access to allowed modules and will be unable to access the UI pages. For example, see the following screenshot
Figure 82: Roles page
You will be unable to modify the permission of the Workflow Operations Page, which is accessed through the UI. However, you can modify permissions of other sub-capabilities that can be accessed through the API.Permissions Note: If you select the system defined role for creating the new role, then by default all the system defined role's permissions are assigned to the new role.
However, you can modify the permission details.Capability Displays the name of capability that you can assign to the role. Description Displays the description of the capability. Permission Displays the permission available for each capability.
If you want to assign complete permissions to a capability, click Allow All. Else, click on the capability and provide permission at sub-capability level.
Figure 83: Roles page
Similarly, you can deny permission at the capability or sub-capability level.Impact Displays the impact of the assigned capability.
Impact values are: High or Medium
High: Permissions impacting the business highly. For example, permission to delete a tenant.
Medium: Permissions impacting the business, but at the user level in a tenant. For example, permission to enable or disable the workflows. -
Click Save. The new role details are saved.
-
To modify the role and permission details, click

-
To delete the role, click

-
The new roles appear in the Role list in the Users -> User List -> Add New User page
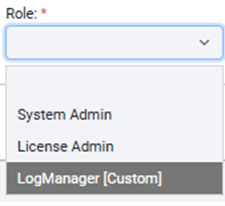
Figure 84: Roles list