Work with Plugins
Plugin is a software component that contains steps or entries that allow the user to create workflows and processes. The workflow and processes enable users to perform end-to-end business flows or tasks.
Plugins allow users to perform a variety of automation tasks, integrate with different systems, and enhance the overall efficiency of the automation processes. System Admin can upload plugins and assign them to tenants. Based on the plugins assigned, users can utilize them in Process Studio.
Once plugins are available on the AutomationEdge server, Process Studio can connect to the server to download new plugins or update existing ones.
For details about plugins, steps and entries, see the respective Plugin Reference guides.
In the chapter, you will learn about how to upload and assign plugins to tenants.
The chapter consists of the following topics:
- View plugin details
- Upload plugins
- Assign or unassign plugins
- Assign or unassign plugin(s) to a specific tenant
View plugin details
You can view the steps or entries in a plugin and metering unit details of each step or entry.
When you sign in to AE for the first time, PS_NATIVE plugin is available by default. You can only upload the latest version of the plugin but cannot delete it.
To view the plugin details:
-
In the menu, click Plugins -> Plugins. The Plugins page appears.
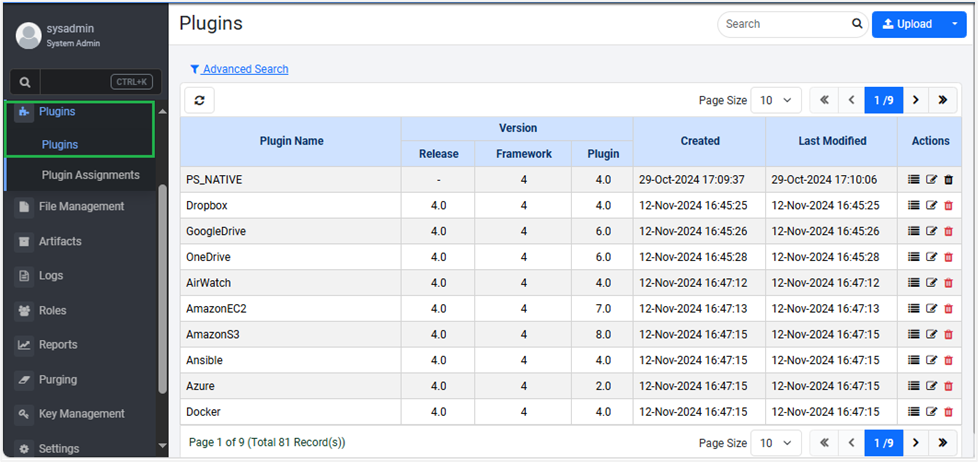 Figure 50: The Plugins page
 -
The following field details are displayed:
Field Name Description Plugin Name Displays the name of the plugin. Version Displays the AE release, framework, and plugin version. Created Displays the date and time when the plugin was first uploaded. Last Modified Displays the date and time when the updated version of the plugin was uploaded. Actions Displays the following action icons:
- (Plugin steps): Click to view the plugin details.
- (Edit plugin): Click to upload the updated version of the selected plugin.
- (Delete): Click to delete the selected plugin
Tip: You cannot delete the PS_NATIVE plugin -
In the Actions column, click
. The plugin details dialog appears.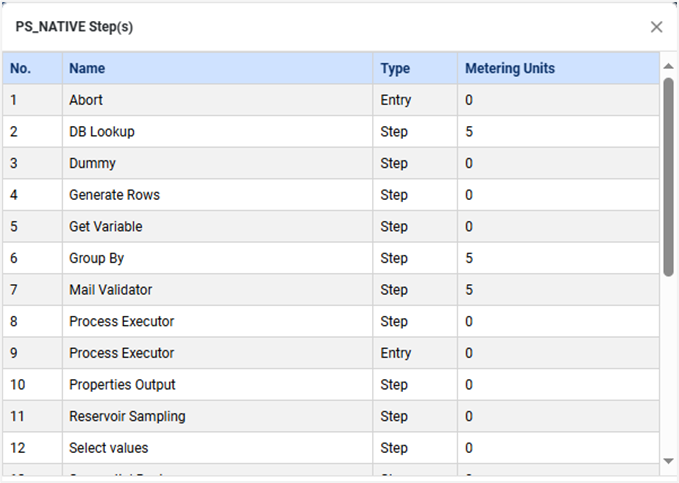
Figure 51: The selected plugin’s details dialog
-
In the dialog, the following field details are displayed:
Field name Description Name Displays the name of the step or entry in the selected plugin. Type Displays if the type is a step or entry. Metering Units Displays the units of steps or entries consumed in a workflow or process. -
Click
 . The dialog closes.
Upload plugins
You can upload all plugins as a zip file or an individual plugin as a jar file.
You can upgrade or downgrade the plugins of your choice. However, if you downgrade a plugin, then some workflows that are using new features that were introduced in the later version of the plugin may stop working.
The topic includes the following sections:
- Upload multiple plugins (.zip)
- Upload single plugin (.jar)
Upload multiple plugins (.zip)
You can upload multiple plugins in a single attempt. You can upload the plugins as a zip file.
To upload multiple plugins:
-
In the menu, click Plugins -> Plugins. The Plugins page appears.
-
Click Upload. The Upload Plugin dialog appears.
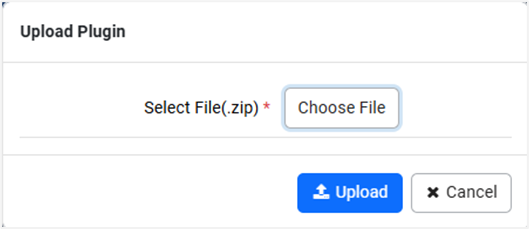
Figure 52: The Upload Plugin dialog
-
Click Choose File. The Open file dialog appears.
-
Select the zipped file to upload, and then click Open. The file appears in the Upload Plugin dialog.
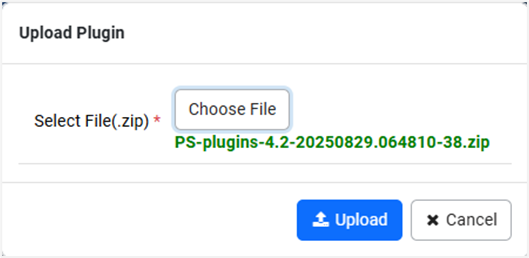
Figure 53: Plugin file uploaded view
-
Click Upload. The Plugins Upload Preview page appears.
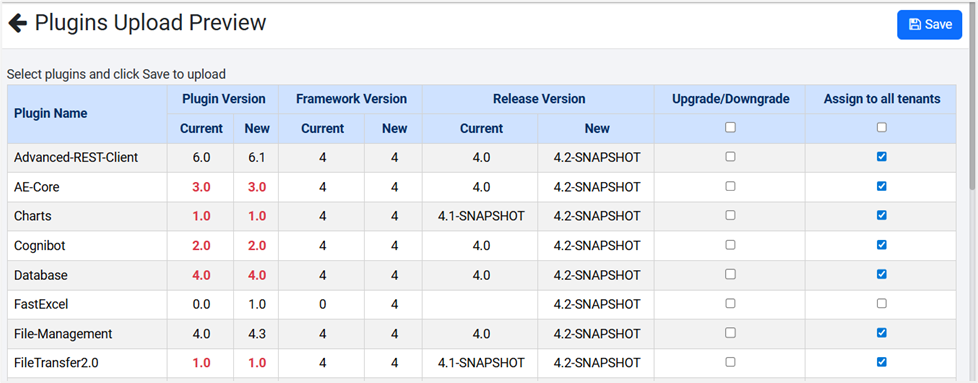
Figure 54: The Plugins Upload Preview page
-
Select the checkboxes under:
- Upgrade/Downgrade: The plugin is upgraded or downgraded depending on the version you selected to upload.
tipIf you are downgrading a plugin, then you will see a message asking for confirmation to proceed with uploading the downgraded plugin.
- Assign to all tenants: The selected plugins are assigned to all tenants.
-
Click Save. The plugin upload is successful message appears
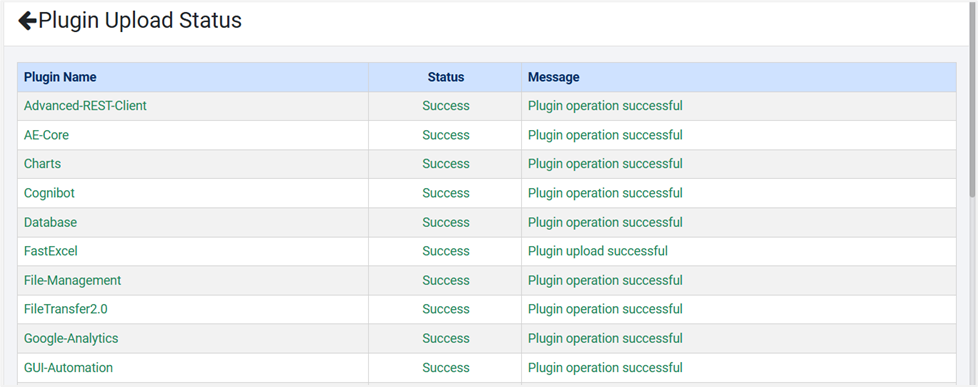
Figure 55: The Plugin Upload Status page
Upload single plugin (.jar)
You can upload a single plugin, if required. You can upload the plugin as a jar file.
The New Plugin option is only for uploading a new plugin. You see an error message, if you try to upload an existing plugin using the option.
To upload single plugin:
-
In the menu, click Plugins -> Plugins. The Plugins page appears.
-
Click
 , and then click New Plugin. The Upload Plugin dialog appears
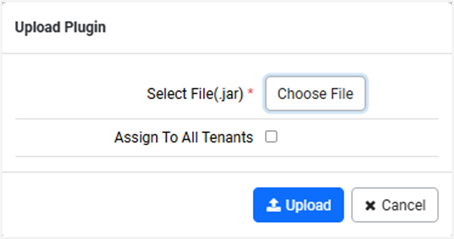
Figure 56: The Upload Plugin dialog
-
Click Choose File. The Open file dialog appears.
-
Select the jar file to upload, and then click Open. The file appears in the Upload Plugin dialog.
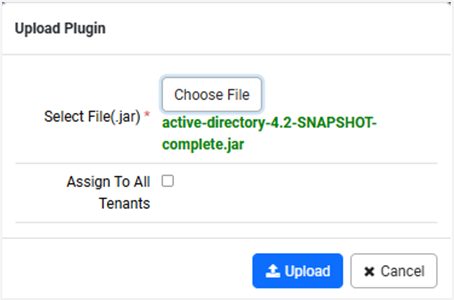
Figure 57: Plugin jar file upload
-
Select the Assign To All Tenants checkbox, and then click Upload. The plugin is uploaded successfully message appears.
-
You cannot upload a plugin with a version that is already uploaded to AE. You will see a message informing you that you are not allowed to upload the existing version of the plugin, for example, version 6.0 plugin to AE.
-
To upload the same version of the plugin, in the Actions column, click
and delete the plugin, and then follow the steps in the Upload a single plugin (.jar) section.OR
-
In the Actions column, click
 and upload another version of the plugin.
If you do not want to assign the plugin to all tenants, then keep the Assign To All Tenants checkbox clear. For assigning the plugins to specific tenants, see Assign plugins.
Assign or unassign plugins
You can assign or unassign plugins to all or multiple or single tenant(s), if required.
To assign a plugin:
-
In the menu, click Plugins -> Plugin Assignments. The Plugin Assignments page appears.
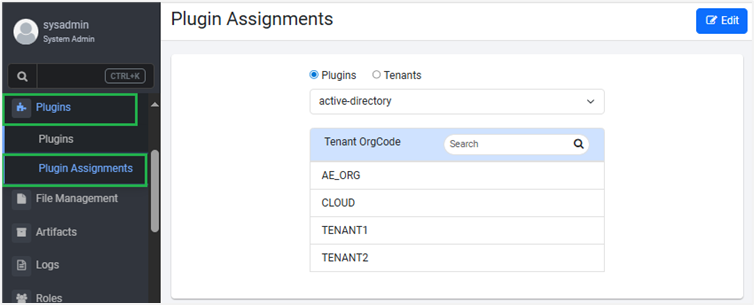
Figure 58: The Plugin Assignments page
-
On the Plugin Assignments page, the Plugins option is selected, by default. Select the Plugins option.
-
In the plugins list, select the plugin, which you want to assign to the tenant, and then click Edit. The tenant list is available.
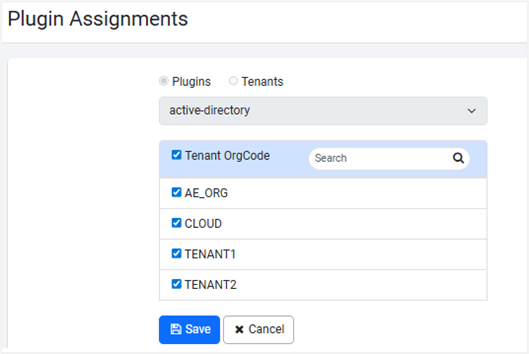
Figure 59: Plugin assignments to selected tenant
-
In the tenant list, select the checkbox next to the tenant to which you want to assign the plugin. The tenant appears in the Tenant OrgCode list.
Use Search to find the tenant, if required. Enter the name of the tenant in the box and click ![]() . The tenant appears in the list.
. The tenant appears in the list.
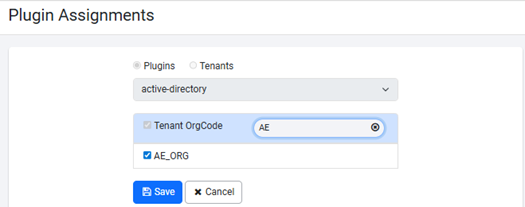
Figure 60: Search a tenant
Click ![]() to clear the search text.
to clear the search text.
- Click Save. Plugin successfully assigned to the tenant(s) message appears.
To unassign the plugin for:
- All tenants clear the Tenant OrgCode checkbox.
OR
- A single or multiple tenant(s), clear the specific tenant’s checkbox(es).
Unassigning the plugin makes all active workflows containing the plugin inactive for the specific tenant or all tenants, depending on your selection.
Assign or unassign plugin(s) to a specific tenant
You can assign or unassign tenants to / from specific plugin, if required.
To assign a tenant:
-
In the menu, click Plugins -> Plugin Assignments. The Plugin Assignments page appears.
-
On the Plugin Assignments page, the Plugins option is selected, by default. Select the Tenants option.
-
In the tenant list, select the tenant to which you want to assign the plugin, and then click Edit. The plugin list is available.
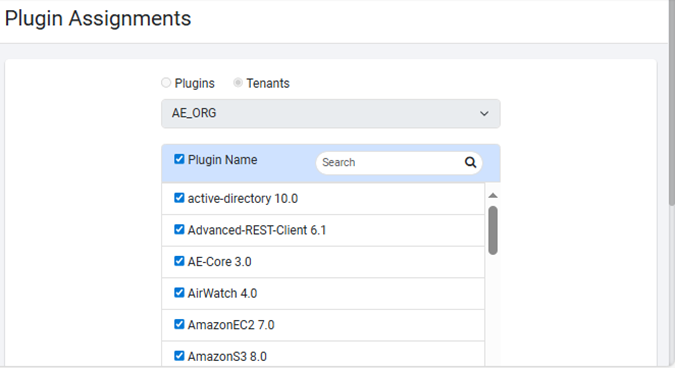
Figure 61: Assign the plugin to the selected tenant
-
In the plugin name list, select the checkbox next to the plugin that you want to assign to the tenant. The plugin appears in the Plugin Name list.
Use Search to find the plugin, if required. Enter the name of the plugin in the box and click ![]() . The plugin appears in the list.
. The plugin appears in the list.
Click ![]() to clear the search text.
to clear the search text.
- Click Save. Plugin(s) successfully assigned to the tenant message appears.
To unassign:
- All plugins, clear the Plugin Name checkbox.
OR
- Clear the checkbox(es) next to a single or multiple plugin(s).
Unassigning the plugin(s) makes all active workflows containing the plugin(s) inactive for the specific tenant.