Work with File Management
Use the File Management feature to easily upload and centrally manage files for AutomationEdge artifacts and components, such as Plugins, Agents, and Process Studio. You can upload files that support configurations or change frequently, directly through the AE UI. Managing files ensures that the supporting files are seamlessly provided to their respective components.
In the chapter, you will learn about how to upload plugin supporting files and add the file types you can upload as supporting files.
The chapter consists of the following topics:
- Upload supporting files for plugins
- Add allowed file types
Upload supporting files for plugins
You can upload and manage supporting files for plugins centrally, which are automatically downloaded onto the Agent and / or Process Studio upon synchronization.
For example, the GUI Automation plugin requires support files, such as Chrome browser drivers, Firefox browser drivers, and so on during workflow execution. Through the Files menu you can ensure that you have the required version of the browser driver available for a seamless GUI Automation workflow execution.
We highly recommend that you upload the plugin supporting files to AE server using the File option.
If you upgrade the supporting files manually, you will have to perform the process repeatedly on all machines that have the Agents and / or Process Studio installed. In addition, the system may become unstable and not work properly.
To upload plugin files:
-
In the menu, click File Management -> Files. The Plugin Files page appears.
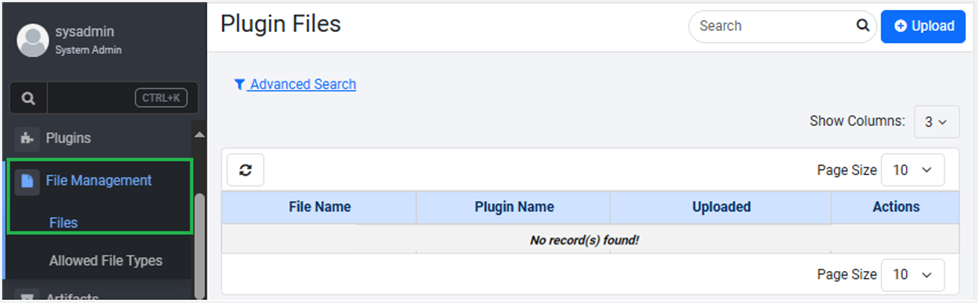
Figure 62: The Plugin Files page
-
On the Plugin Files page, click Upload. The New File dialog appears.
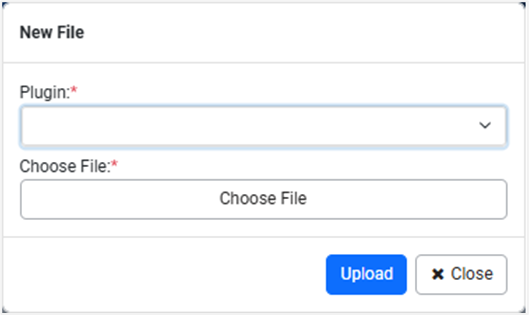
Figure 63: The New File dialog
-
Click in the Plugin box. The list of plugins for which you can upload the supporting files appears.
To select multiple plugins, select the respective plugin checkbox.
-
Select the plugin, and then click Choose File. In the Open dialog select the zip file you want to upload.
-
Click Upload. The supporting file is uploaded.
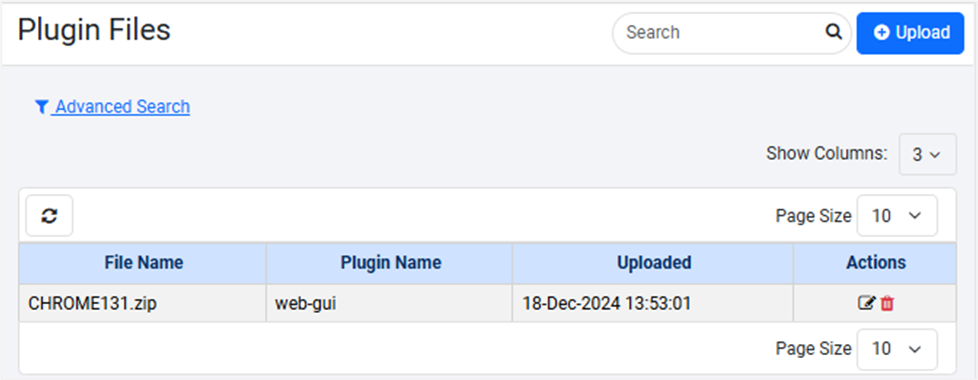 Figure 64: Plugin Files: The uploaded support file view
-
To update the existing plugin supporting file, in the Actions column, click
 . In the Update File dialog, select the updated file and then click Update.
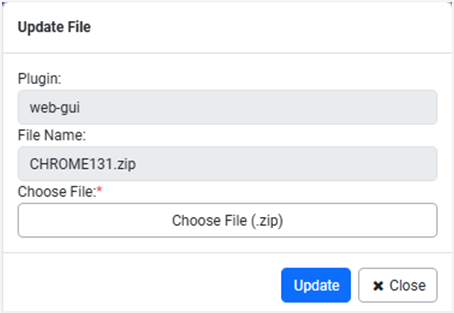
Figure 65: Update File dialog
-
To remove the plugin supporting file from the AE server, click

Add allowed file types
You can add the type of files that can be uploaded to the AE server. For example, .zip, .exe, .png, and so on.
If you create the list of file types, then all uploaded files are checked against the list of accepted file extensions and validated for the correct file format using MIME type. Creating the list allows you to detect and block potentially harmful files, such as executables or scripts.
You can provide the list of banned extensions in the ae.banned.file.extension property available in the ae.properties file.
For details, see the Installation guide -> Configure application settings section. The banned file settings in the ae.properties will override the file types selected through AE
Configuring allowed file types does not restrict you from uploading or upgrading .zip or .jar files through the following:
- Artifacts
- Plugins
- File Management
To add file types:
-
In the menu, click File Management -> Allowed File Types. The Allowed File Types page appears.
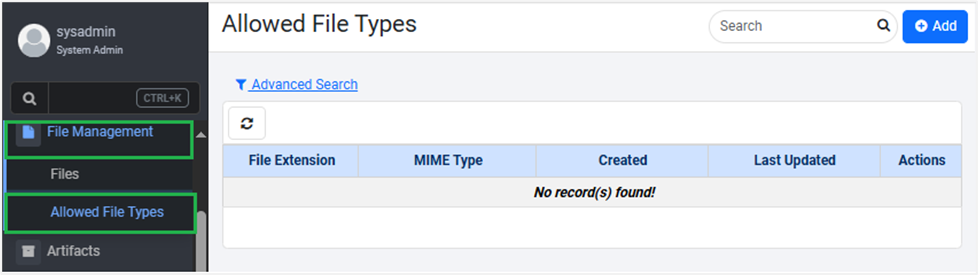 Figure 66: Allowed File Types page
 -
Click Add. The Add File Types page appears.
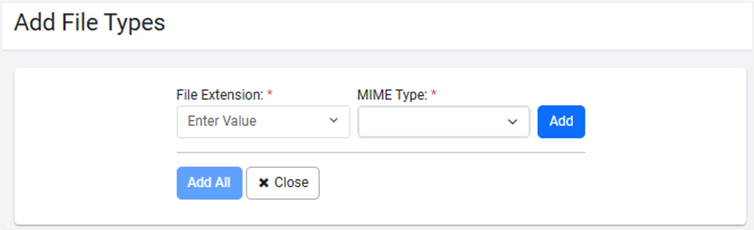
Figure 67: Add File Types dialog -
Enter the following field details:
| Field name | Description |
|---|---|
| File Extension | Enter the type of file you want to add to the list. For example, pdf. |
| MIME Type* | Enter the type of MIME you want for the file extension. Note: You can select multiple file extensions. |
* Indicates mandatory field.
- Click Add. The extension list is created.
- Click Add All. The extensions appear in the list on Allowed File Types page.