Import or Update or Export workflows
Importing, updating, and exporting workflows lets you move automation packages between tenants and instances without rebuilding them from scratch. When a workflow has been tested and verified in one environment, you can export it as a zip file and import it into another tenant to reuse it. You can also update an existing workflow by uploading a new version of the zip file, keeping your automations current without recreating configurations. The export option lets you mark workflows as verified, signaling to the target environment that the package has been thoroughly tested. You can export up to 10 workflows at a time. Note that a project exported from Process Studio cannot be imported or updated directly on an AutomationEdge instance — only workflow zip files are supported.
For examples of import or updated or export workflows, see Appendix: Publish Workflows.
- Import workflows
- Update a workflow
- Export a workflow
You can import workflows of another tenant if you want to use them. The workflows are imported as zip file.
A project exported from Process Studio cannot be imported or updated directly on an AutomationEdge instance.
To import a workflow:
-
In the menu, click Workflows → Workflow List. The Workflows page appears.
-
On the page, click Import. The Create New Workflow page appears.
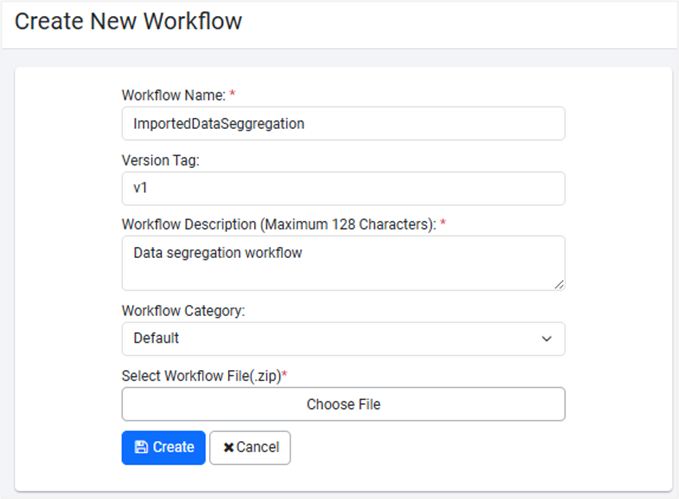
Create New Workflow page -
Enter the following field details:
Field name Description Workflow Name * Enter a name of the workflow. Version Tag Enter the version tag. For example, 1.0. Workflow Description (Maximum 128 Characters) * Enter a description for the workflow. Workflow Category Select the category to which you want to upload the workflow. Assisted Workflow Select the checkbox if you want to make the workflow as an assisted workflow. Enable RDP Select the checkbox if you want the workflow to be RDP enabled. Select Workflow File(.zip) * Click, browse, and select the zipped workflow file that you want to import. *Indicates a mandatory field.
-
Click Show file content. The content of the zipped workflow appears.
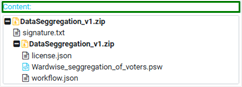
Zipped workflow file content
-
Click Create. The workflow is imported and the Update Workflow page appears.
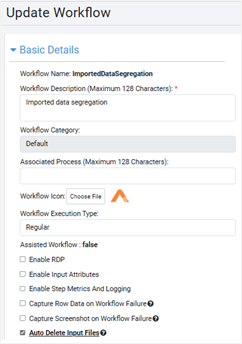
Update Workflow page
For field details, see Edit workflow configuration.
-
Update the workflow details and click Save. The workflow appears on the Workflows page.
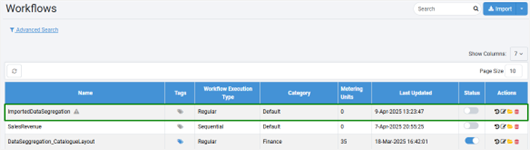
Workflows page view -
In the Status column, toggle the switch to activate the workflow. The import process is complete.
You can update the workflow, if required.
To update the workflow:
-
In the menu, click Workflows → Workflow List. The Workflows page appears.
-
On the page, click
 and then select Update. The Update Workflow page appears.
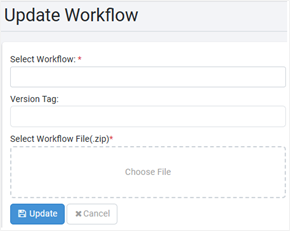
Update Workflow page -
Enter the following field details:
Field name Description Select Workflow * Select the workflow that you want update. Version Tag Enter the version tag. For example, 1.0. Select Workflow File(.zip) * Click, browse, and select the zipped workflow file that you want to import. *Indicates mandatory field.
-
Click Update. The workflow is updated and appears in the Workflows page.
You can export the workflow that can be shared with other tenants.
To export a workflow:
-
In the menu, click Workflows → Workflow List. The Workflows page appears.
-
On the page, click
and then select Export. The Export Workflow dialog appears.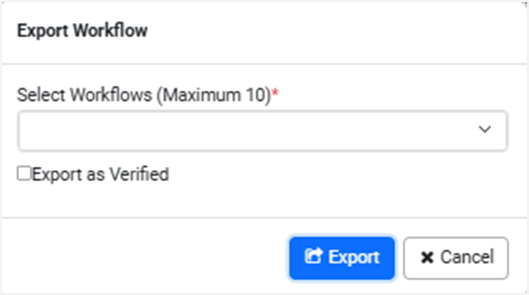
Export Workflow dialog -
In the dialog:
-
Select Workflows (Maximum 10)*: Select the workflows that you want to export. You can select a maximum of 10 workflows.
-
Export as Verified: Select the checkbox if you want to indicate that the workflow is thoroughly tested.
-
-
Click Export. The workflow is exported (downloaded) as a zipped file.