Shared
Shared Workflows let Admins and Workflow Admins upload reusable workflow packages to the AE server so other users of the tenant can access and reuse them in their Process Studio projects. Without this feature, teams would need to manually distribute workflow files, leading to version inconsistencies and duplicated effort. You upload a workflow as a zip file and assign it to a user group, making it available in the Shared Workflows tab in Process Studio for users with appropriate permissions. You can also export up to 10 shared workflows at a time for transfer to other tenants or instances. This keeps your reusable automation assets centrally managed and easily accessible across teams.
Users with role Admin and Workflow Admin will have option to upload/update such shared workflow zip on AE Server.
For more information on shared workflows, see the Process Studio User Guide.
The shared workflows are available to the users in the Shared Workflows tab in the Process Studio.
Only a tenant with TRIAL / DEVELOPMENT / UAT / CONSUMPTION license type can upload the Shared Workflow zip.
Upload a shared workflow
In the section, you will learn how to upload and share a workflow.
To upload a shared workflow:
- Click Workflows → Shared. The Shared Workflows page appears.
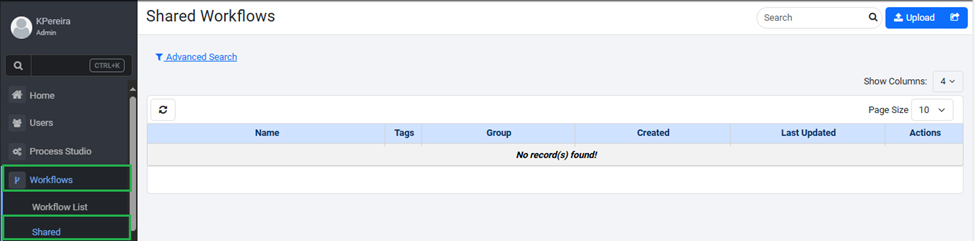
Shared Workflows page
-
In the Shared Workflows page, click Upload. The Upload Shared Workflow page appears.
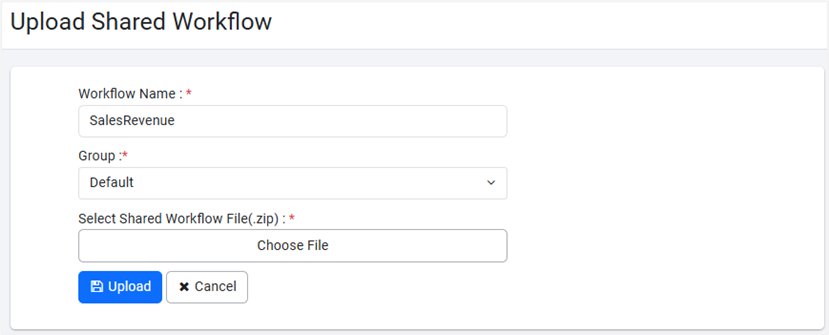
Upload Shared Workflow page -
Enter the following field details:
| Field Name | Description |
|---|---|
| Workflow Name* | Enter the name of the workflow that you want to share. |
| Group* | Select the group that you want to share the workflow with. |
| Select Shared Workflow File(.zip)* | Select the file from the folder where the downloaded workflow is saved. |
* Indicates mandatory field.
- Click Upload. The shared workflow file is uploaded to AEUI.
View a shared workflow
In the section, you will learn about the shared workflow details.
To view a shared workflow detail:
-
Click Workflows → Shared. The Shared Workflows page appears.

Shared Workflows page view
-
View the following details:
| Field name | Description |
|---|---|
| Name | Displays the name of the shared workflow. |
| Tags |  indicates there are tags added to the workflow. indicates there are tags added to the workflow.  indicates there are no tags added to the workflow. indicates there are no tags added to the workflow. |
| Group | Displays the group to which the workflow is added. |
| Created | Displays the date and time when the shared workflow was created. |
| Last Updated | Displays the date and time when the shared workflow was last updated. |
- In the Actions column:
-
Click
 to view the usage guidelines.
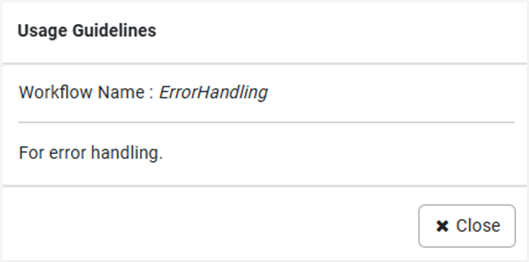
Usage Guidelines dialog
OR
-Click  to view the shared workflow files.
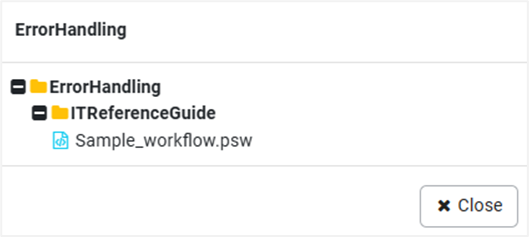
Shared workflow files view
OR
-
Click
 to edit the shared workflow details.
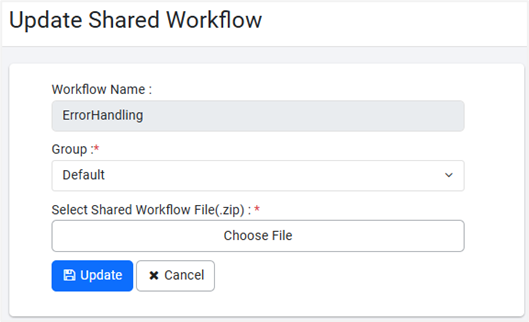
Update Shared Workflow page
OR
- Click
 to delete the shared workflow.
You can also share processes with users.
Export a shared workflow
In the section, you will learn how to export a shared workflow.
To export a shared workflow:
-
Click Workflows → Shared. The Shared Workflows page appears.
-
On the page, click
 . The Export Shared Workflows dialog appears.
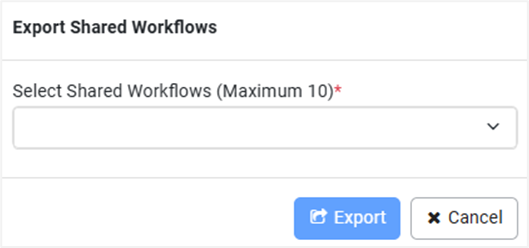
Export Shared Workflows dialog -
Click in Select Shared Workflow (Maximum 10) *. A list of shared workflows appears.
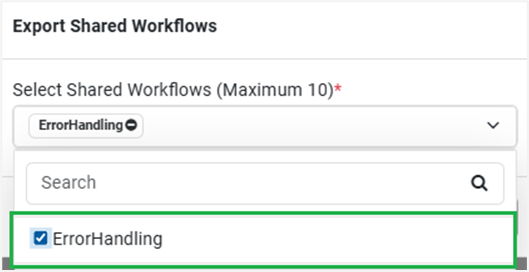
Export Shared Workflows list -
Select the checkboxes next to the workflows that you want to export, and then click Export. The workflow is downloaded to your system.
NoteYou can export only 10 shared workflows at a time.