Work with Workflow Assignment
Workflow Assignment lets you control which workflows run on which agents — a critical step before any automation can execute. Without explicit assignment, agents have no workflows to run. You can assign multiple workflows to a single agent, or assign one workflow to multiple agents for distributed execution. The Advanced Settings option lets you import assignments from one agent to another, making it easy to replicate configurations when scaling out your agent infrastructure. The two-tab interface (Agents and Workflows) lets you approach the assignment from either direction depending on what's easier for your scenario.
- An agent must be registered before you can work with the Workflow Assignment feature.
- You can assign up to 500 workflows (minimum workflow 0 – maximum workflows 500) to an Agent.
Assign workflow to an Agent
Here you will learn how to assign workflows to agents.
To assign a workflow to an agent:
-
In the menu, click Agents → Workflow Assignment. The Workflow Assignment page appears with the Agents tab selected by default.
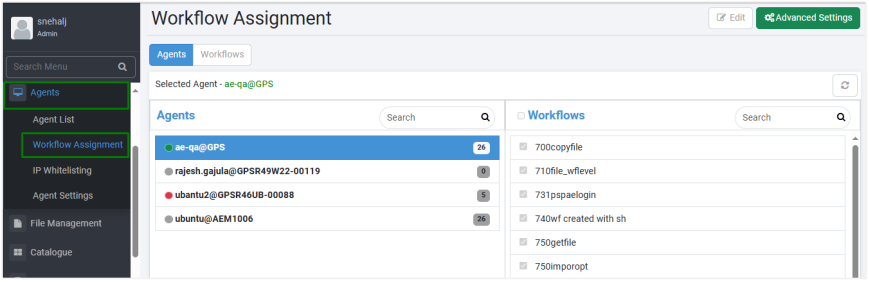
Workflow Assignment page
-
The Agents tab, displays list of Agents and Workflows.
-
Click Edit. The option to select the agent and the checkboxes to select the workflows become available:
- In the Agents column, select the agent to which you want to assign the workflows. The number against the agent indicates the number of workflows assigned to the agent.
- In the Workflows column, scroll or search for workflows that you want to assign to the agent. You can select multiple workflows to assign to the selected agent.
Note- Similarly, click Workflows tab, and you can assign a workflow to multiple agents. The number against the workflow indicates the number of agents to which the workflow is assigned.
-
Click Save. The workflows are assigned to the selected agent.
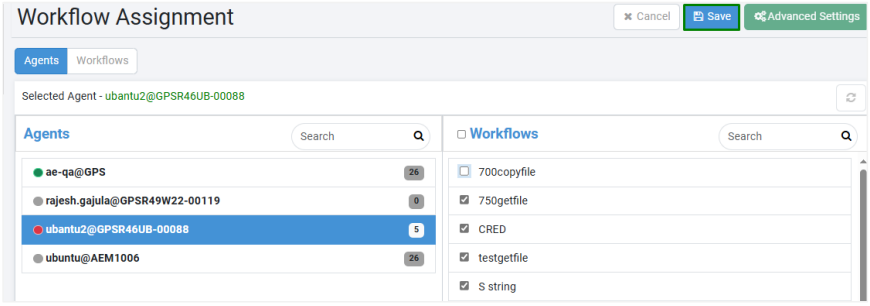
Workflow assigned to Agent
To again make changes to the assignments, click Edit.
Import agent assignments
Use the Advanced Settings feature to import agent assignments.
To import agent assignments:
-
In the Workflow Assignment page, click Advanced Settings. The Import Assignment dialog appears.

Import Assignment dialog
-
In the Import Assignment dialog:
- Import From: Select the agent from which you want to import the assignments.
- Select Target Agent(s): Select one or all agents to which you want to assign the imported assignments.
-
Click Import. The workflow assignments are completed successfully.
- Select all: Select all agents in the list.
- Deselect all: Clear the selection of all agents.
- Save: Save agent configuration.
- Reset: Clear all the selected details of the agent.