Workflows
Workflow Operations
Enable all Workflows
System Administrators can enable all workflows of all tenants in one go with this menu option. It may be required to enable Inactive workflow for reasons such as
- Framework Version Change
For instance, if users upgrade their AE Instance from an older version to a newer version with a framework version change, the server automatically disables all the active workflows as a part of migration/upgrade. The system sets inactive reason as a "Framework Version Change" for all the workflows being disabled. Once the upgrade is successful, and plugins of the new framework version are uploaded, the user can use this feature to enable all the workflows in one shot. Tenant Administrators and Workflow Administrators will get the email notification with the result of this operation.
- Plugin Update
Workflows may be disabled for the Plugin update. Choosing this option enables all workflows, disabled for the Plugin update.
The following are the steps to enable all workflows,
- Navigate to Workflows->Workflow Operations menu.
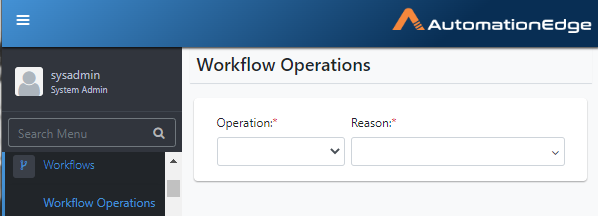
Figure 6.1: Workflow Operations
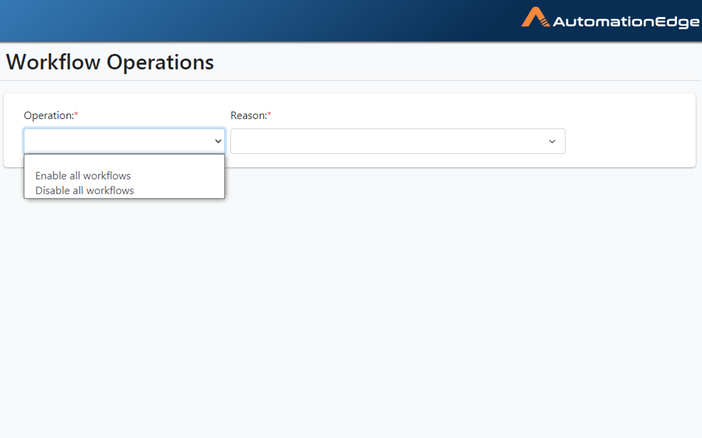
- Select an operation from the drop-down list as seen below.
Figure 6.2: Workflow Operations list
-
Select a reason for the operation, i.e. enable all workflows.
-
Check the relevant reasons. Click Enable.
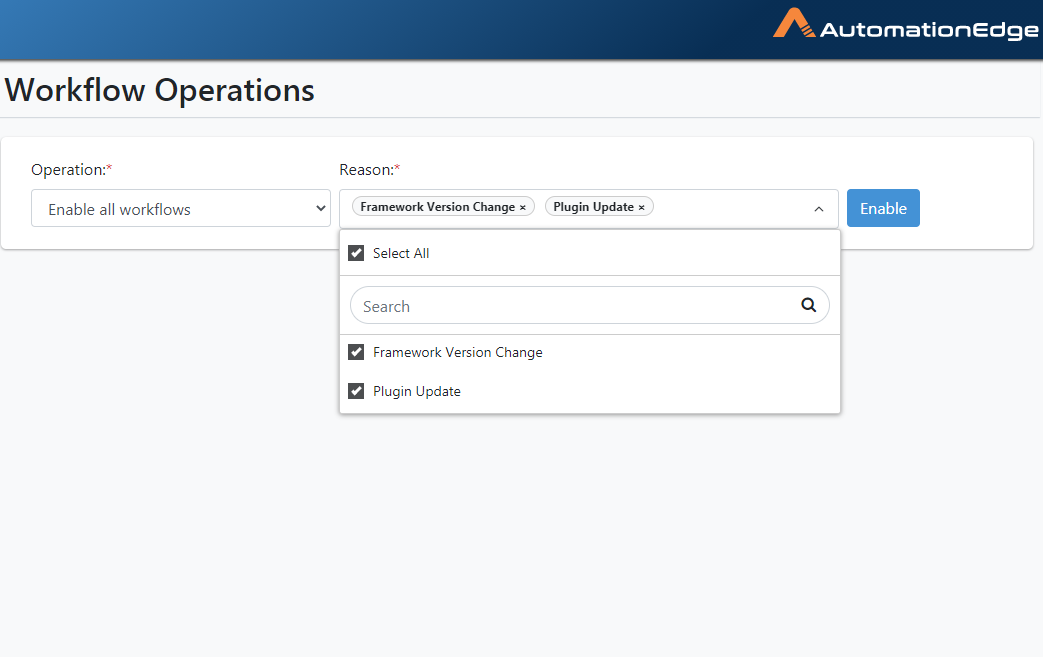
Figure 6.3: Select Workflow Operation Reason
- The screen displays the list of workflows enabled.

Figure 6.4: Workflow List after Enable Operation
- We saw the workflow operation to enable all workflows.
Disable all workflows
System Administrators can disable all workflows of all the tenants in one go with this menu option. This feature is useful where a user wants to update plugins used in various active workflows. In such a case, the system does not allow updating plugins unless workflows are disabled.
While disabling all workflows, the user needs to provide a value for "Inactive Reason", such as,
- Plugin Update
Once the plugins are updated, the user can use the "Enable all workflows" feature discussed above to enable these workflows again.
Tenant Administrators and Workflow Administrators get an email notification for the disable and enable operations.
The following are the steps to Disable all workflows.
- Select Disable all workflows operation.
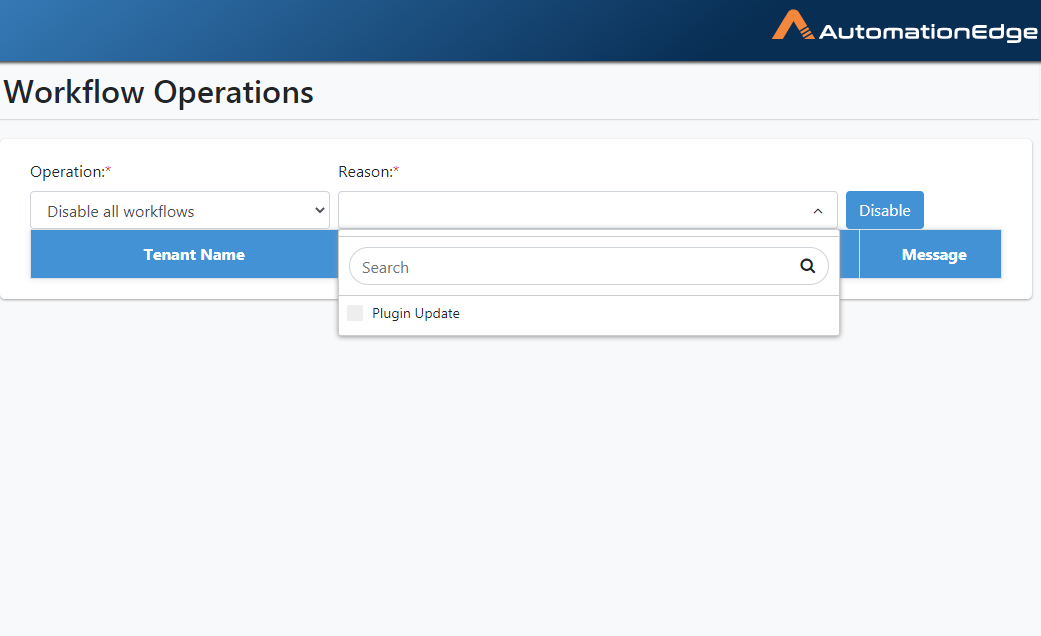
Figure 6.5: Operation Reason
- Select the reason to disable. Click the Disable button.
Figure 6.6: Select Reason
- The screen displays the workflows on which disable operation is done.
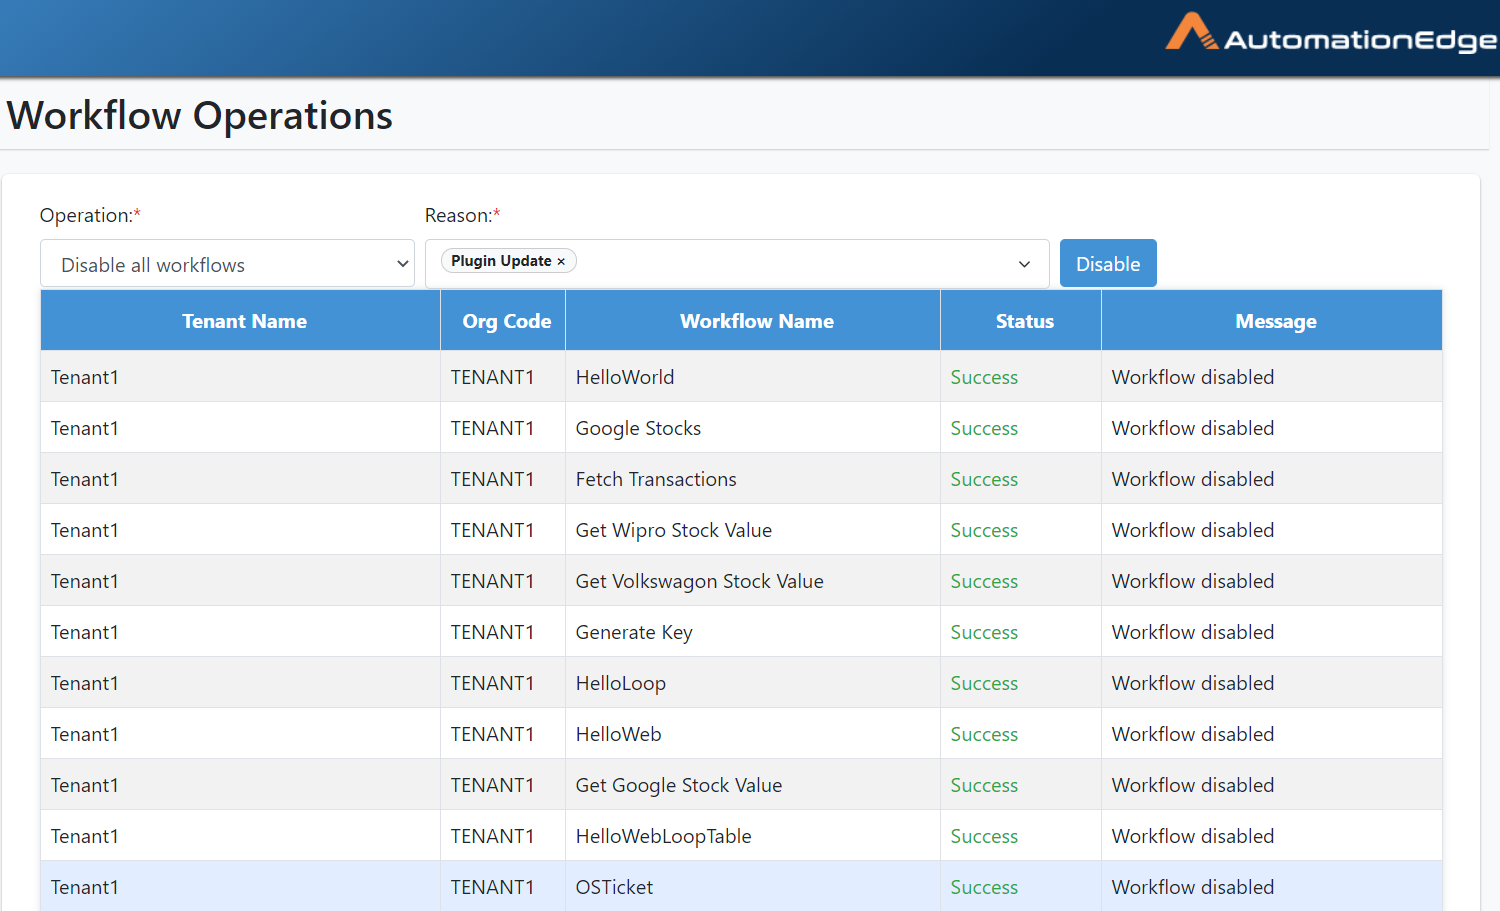
Figure 6.7: Workflow List after Disable Operation
- In this section, we saw the operation to disable all workflows.
Tenant Users: Delete
To delete a Tenant User:
-
Click Users menu and Tenant Users sub-menu.
-
Click the Delete icon (
 ) corresponding to the tenant user you wish to
delete. A Confirm User Deletion pop-up appears.
) corresponding to the tenant user you wish to
delete. A Confirm User Deletion pop-up appears.

Figure 5.22: Confirm Delete
- Click Delete. A 'User deleted successfully' message displays.