Work with Artifacts
Artifacts menu provides the facility to upload and manage artifacts (e.g. Process Studio zip file) to AutomationEdge sever.
Upload Artifact
Following are the steps to upload artifacts:
-
Navigate to the Artifacts menu. Artifacts page appears.
-
Click upload at top right corner. The New Artifact pop-up appears.
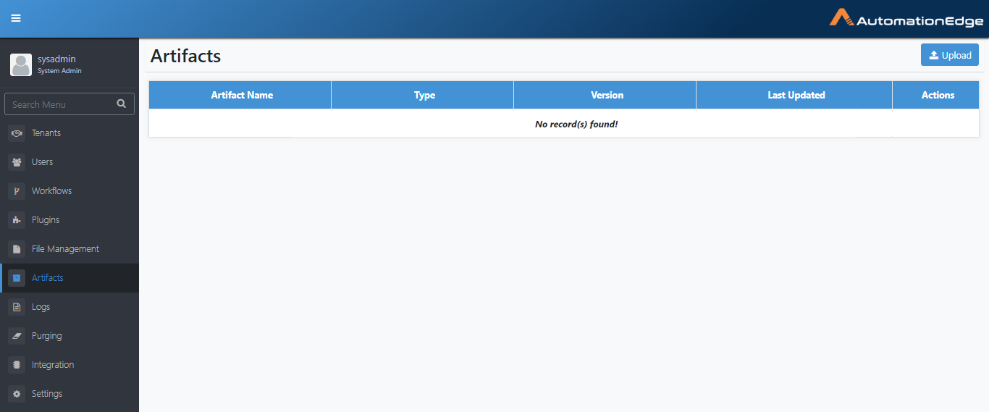
Figure 59: Upload Artifact
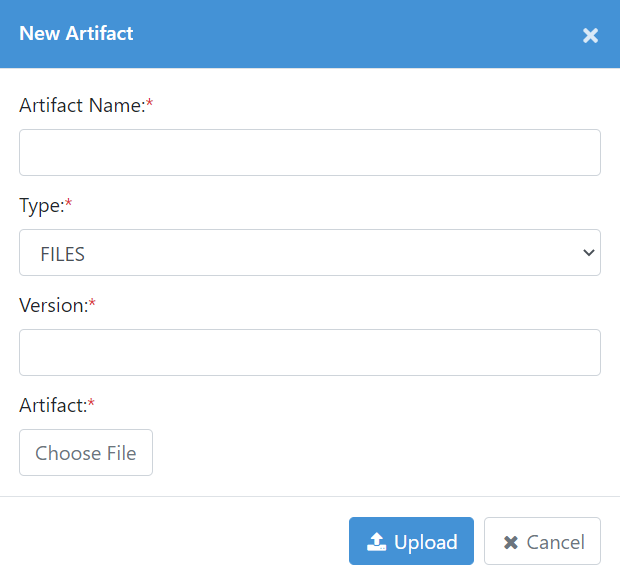
Figure 60: New Artifact pop-up
-
The following table describes the New Artifact fields.
Table: Artifact Configurations
| Field Name | Description |
|---|---|
| Artifact Name * | Specify the name of the artifact to be uploaded. |
| E.g.: Process Studio | |
| Type* | Select the artifact type. The available options are: None, Files, Process Studio |
| Version* | Specify the artifact version to upload. |
| Artifact* | Click 'Choose File' button to browse the artifact. |
| E.g.: Select the Process Studio zip file |
Upload Artifact: Process Studio
| 🔥 | System Administrators must upload Process Studio zip artifact, as part of AutomationEdge Post-Installation tasks, to make it available for download from the Process Studio menu on AutomationEdge UI. |
In this section, we will showcase the steps to upload the artifact - Process Studio zip.
Prerequisite:
Get the Process Studio zip in one of the following ways,
-
Download from AutomationEdge EPD (Electronic Product Distribution) or
-
From AE Installation directory if installed using AutomationEdge installer.
Following are the steps to upload Process Studio zip,
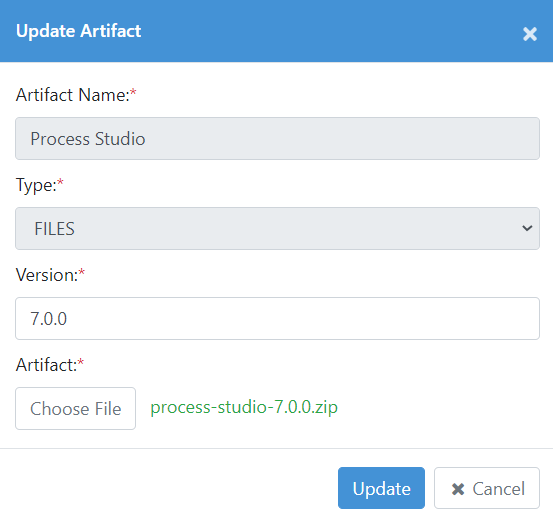
- Provide the details in the New Artifact pop-up as follows.
-
The artifact name as - Process Studio (this is case sensitive)
-
Process Studio version to upload. The version should be compliant with AutomationEdge supported framework versions.
-
Click Upload.
Click ![]() to modify or update the artifact.
to modify or update the artifact.
Click ![]() to delete the artifact.
to delete the artifact.
Figure 61: Upload Artifact -- Process Studio
-
Artifact uploaded successfully message appears, and the newly uploaded Process Studio is now visible.
Artifacts -- Actions
The following are the steps to perform actions on uploaded artifacts,
-
Navigate to the Artifacts menu. It lists the uploaded artifacts.
-
The Actions column has options for Edit and Delete on uploaded artifacts, as visible in the screenshot below. The actions are described in the table below.
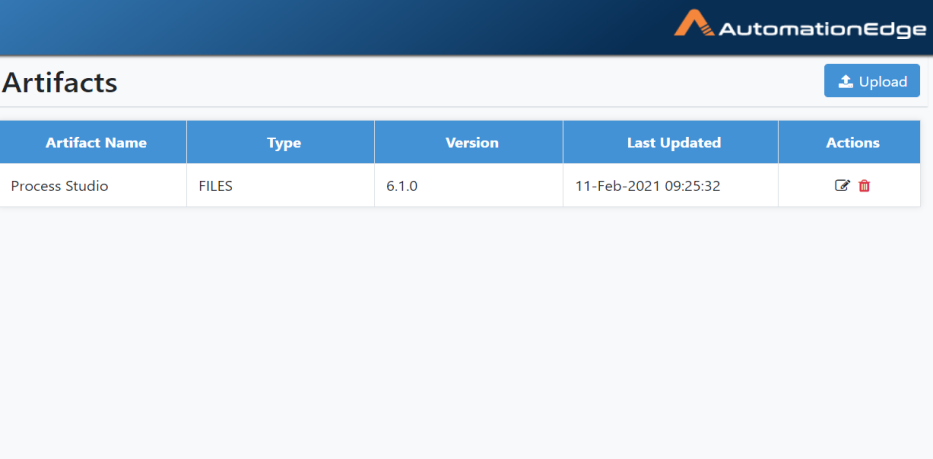
Figure 63: Uploaded Artifacts List
Table: Artifacts - Actions
| Action | Description |
|---|---|
| Edit | Click on edit icon to edit/update the artifact. ( |
| Delete | Click on delete icon to delete the artifact ( |