Publish: Update
In the previous section we completed the process of publishing workflow Sales Revenue, for the first time with Publish - Create option, to AutomationEdge. In case we wish to make updates to this workflow we can use the Publish - Update option. Following are the steps to publish an AutomationEdge workflow using Process Studio Publish - Update option:
- Open Sales Revenue project, and then select File - Publish - Update. The Publish confirmation (psp/psw) dialog appears.
If you have not saved the password for the current session, then AutomationEdge Connection Details dialog appears. Provide the password.
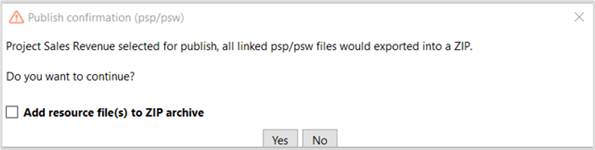
In the example, we do not have any supporting .csv, .txt, .xlsx, or other files. Therefore, do not select the checkbox, and click Yes.
If you want to export the supporting files along with the workflow or process, then select the Add resource file(s) to ZIP archive checkbox. A corresponding dialog appears.
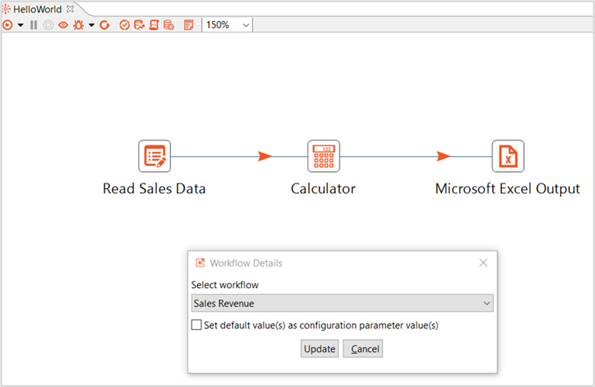
- In the Workflow Details dialog, select the workflow, Sales Revenue, and then click Update. A message confirming the workflow updated successfully appears.
- If you are unable to see the workflow in the list, click More…, and then select the workflow. Use the filter to narrow the search list.
- Parameters such as Assisted, Sequential, RDP enabled are inherited from the published workflow.
- Select the Set default value(s) as configuration parameter value(s) checkbox, if required.
The Publish - Update process is complete.
- Now, logon to the AutomationEdge server and follow the steps from Publish: Create. In the next section we shall setup and execute Sales Revenue on Trial instance.