Sample project: Sales Revenue
Open a workspace, Data Processing in the Process Studio and create a project, Sales Revenue. The project contains a workflow, HelloWorld and a resource file sales_data.csv.
Build your first workflow with Process Studio
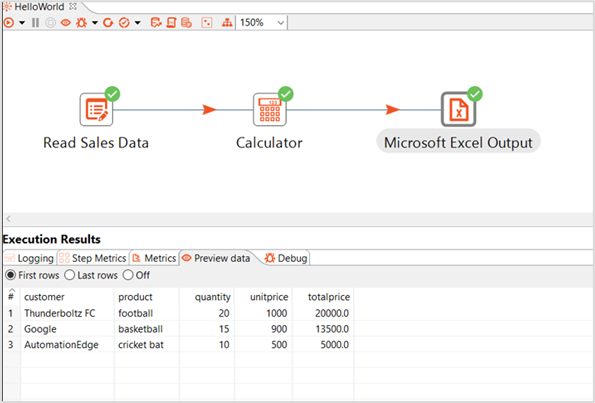
See the following screenshot to understand the HelloWorld workflow.
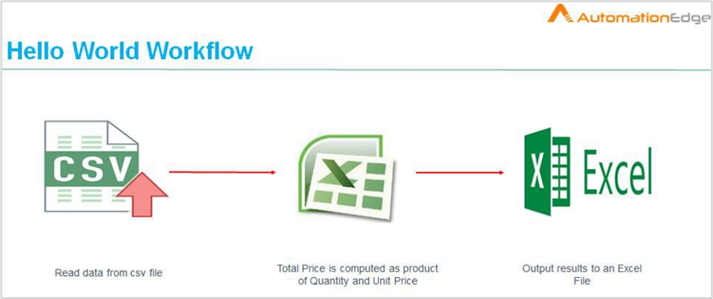
The workflow will read the sales data from a csv file, do simple processing on it, and write the output to an Excel file. Create a csv file in an editor with name sales_data.csv.
Sales_data.csv
customer, product, quantity, unitprice
Thunderboltz FC, football, 25, 1000
Google, basketball, 15, 900
AutomationEdge, cricket bat, 10, 500
To create a project: Sales Revenue:
- Launch Process Studio and provide the sign-in details, and then click Connect. Process Studio opens.
You can also sign-in with SSO. For details, see AutomationEdge Process Studio User’s guide.
- In the Open Workspace dialog, browse the workspace folder, and then click Launch. The selected workspace opens.
Ensure you have created the Data Processing workspace folder before browsing.
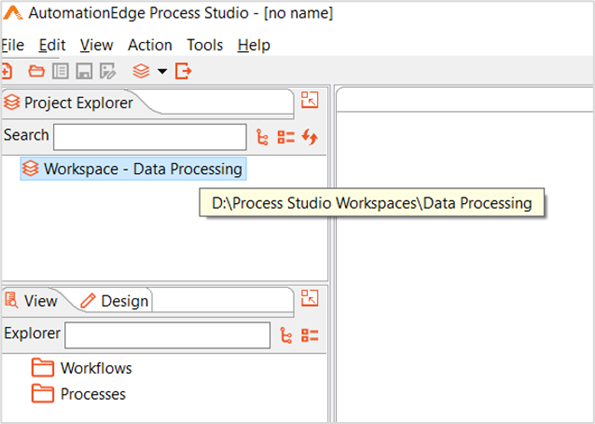
- Right-click on the workspace and select New Project. The Create Project dialog appears.
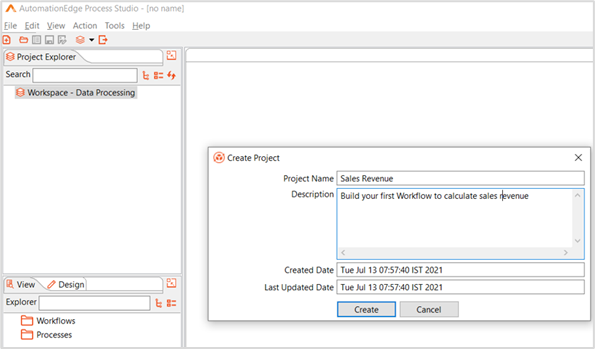
-
Enter the project name, Sales Revenue and description, and then click Create. The project is created.
-
Right-click on the project and click New Workflow. Save the workflow as HelloWorld.
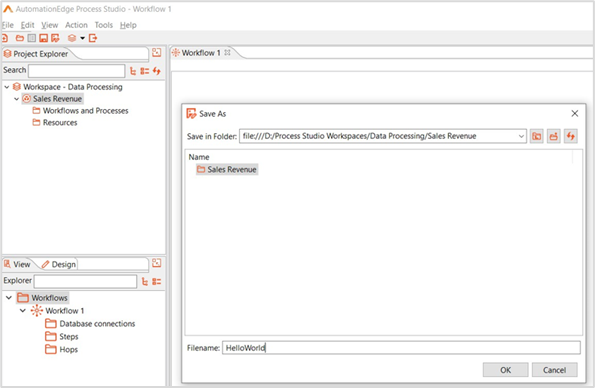
The workflow is stored as an XML file with .psw extension, which stands for Process Studio workflow. By default, the workflow is stored in the project directory.
-
Click the Design tab and select the steps as follows:
i. Enter csv in the Steps box. All steps having csv in the name appear.
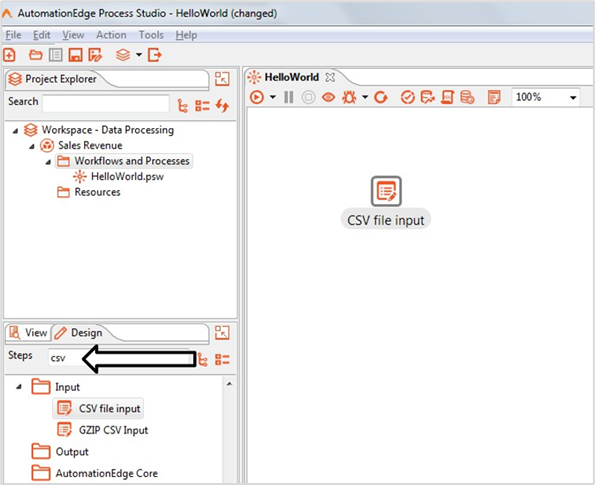
ii. Drag-and-drop the step, CSV file input on to the work area. Double-click or right-click Edit, the step field details dialog appears.
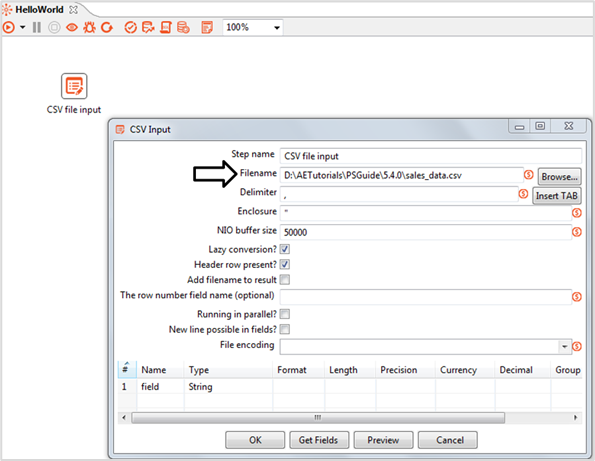
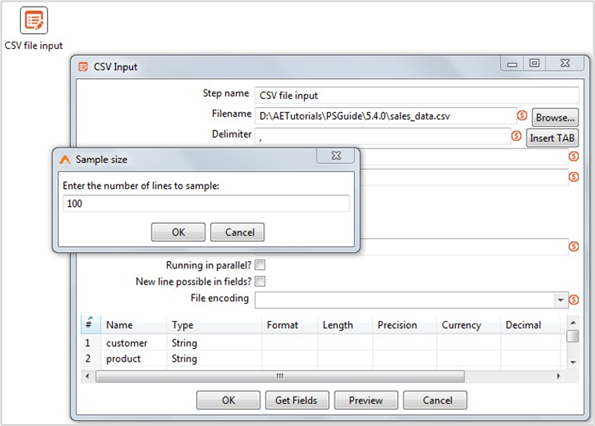
iii. Enter the following field details: Step name: Rename the step as Read Sales data. Filename: Enter the complete file path, sales_data.csv or click Browse to select the file. Click Get Fields. In the Sample size dialog, enter the number of lines to sample, and then click OK.
tipThe default value for Enter the number of lines to sample is 100. You can increase or decrease the value. :::
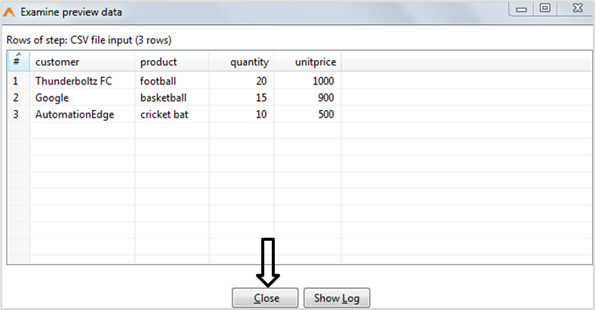
Click Preview. The Examine preview data dialog appears with the details of the fields, which are displayed on the header row in the csv file. In the example, four fields are detected. To exit the dialog, click Close.
tipBy default, Header row present checkbox is selected.
 tip
tipTo save intermediate workflow, click File � Save or Ctrl + S.
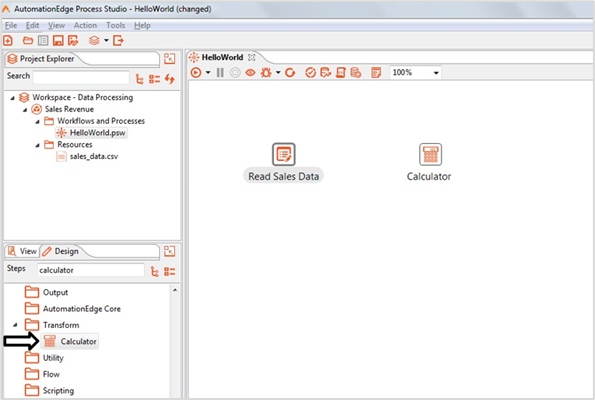
iv. In the Steps box, enter Calculator step name. Drag-and-drop the step in the workspace.
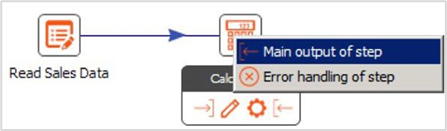
To connect Read Sales Data with Calculator, click Read Sales Data and press, Shift on the keyboard with the Left Mouse button, drag the mouse over to Calculator and release the mouse. A pop-up with two options appears. Click Main output of step.
Double-click the Calculator step, and define the following calculations:
Field Configuration
Field Text or Option New field totalprice Calculation A * B Field A quantity Field B unitprice 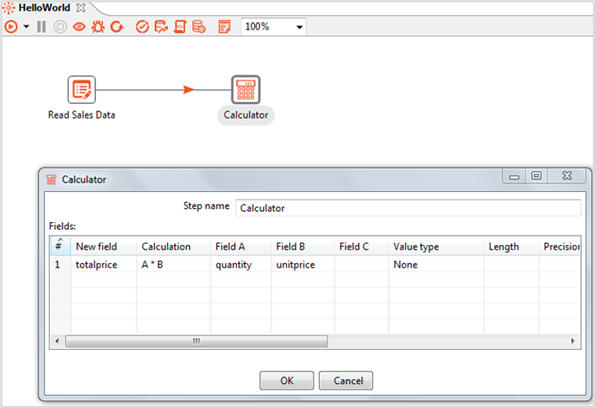
In the process, a new field, totalprice is generated, which computes product quantity and unitprice.
v. Now, drag-and-drop the Microsoft Excel Output step in the workspace. Connect steps Calculator and Microsoft Excel Output with the hop.
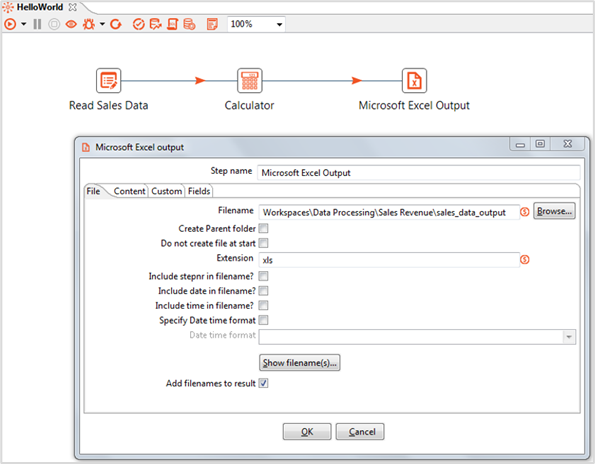
In the File tab, enter the exact path of the file in the Filename field, where you want to store the output file.
tip- You can also click Browse and select the file path. However, ensure that the file extension is present in the Filename or Extension field.
- You can also select the Include date in filename? and Include time in filename? checkboxes, if required. The filename will be suffixed with date and time. Suffixing the file with date and time helps to uniquely identify each instance of output file.
In the Fields tab, click Get Fields. The fields from Read Sales Data and Calculator steps appear in the list. Click OK and then test the workflow.
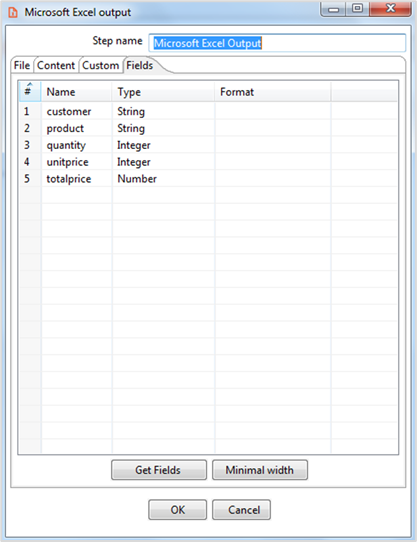 tip
tipA workflow always deals with one or more rows each having one or more columns. Every column is termed as a field. A field has a name and data type.
-
Click Run to execute the workflow. When you run a workflow, the Run options dialog appears. However, for the current example, configuration is not required.
You can also execute the workflow through Action Run from the main menu or through F9.
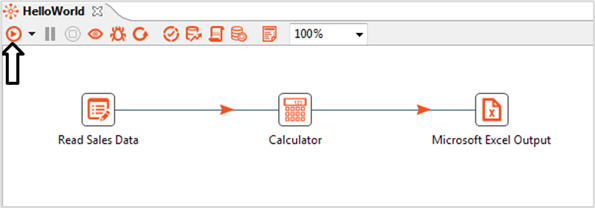
- After the workflow gets executed, a green mark appears on the top right corner of every successful step. You can view the Step metrics of the workflow. You can check data in the generated sales_data_output.xls file.